|
On the layout, I use an LED control system described here: https://shin-yukari.weebly.com/led-controller.html. It is based on Adafruit 12-Channel 16-bit PWM LED Driver modules spread all over the layout. They allow a central computer (a Raspberry Pi in my case) to control the hundreds of LEDs fitting the various buildings. In addition, I needed a similar control box on my workbench. This is a description of the system I have designed. 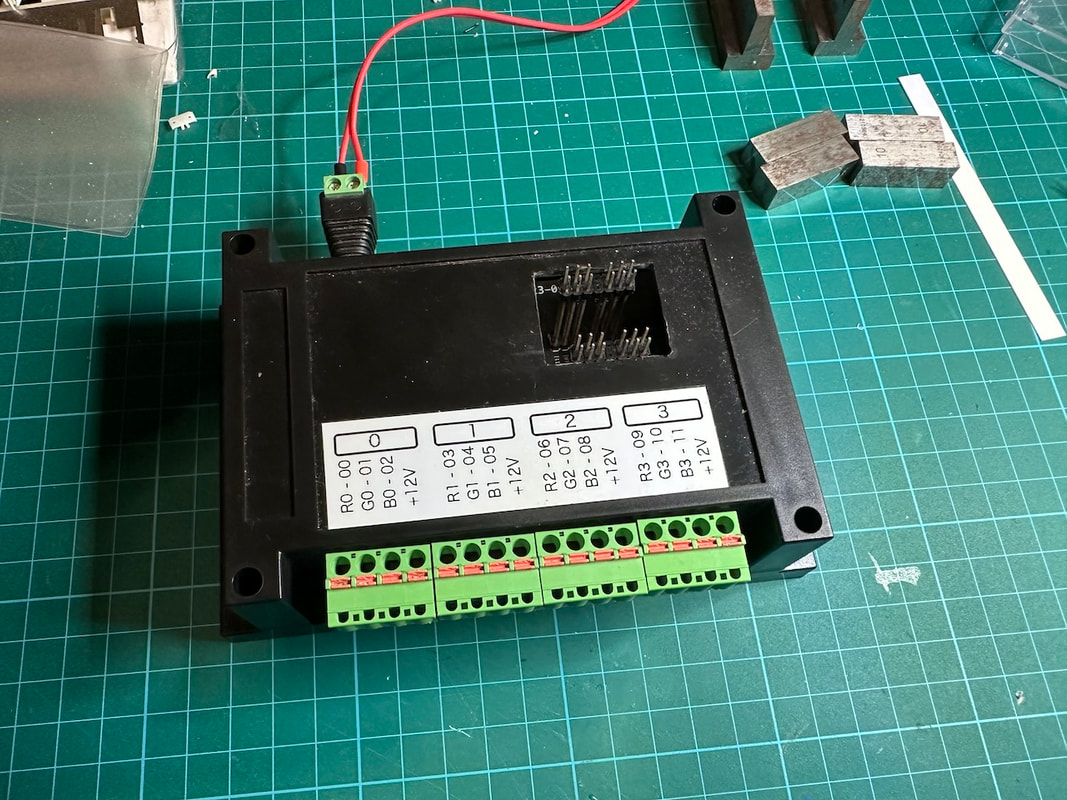 It uses the same Adafruit module and exposes the 12 LED outputs on terminal blocks with push-in connection, suitable for temporary connection (no soldering required, no screw). 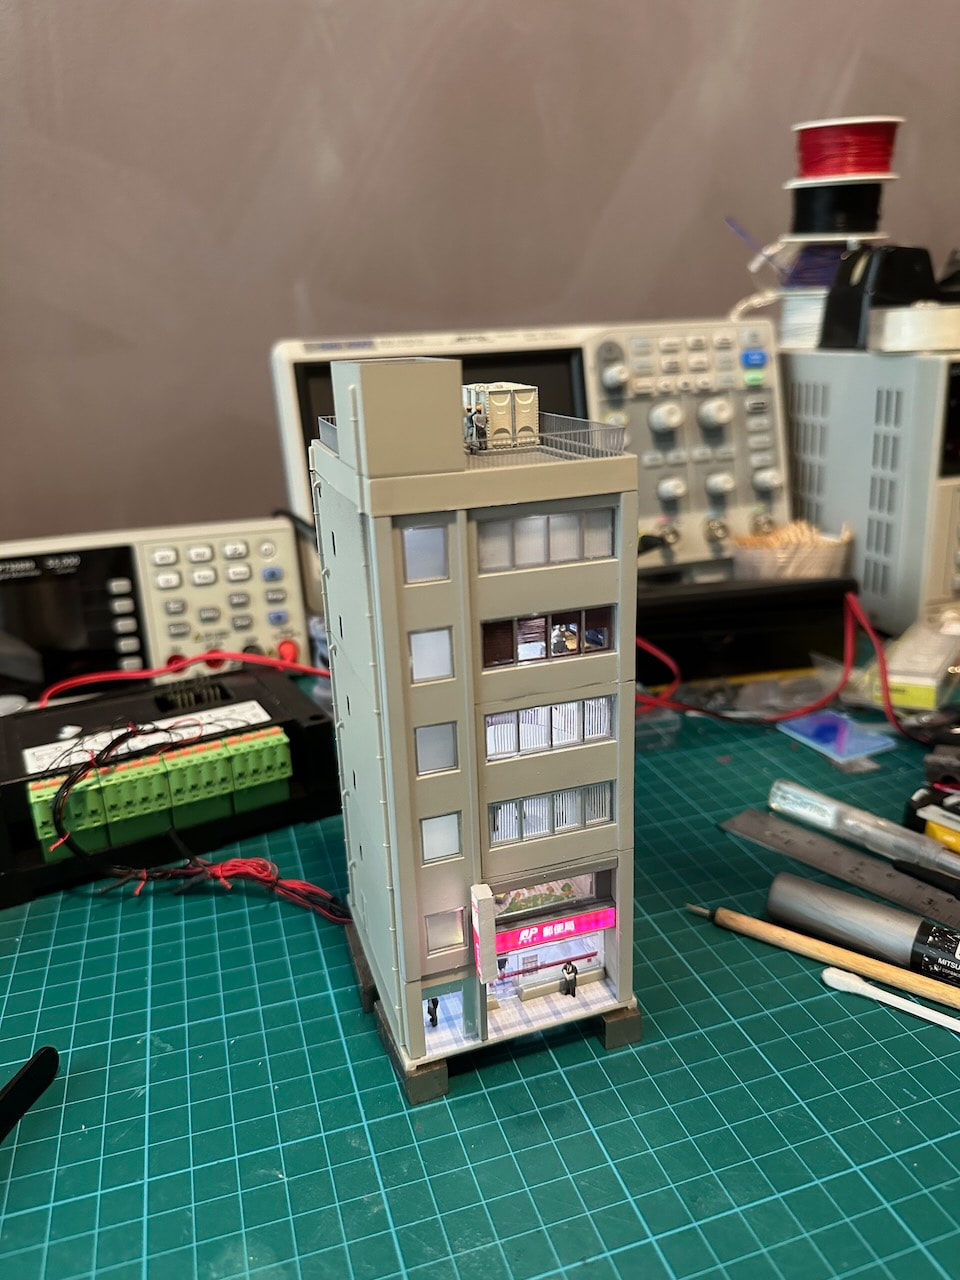 Here we see a building "under construction", with its wires attached to the control box. 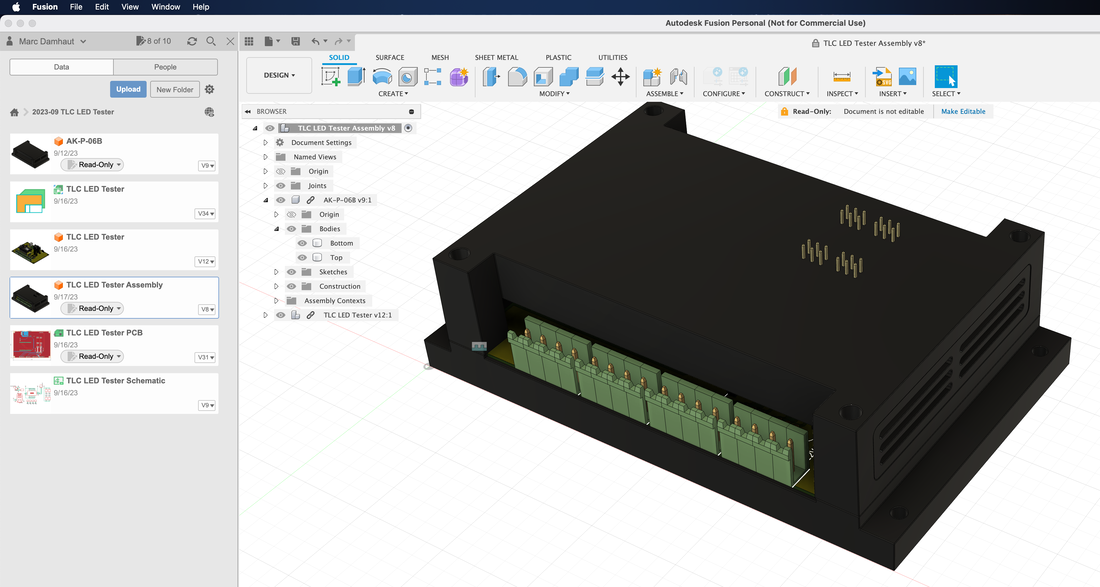  I have designed the PCB in Autodesk Fusion 360. The system is based on an ESP32 microcontroller connected to the Adafruit module and to the various connectors and terminal blocks. The ESP32 exposes a web page used to individually set the brightness of each LED. 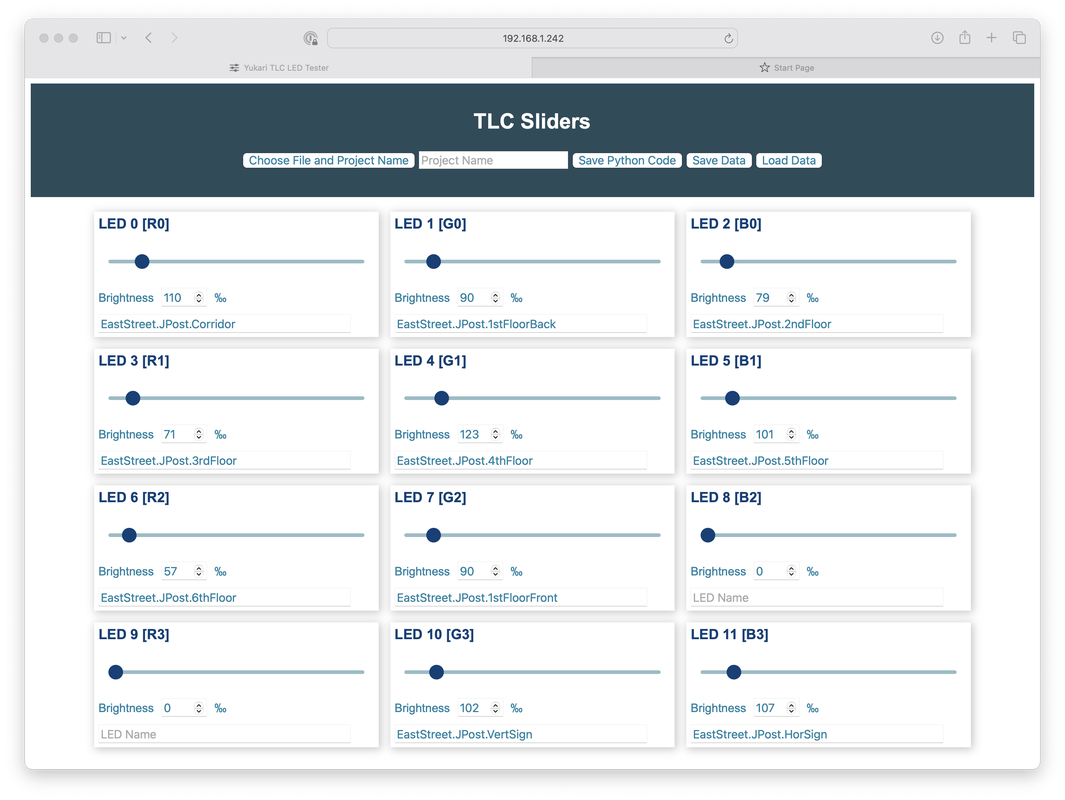
0 Comments
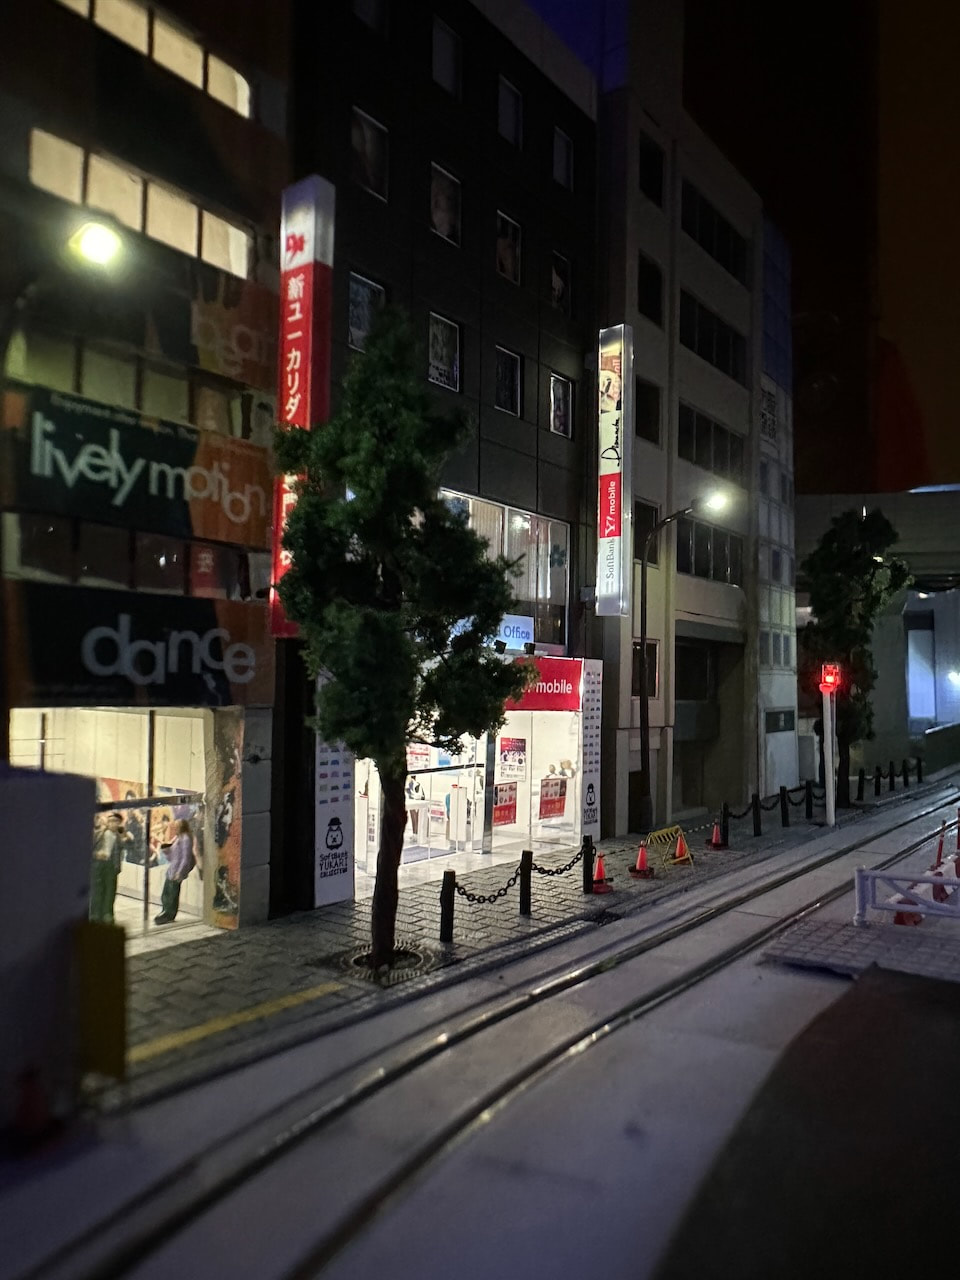
The roof is fitted with accessories that have been 3D-printed. I built simple light boxes to simplify the lighting of the building. The front signboard backlight is made of a piece of polyester scored at precisely spaced intervals to spread the light evenly. 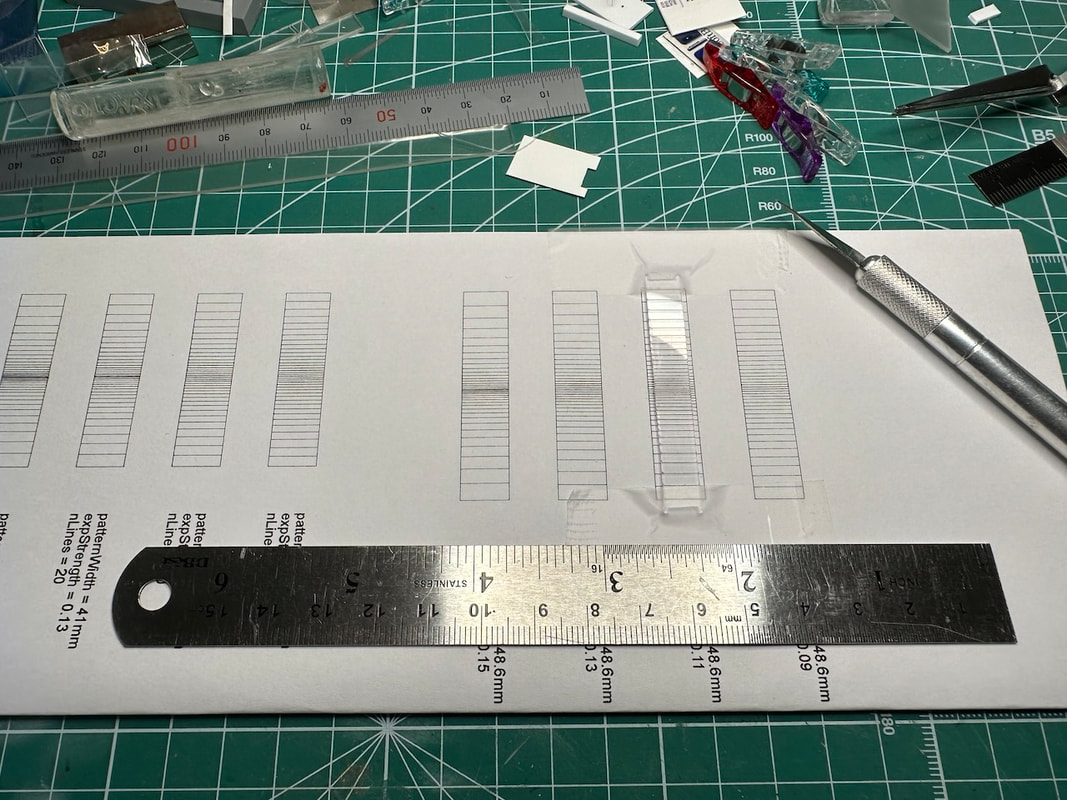 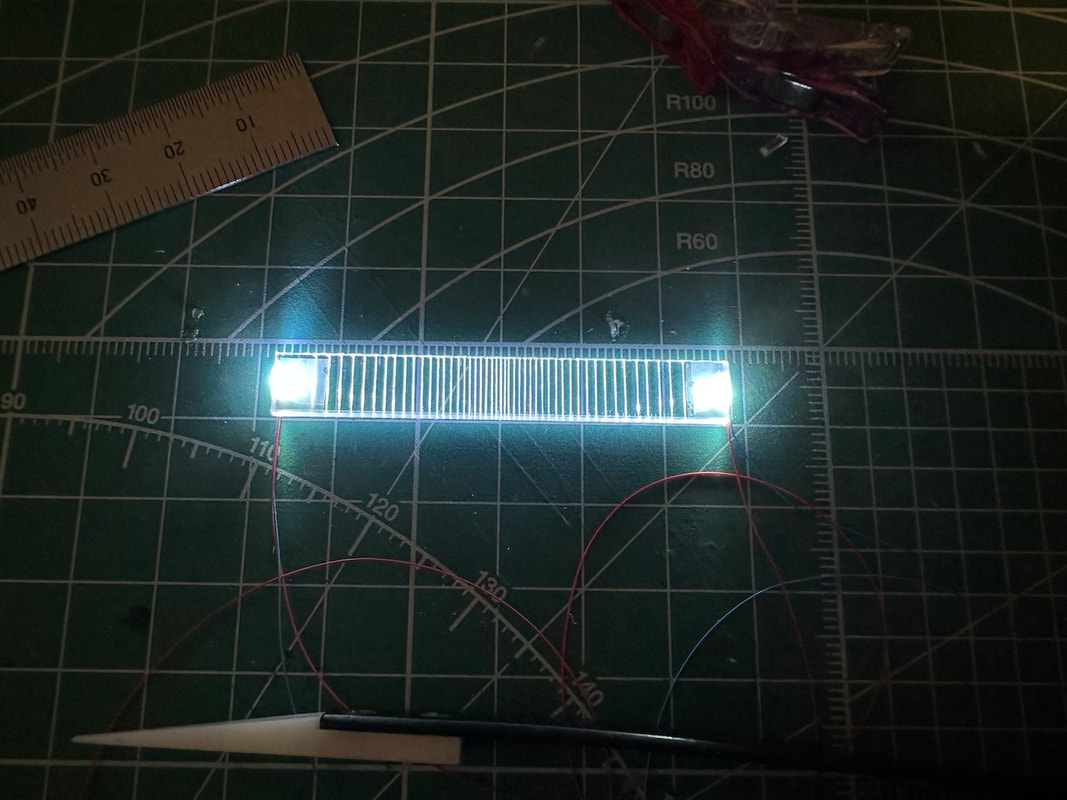 After googling a bit, I learned that the intensity of the light in the backlight panel decreases exponentially. I then created a small python script that generates lines spaced exponentially, and used the resulting document to score the transparent polyester (or acrylic) sheet. The result is a uniform light distribution, even if there are only two LEDs at both ends of the signboard. Next to the school dance building is the Softbank building. It is based on the very popular Tomix 4051 Square building set (brown). https://www.tomytec.co.jp/tomix/products/n/4051.html Complete with 3D-printed figurines... ... and a nice wooden bench. The top floor is the music studio, with a nice glass roof. Each storey is lighted individually, using small light boxes. The decals have been designed in my preferred vector graphics application, Affinity Designer. 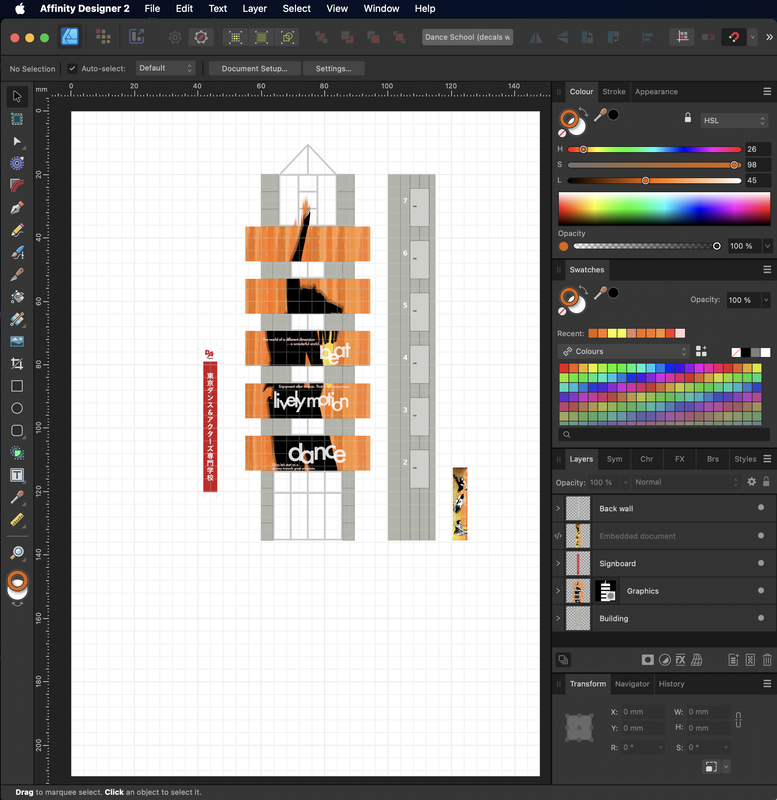
The building next to the construction site will be a Dance School, inspired by the Tokyo Dance Haiyu & Butaigeijutsusenmon School building in Shibuya.
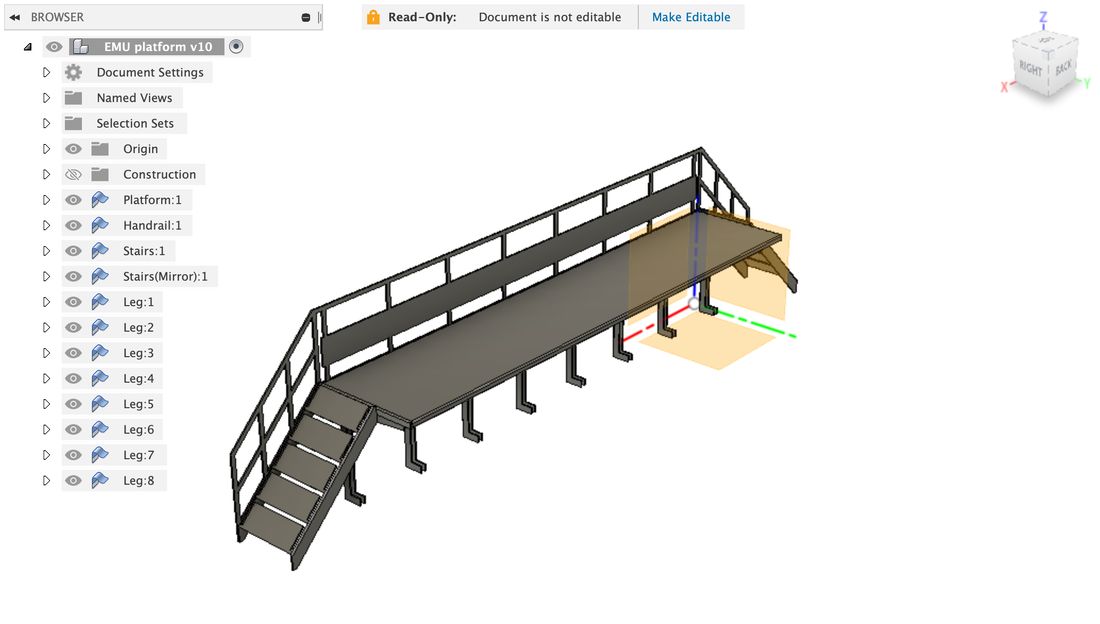
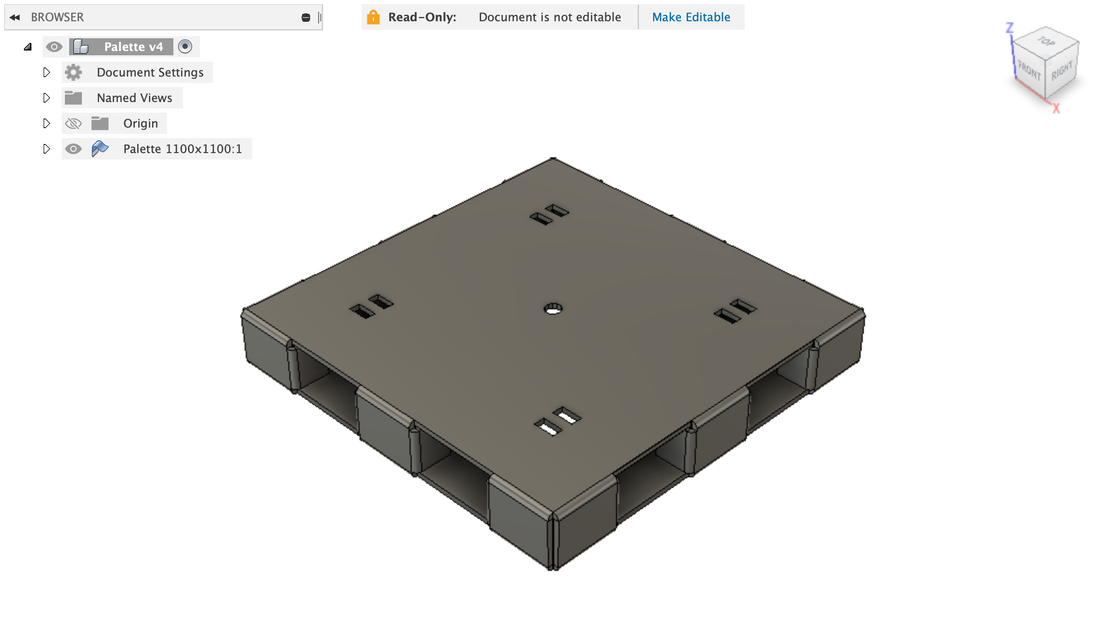
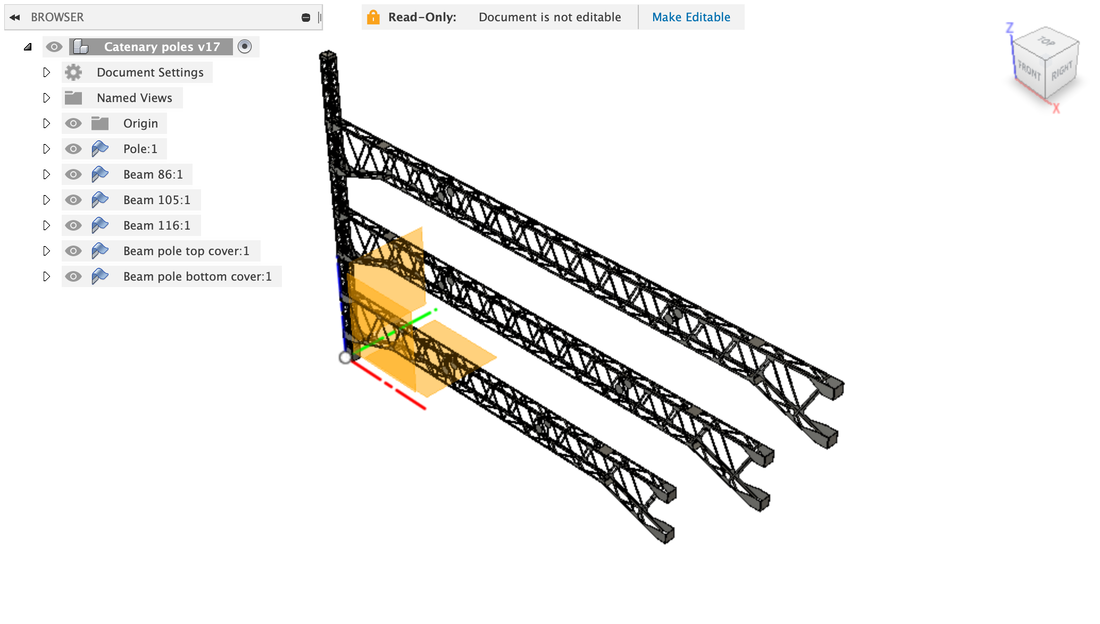
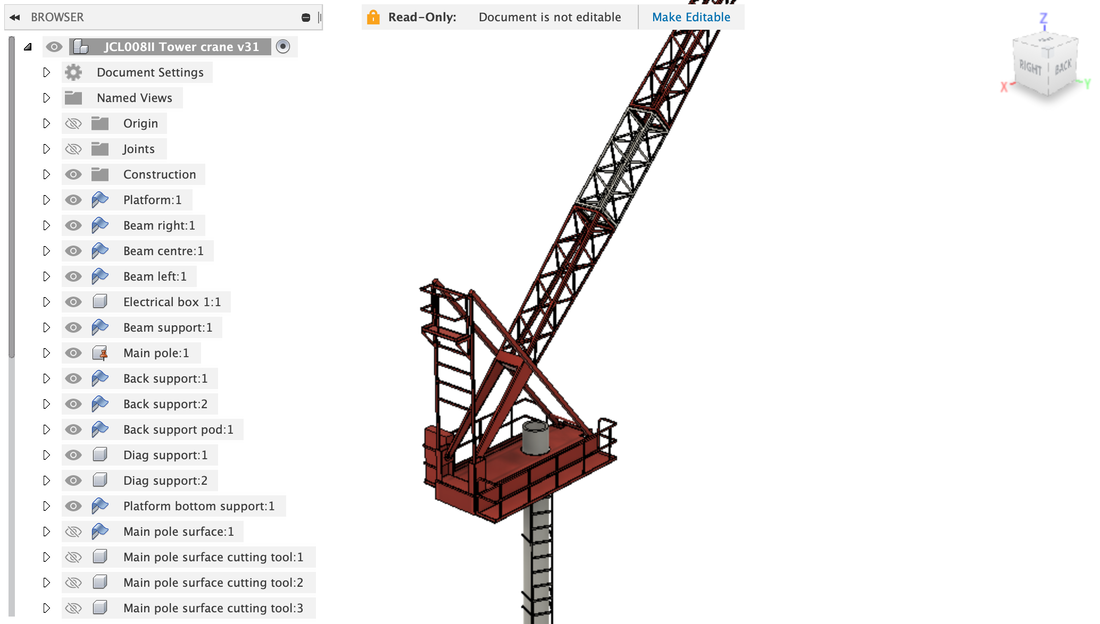
Part of the first photo-etching project, I built a tower crane, which will be the focus point of the new construction area. The tower crane is largely inspired by a real crane, the JCL008II. I am experimenting with photo-etching to make highly-detailed parts such as catenary poles or steel platforms. The parts are first modelled in 3D in Autodesk Fusion 360 using the Sheet Metal module. Fusion 360 is a powerful CAD/CAM/PCB professional tool available free of charge for personal use (check https://www.autodesk.com/products/fusion-360/personal). These are a few examples of objects designed using this software.
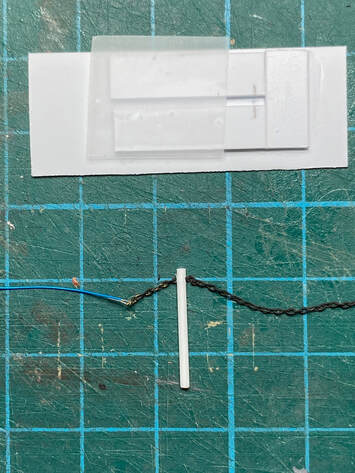
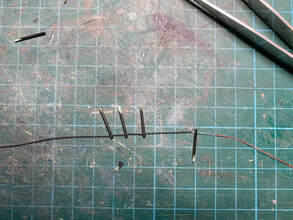
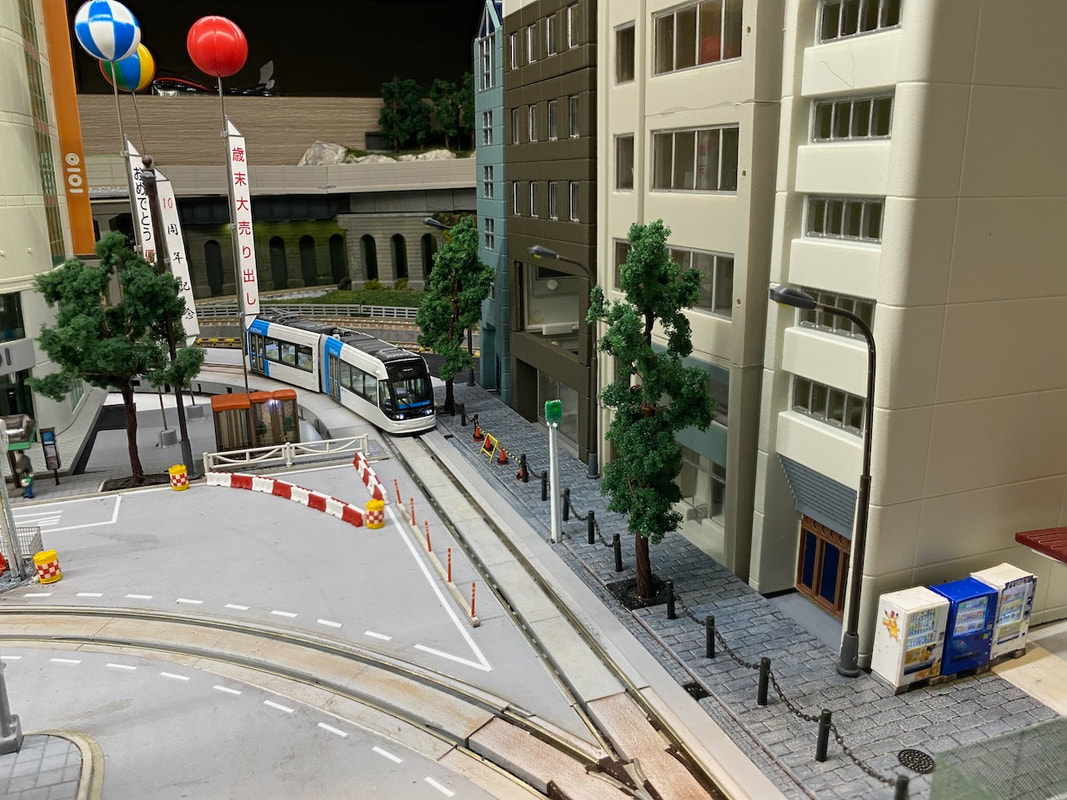
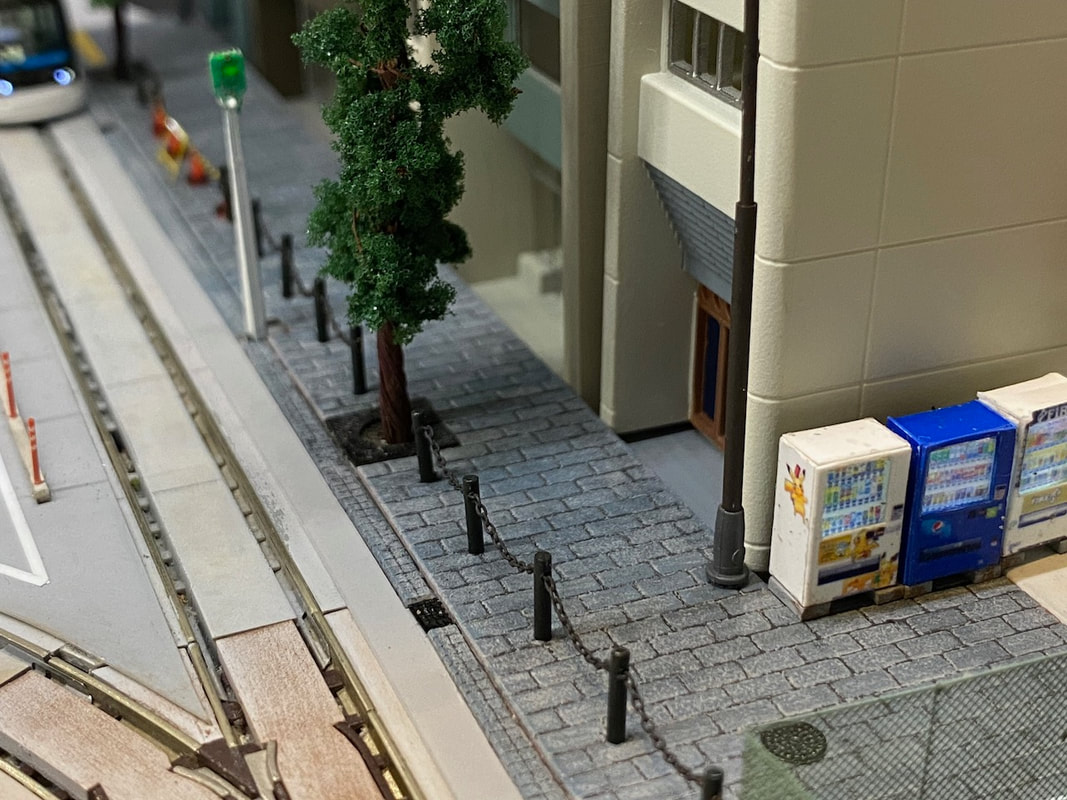
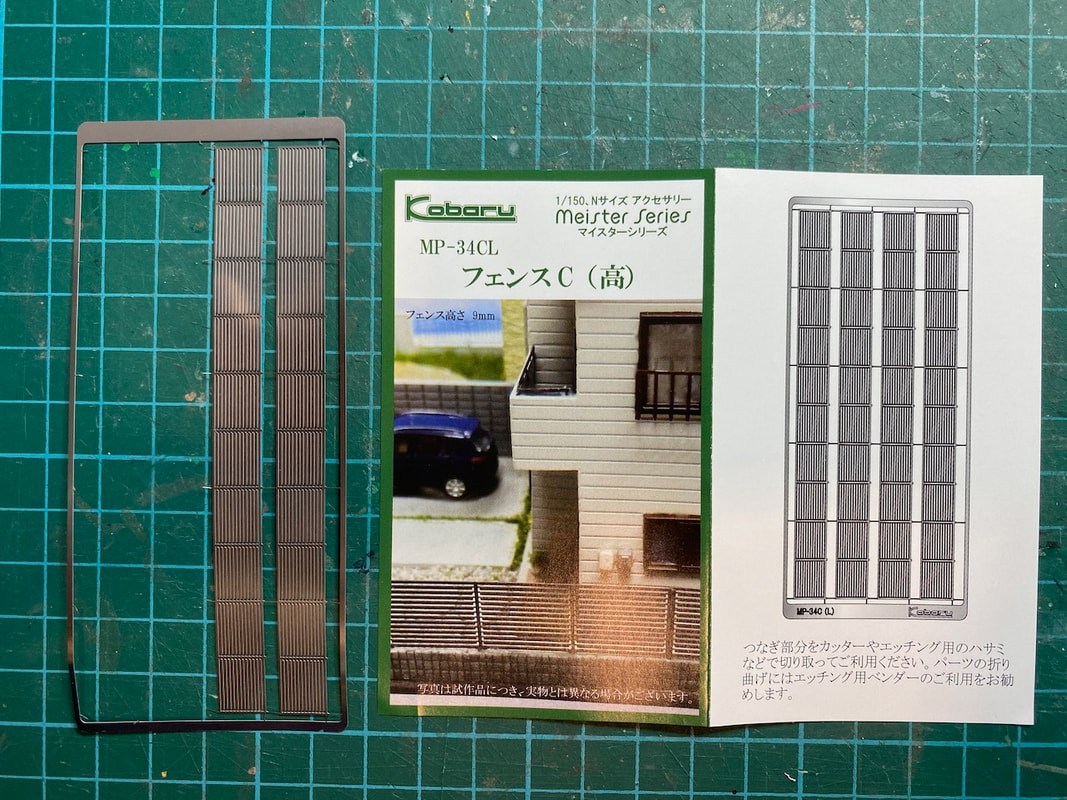
The pavement is made with TGW (Tsugawa) NDP-1 New Plastic Design Paper - Brick 50, airbrushed with Tamiya XF2 Flat White 96% + XF1 Flat Black 4%, then unevenly dry brushed with Tamiya XF66 Light Grey (which appears very blue), then weathered with AK-Interactive Neutral Grey Wash AK677 diluted in AK049 Odorless Thinner. That's not exactly what I was going for (I have tried many things, still learning here...). It looks darker and "older" than what I wanted, but I like the large tiles. Let's say it's a pedestrian shopping street that has been recently renovated using large "fancy" stones. 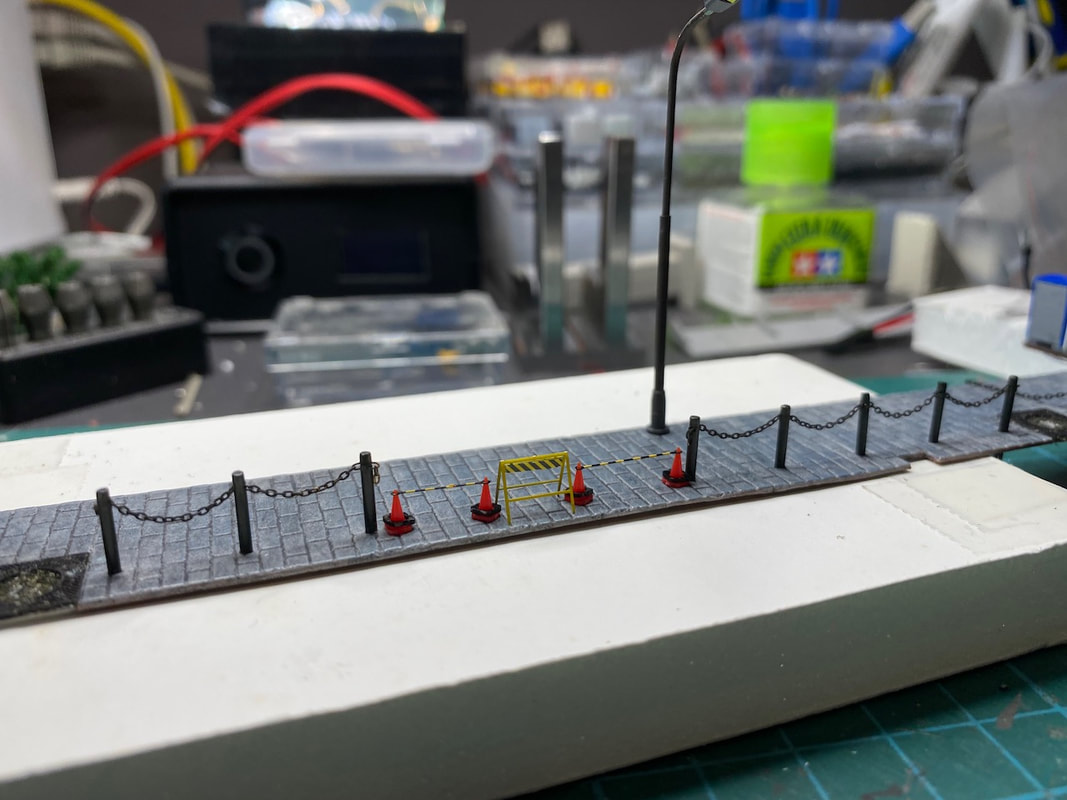 The custom made decals are quite large and require a lot of patience! I have purchased and just received this CY700001 2set 1/700 Scale Model Ship 0.55mm Black Anchor Chain. https://www.aliexpress.com/item/1005002942018738.html 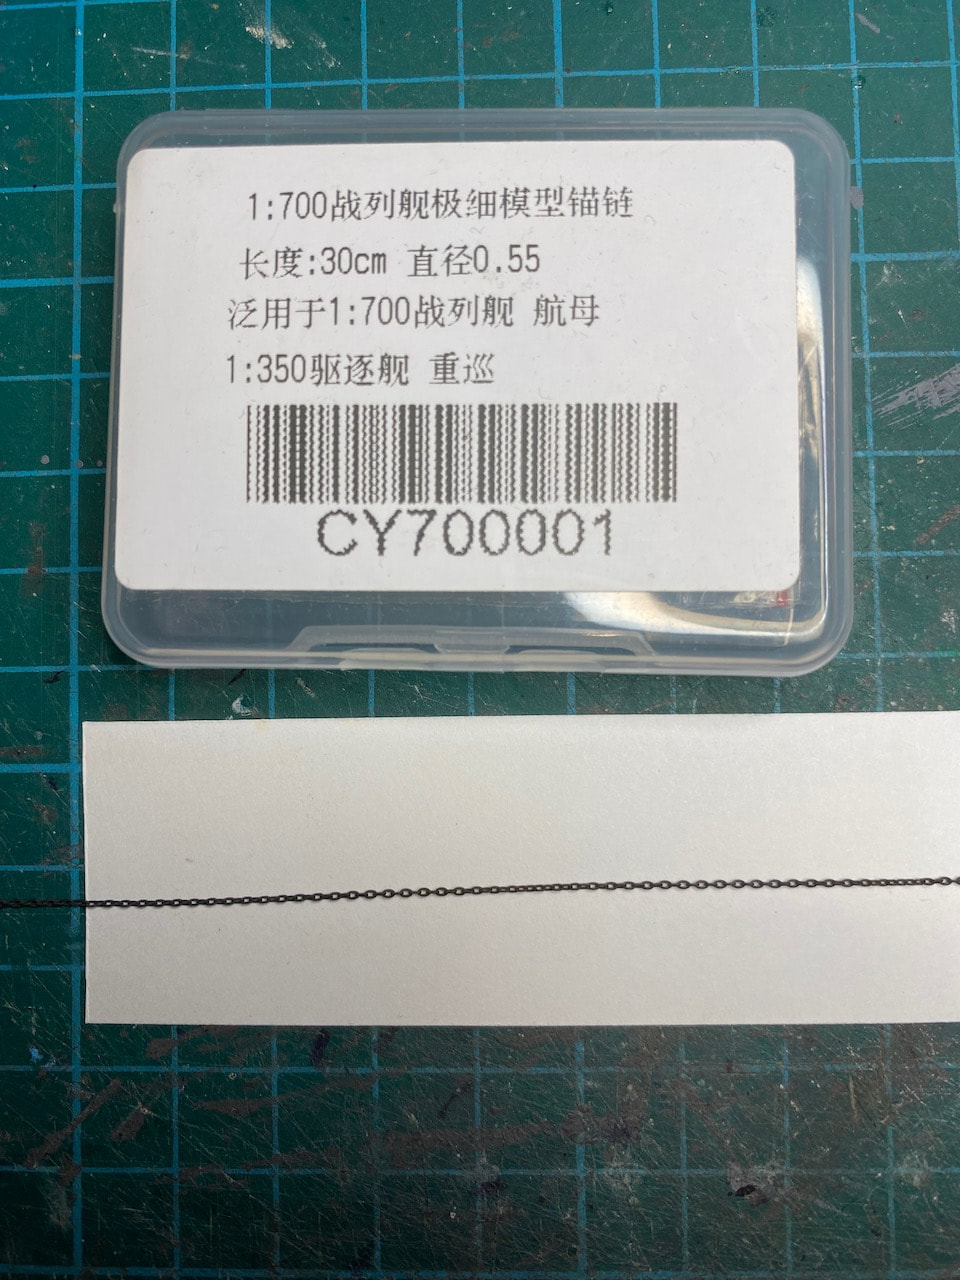 It's meant for a model ship but I think I can use it to build a fence similar to this https://www.sunpole.co.jp/supply/post-8159/ The chain link diameter is 0.55mm = prototype 82mm. Maybe a bit large, but should be ok. 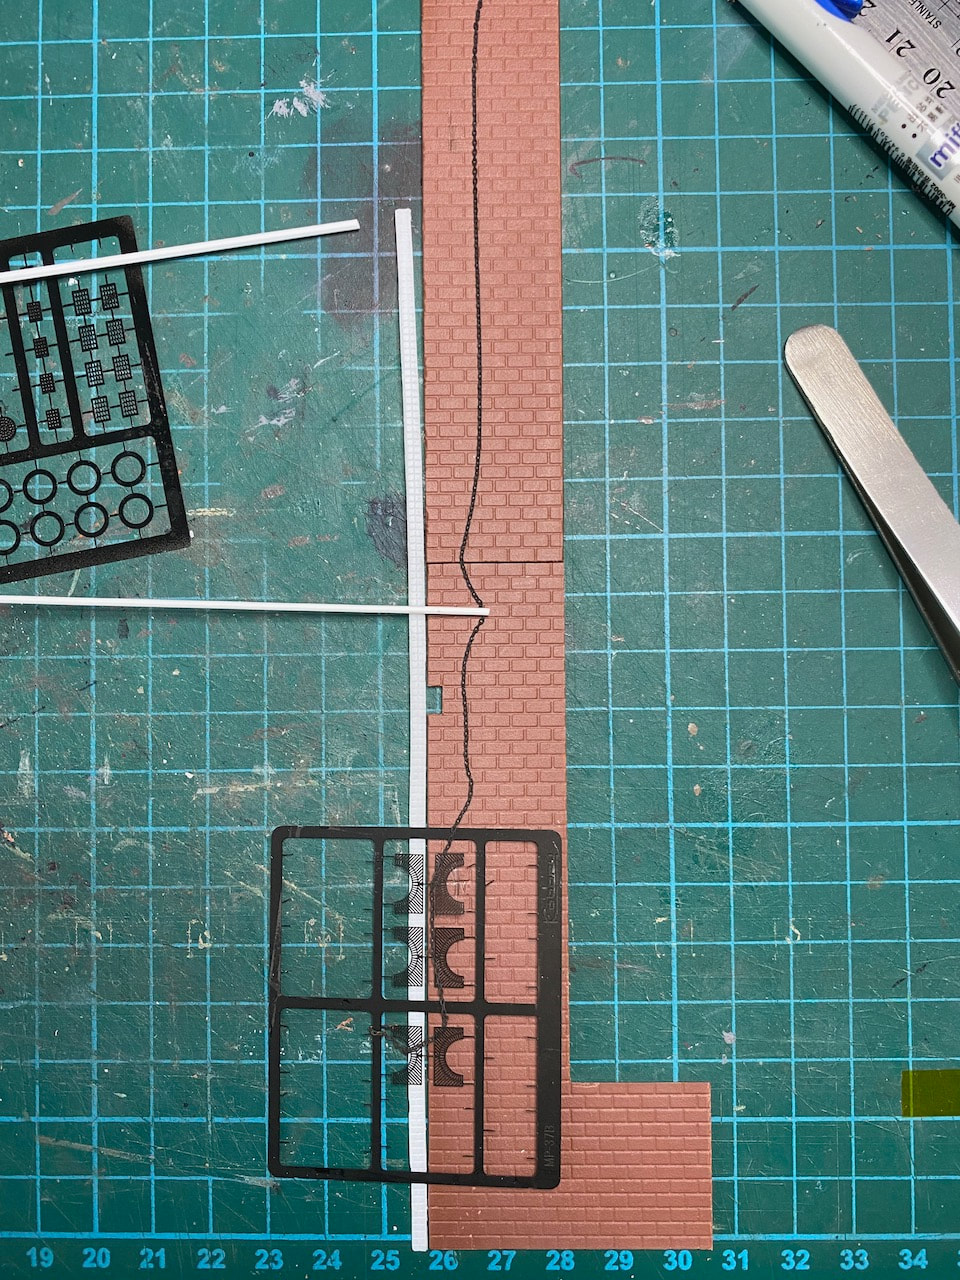 By the way, if you are looking for examples of different types of fences, there are 100 pages of photos in the landscape catalog here:
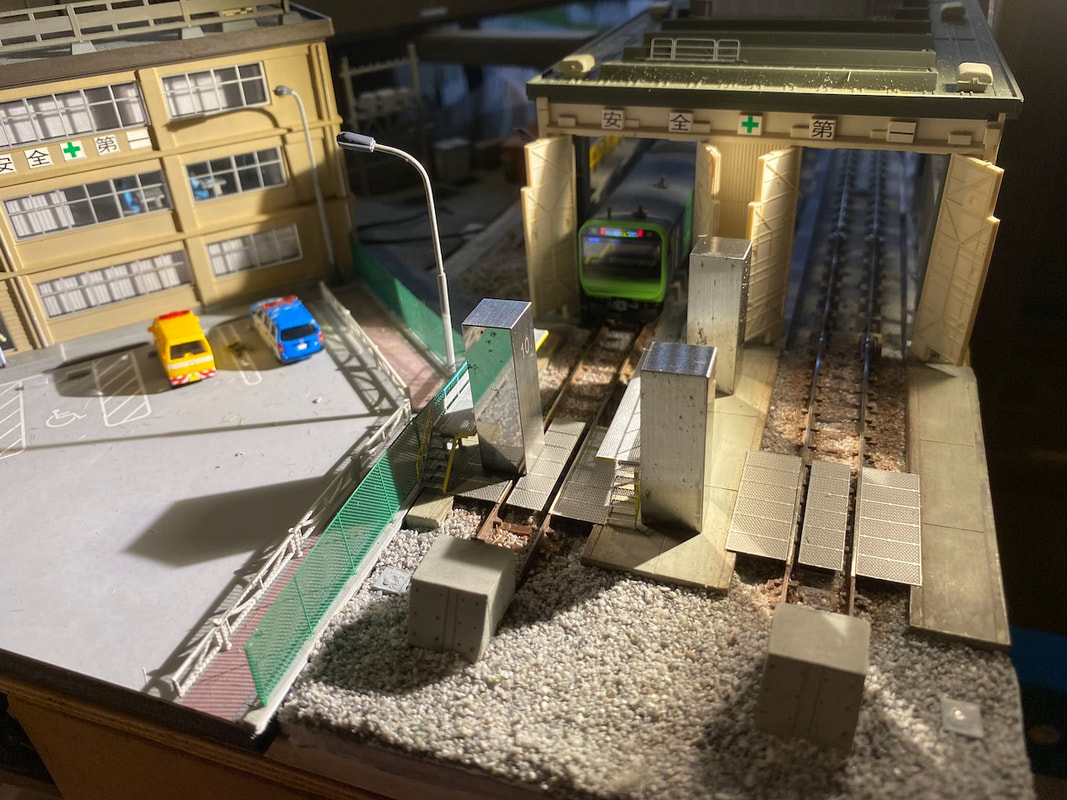
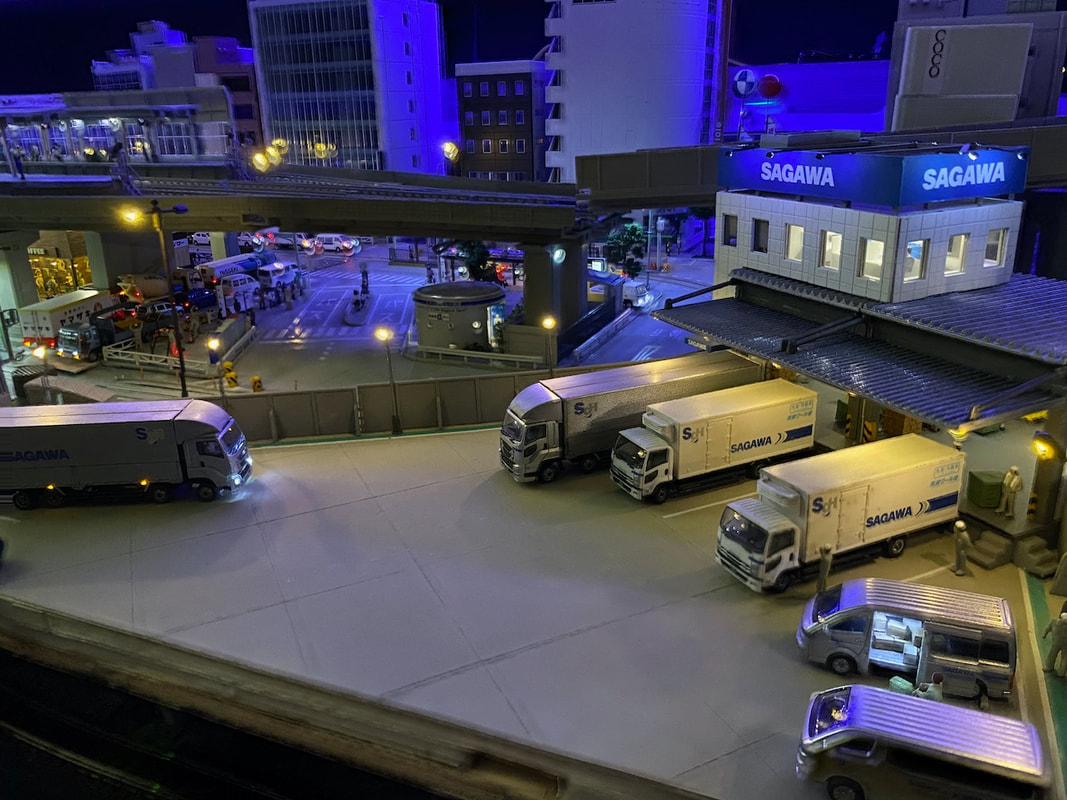
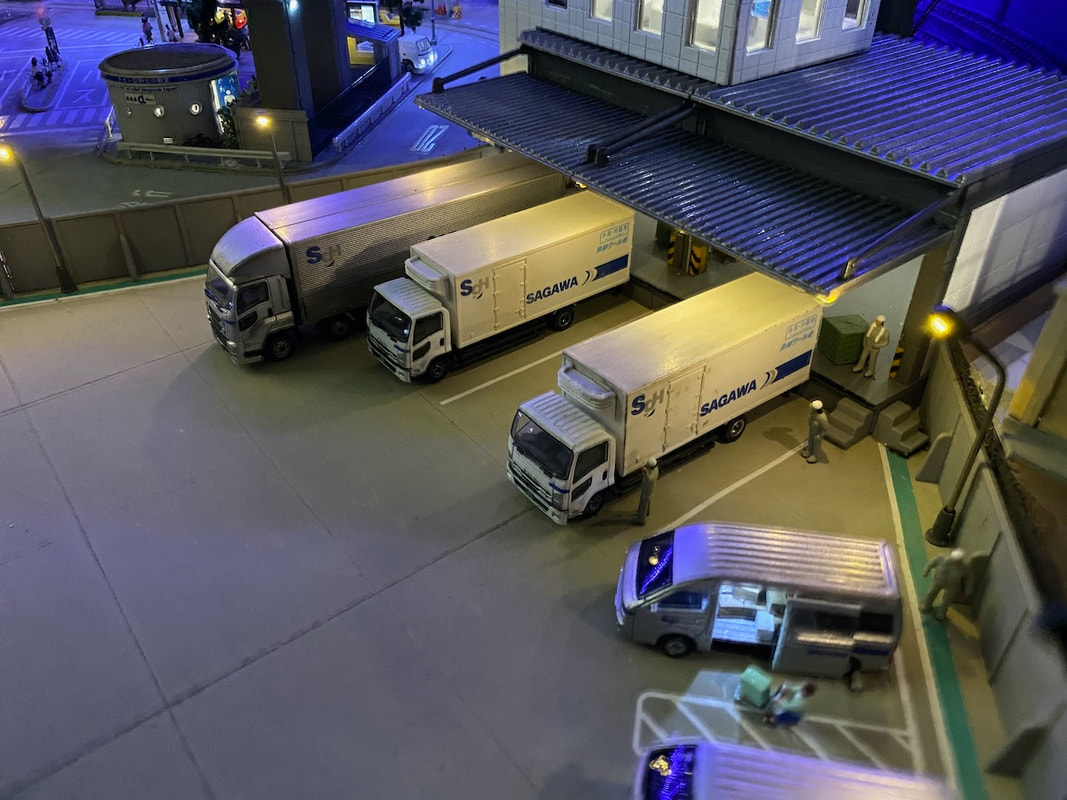
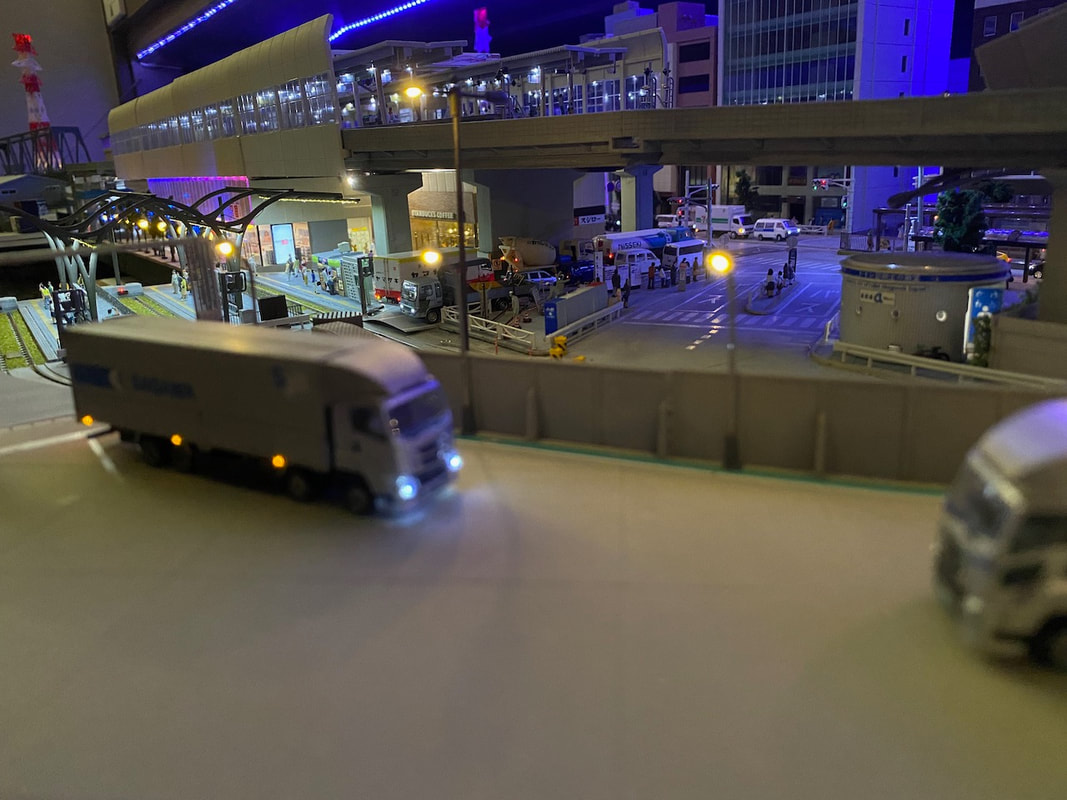
https://www.hokusei-kogyo.co.jp/catalog/ I have scratch built the sign board and other roof equipment using Evergreen styrene. I decided to rebrand and expand the small truck terminal (Tomytec 069-2 Modern Truck Terminal). The expansion is done using Greenmax 2187 building kit, which is extremely flexible and easy to customise. This is the first stage of the construction. Construction of the main street. So many small accessories 😅 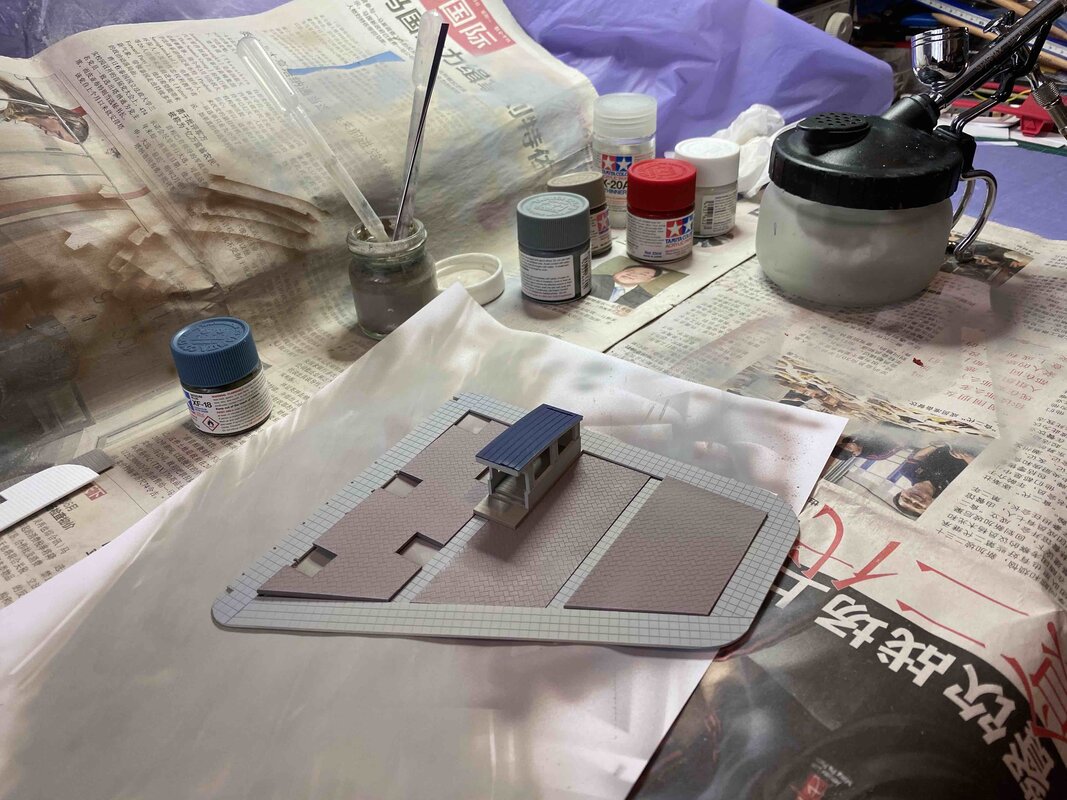 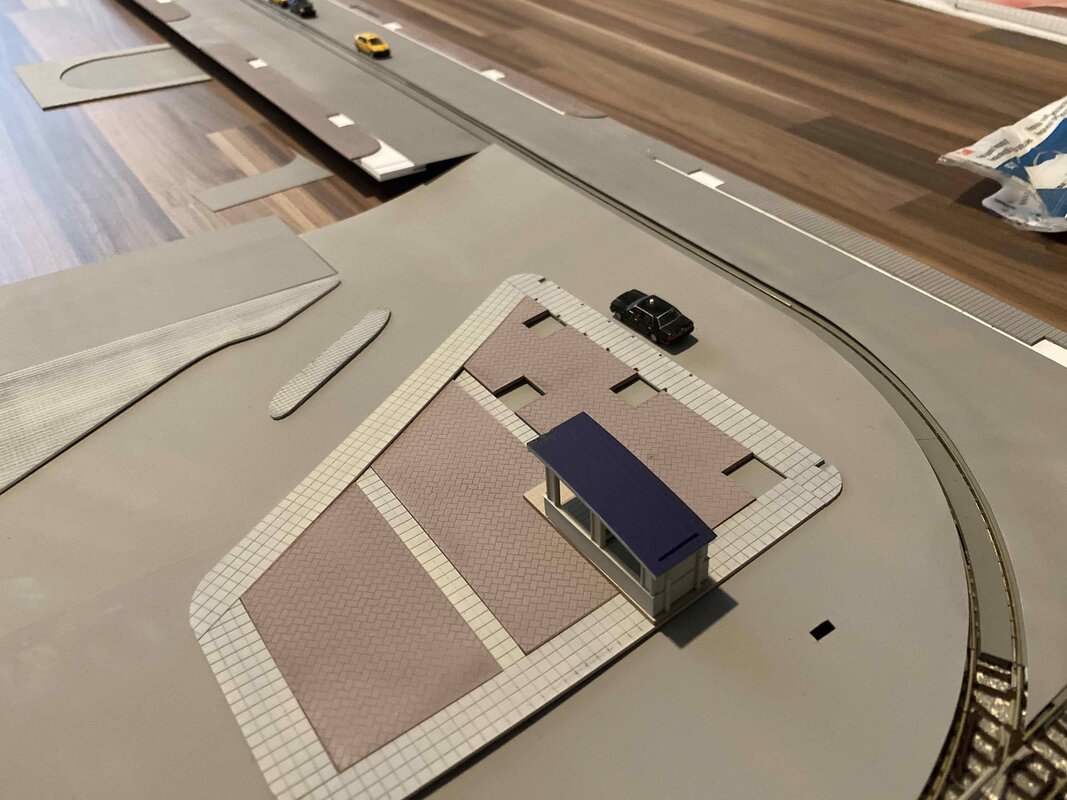 Late evening emergency meeting the second floor...
|
Categories
All
Latest videoArchives
November 2023
|

 RSS Feed
