|
I fitted each of the seven trees with five 0402 blue LEDs, then painted the tree trunks with Tamiya XF-10 Flat brown paint to hide the wires.
0 Comments
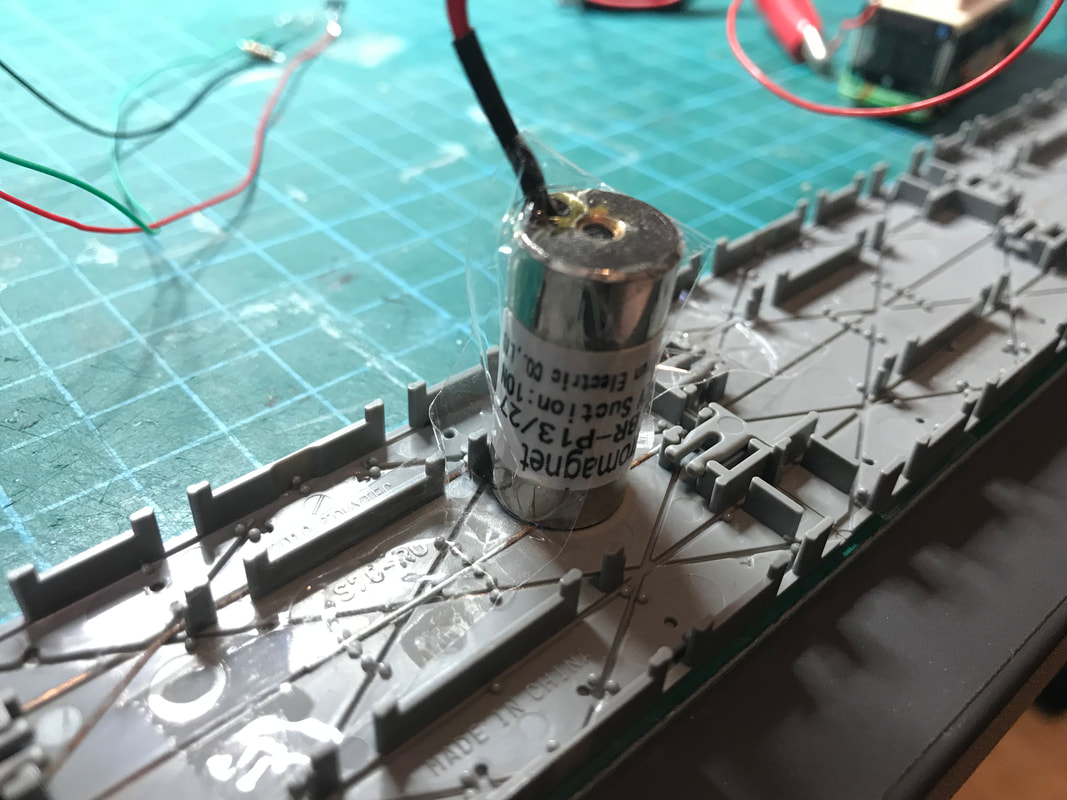
In this first test, I used a 13x27 12V 1W 10N (size 13x27mm, 12 volts, 1 watt, 10 newton force) electromagnet that can easily be purchased from AliExpress (look for solenoid, electromagnet, or follow this link). Its power consumption is about 100mA, which is reasonable, and the heat dissipation is not too high. The bus stops when the electromagnet is powered, then restarts when I switch off the power supply.
The result is very nice, but will need further adjustment.
This weekend, I build a styrene bracket to better secure the location of the pillars below the Shin-Yukari station.
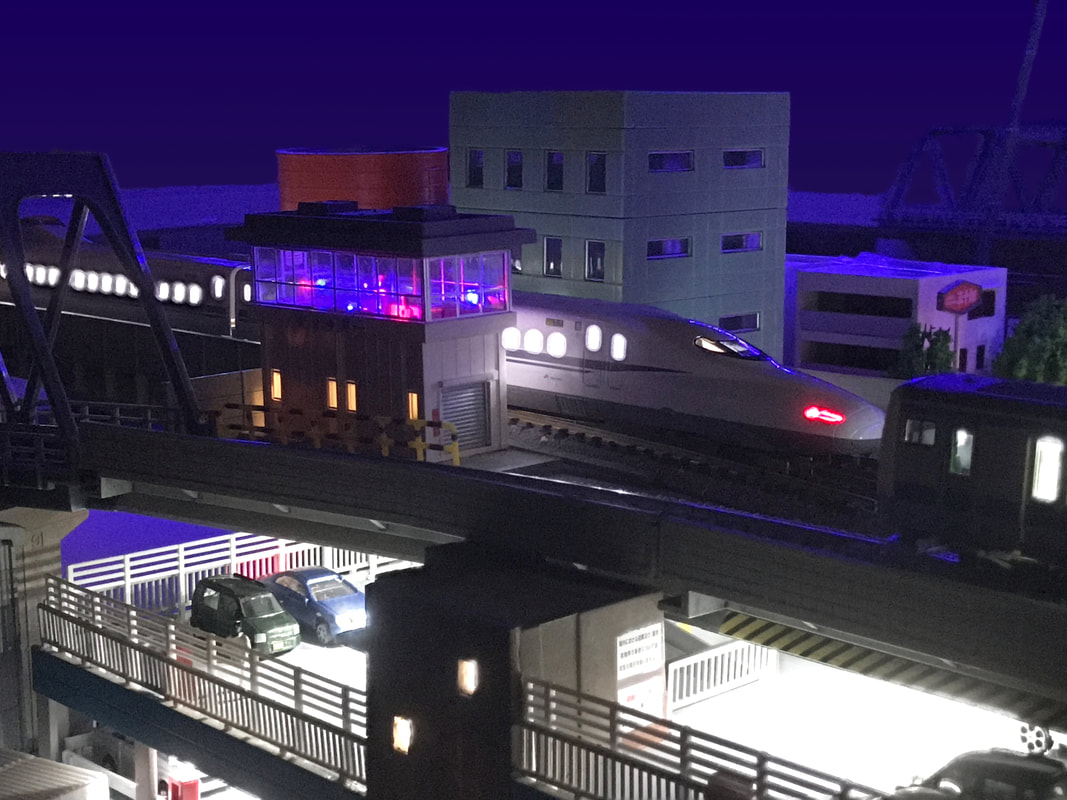
Finally, I built a concrete base for the control tower at the west end of the elevated station.
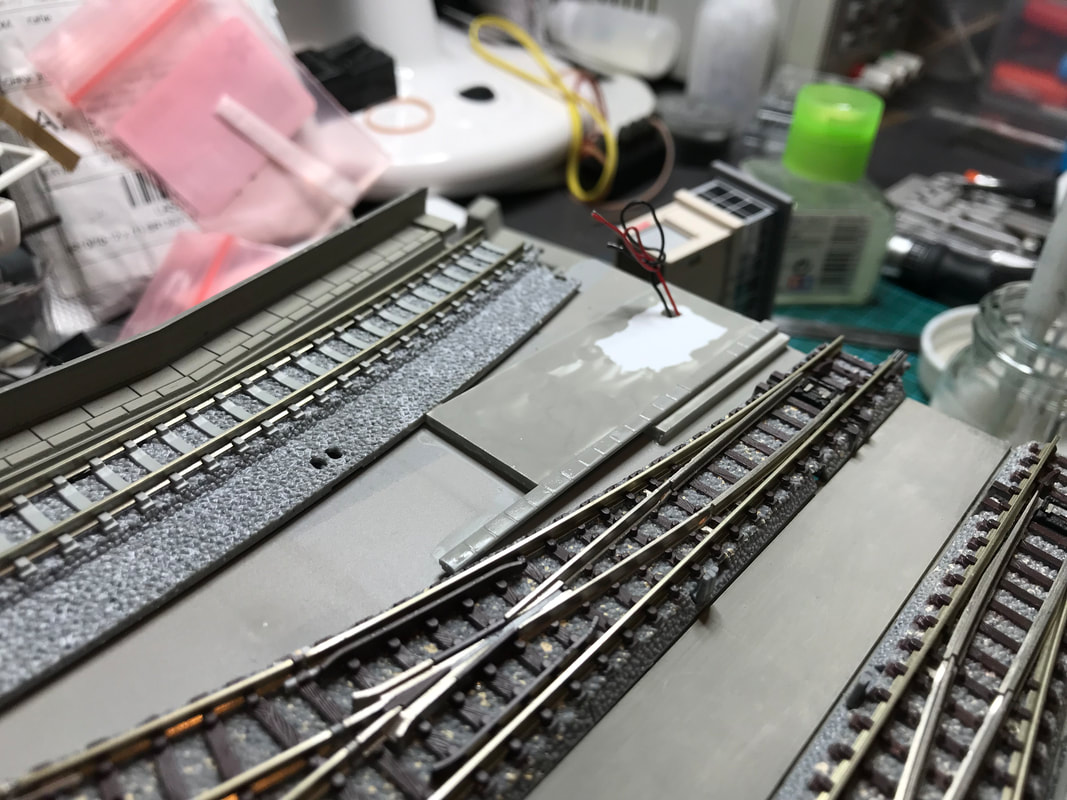
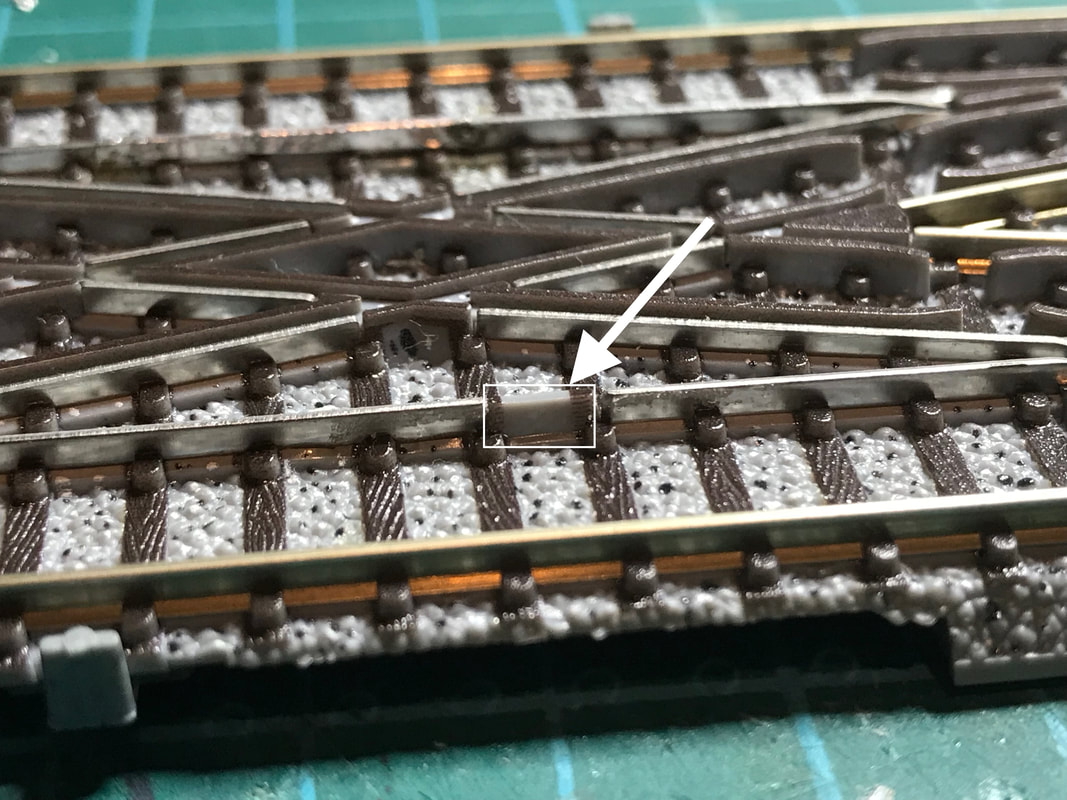
 Today, I removed the Tomix 1247 Double Crossover Turnout N-PX280 F at the west side of the elevated station and replaced it by two standard turnouts. I have had numerous problems with this double crossover over the past years. It is quite difficult to clean, and all my DCC locomotives using the Kato EM13 briefly stop when crossing it. The culprit is this section of the rail (indicated by the arrow on the left photo). It is an isolating plastic section. I do not know its purpose, but it is long enough to cause the EM13 DCC decoder to reset (the locomotive stops and starts accelerating again).
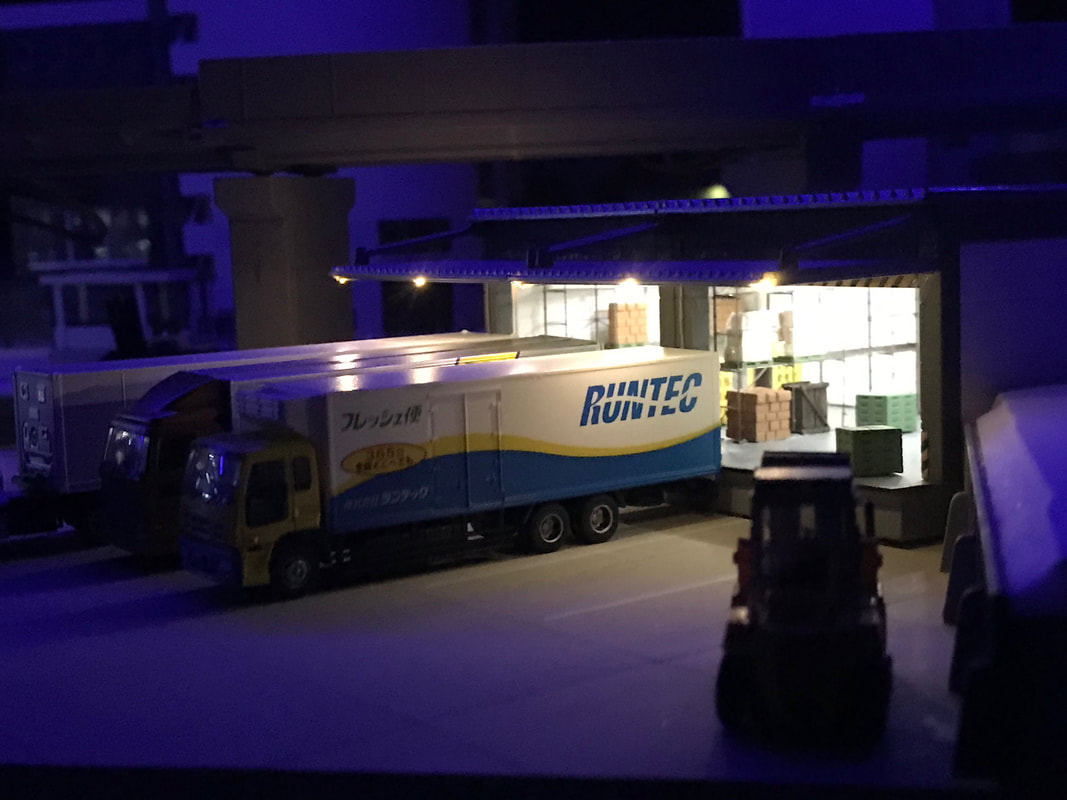
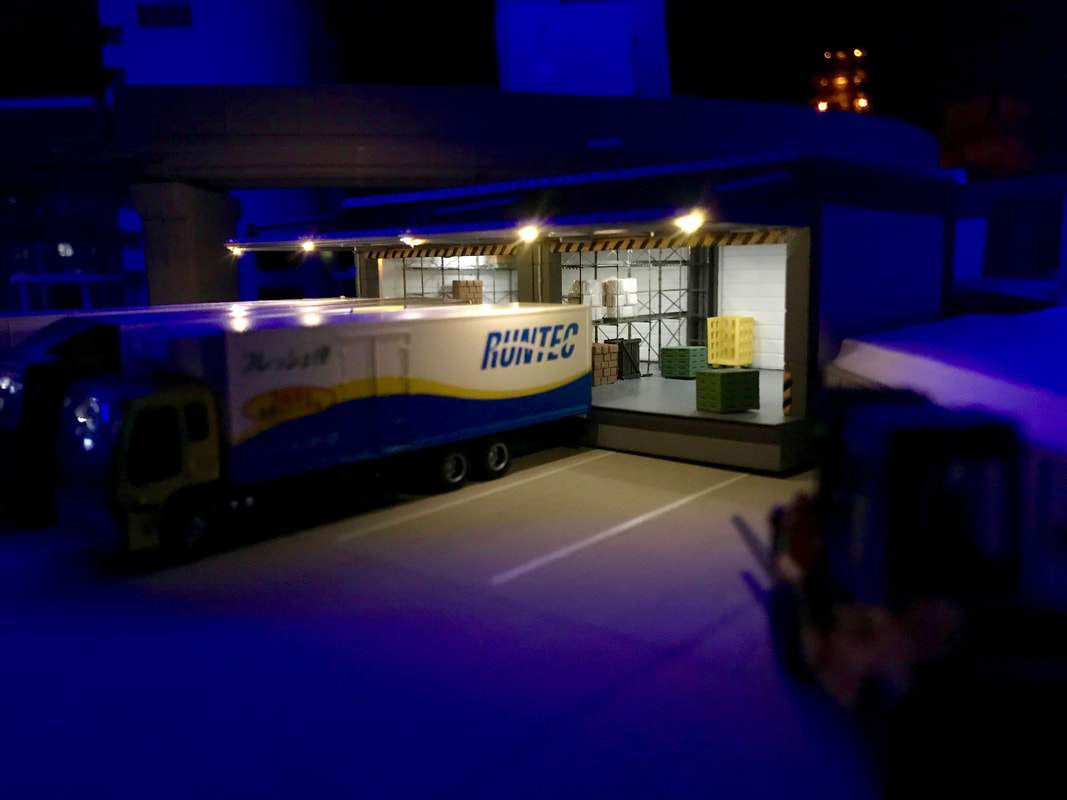
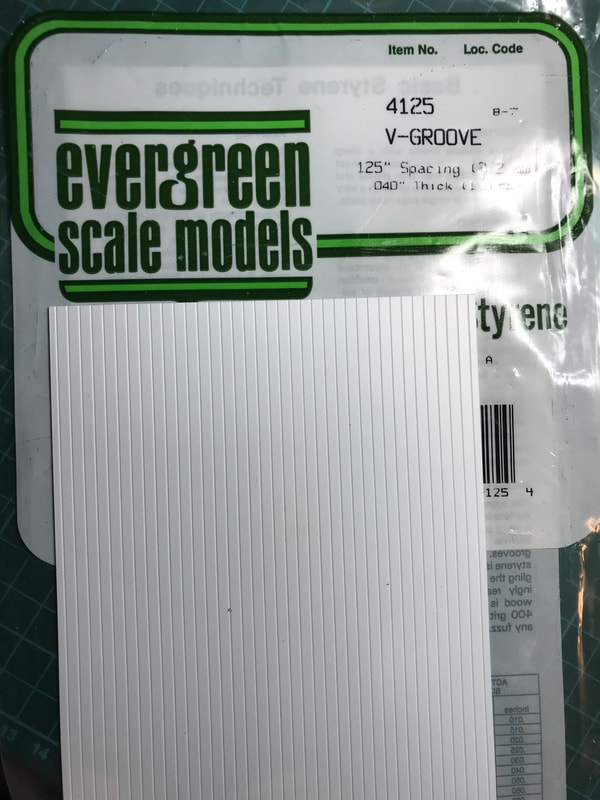
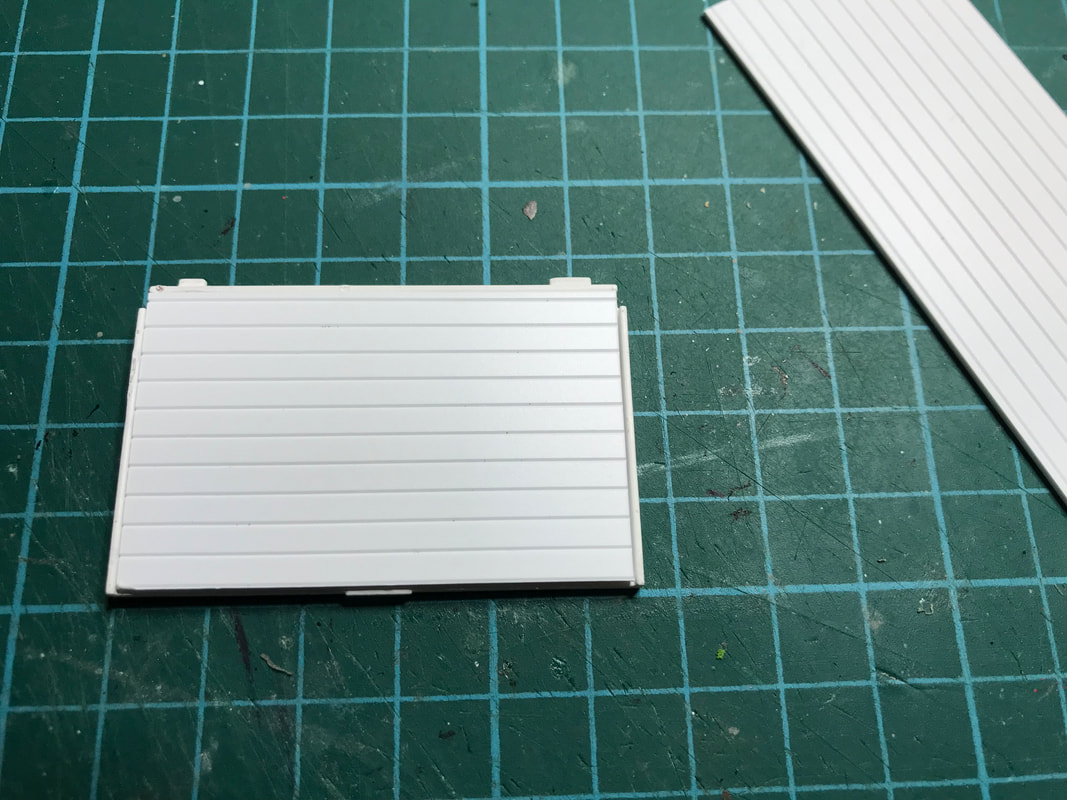
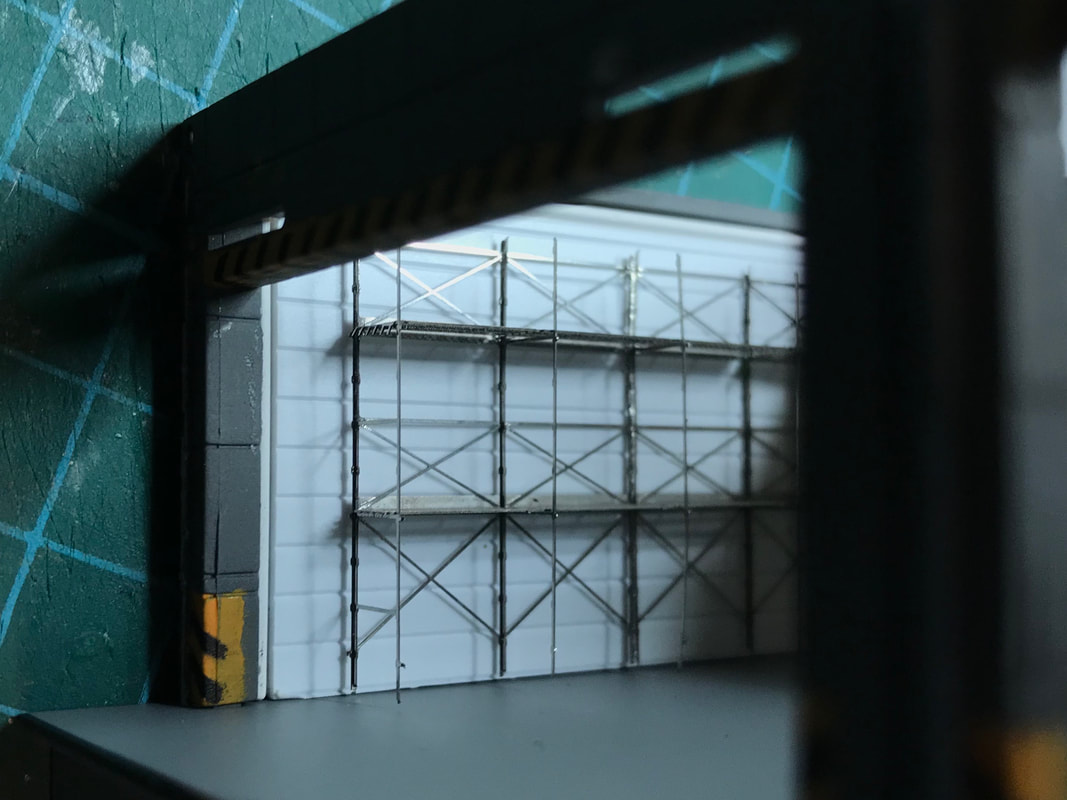
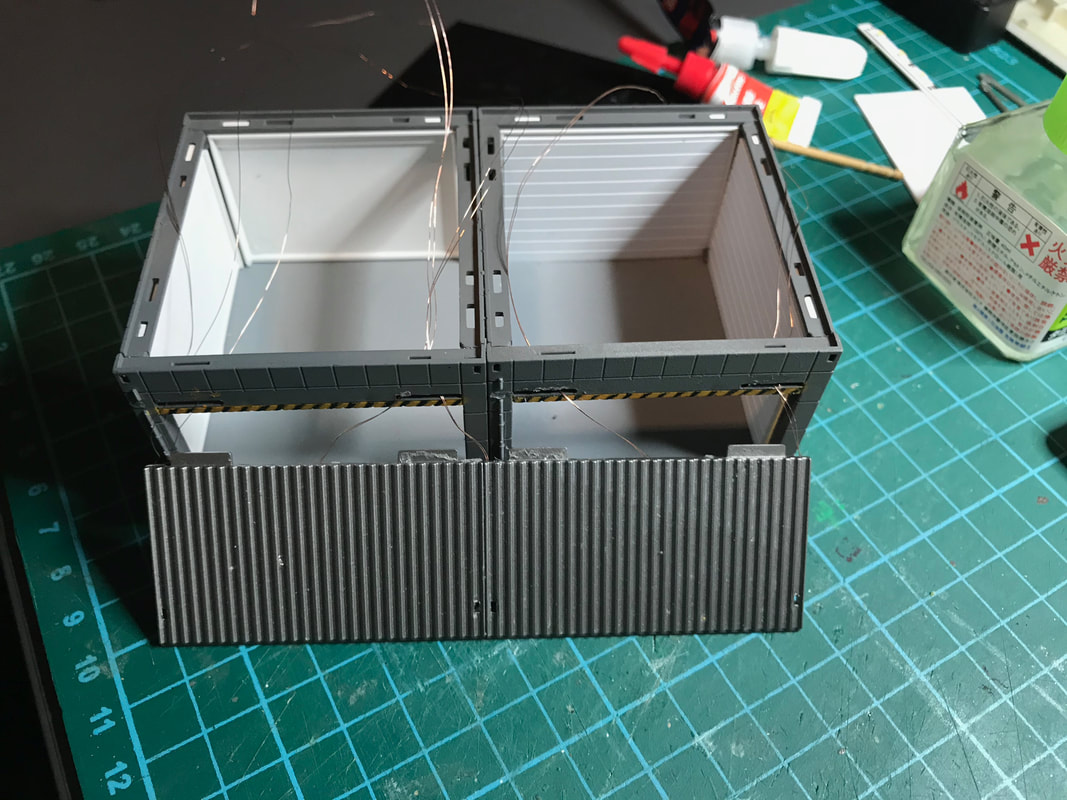
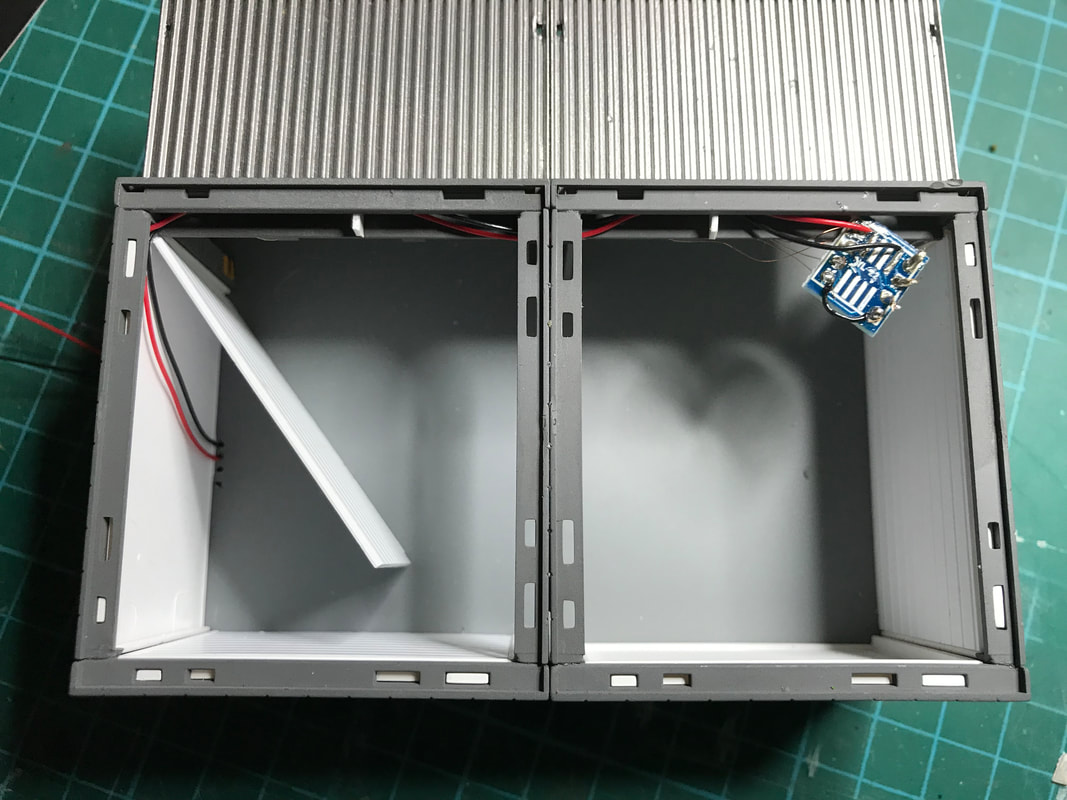
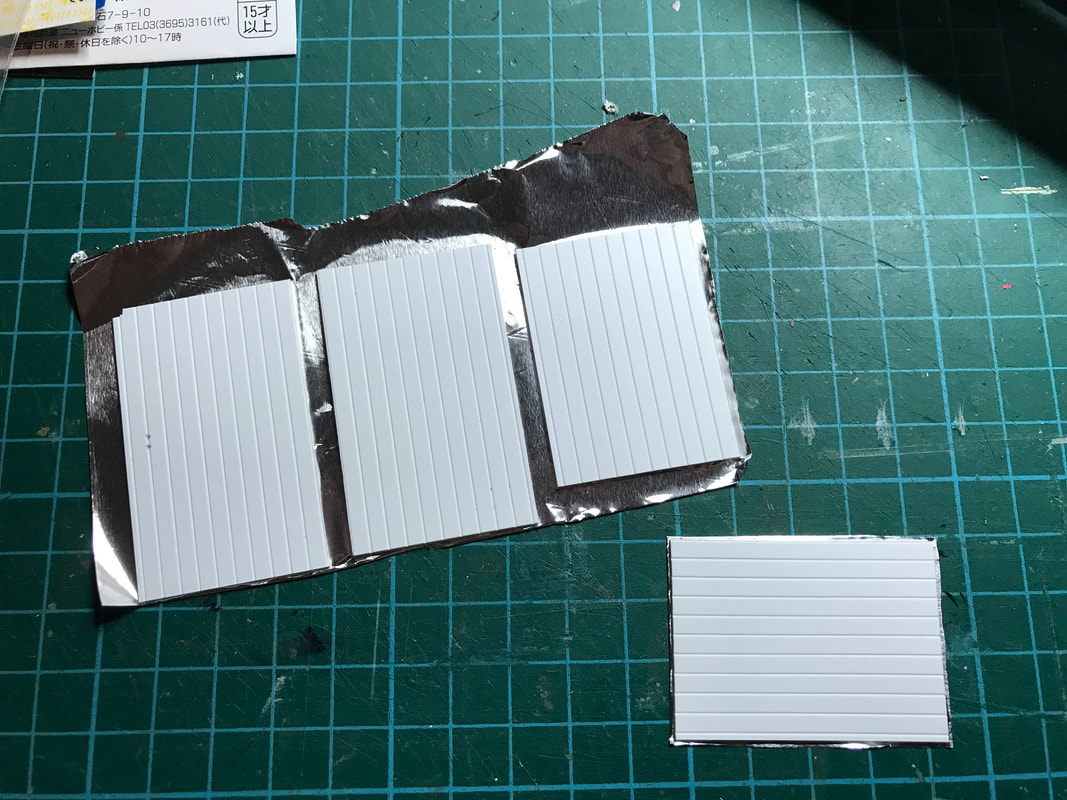
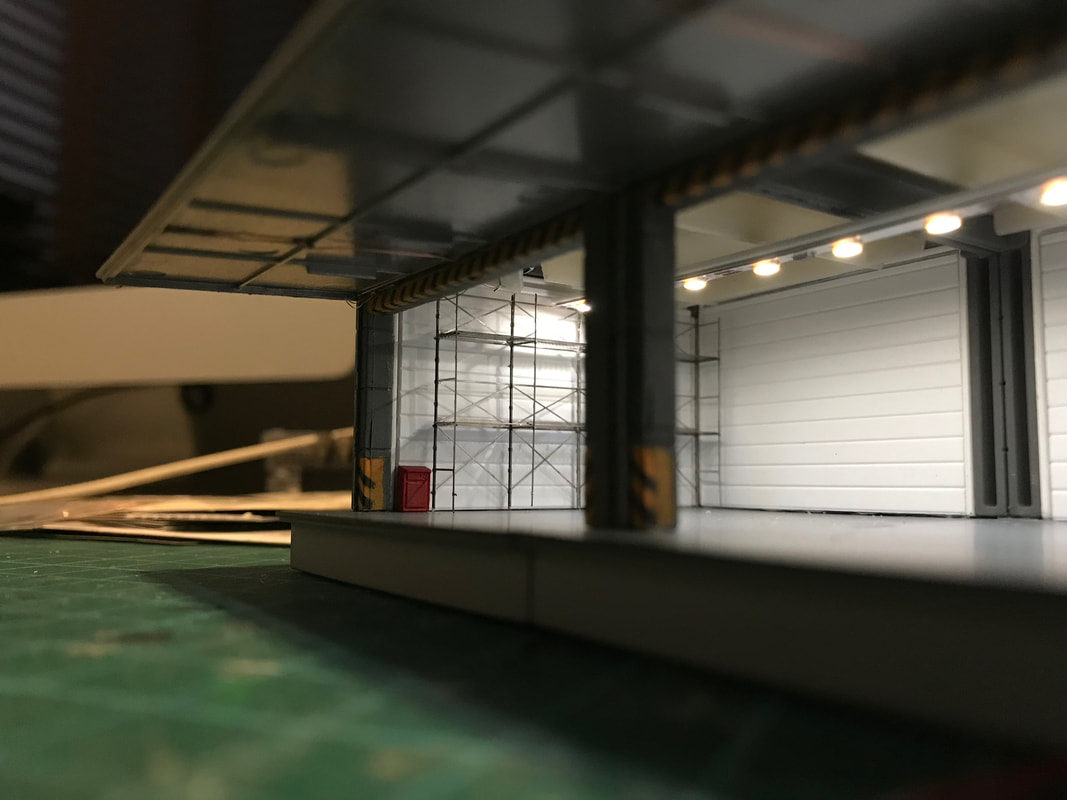
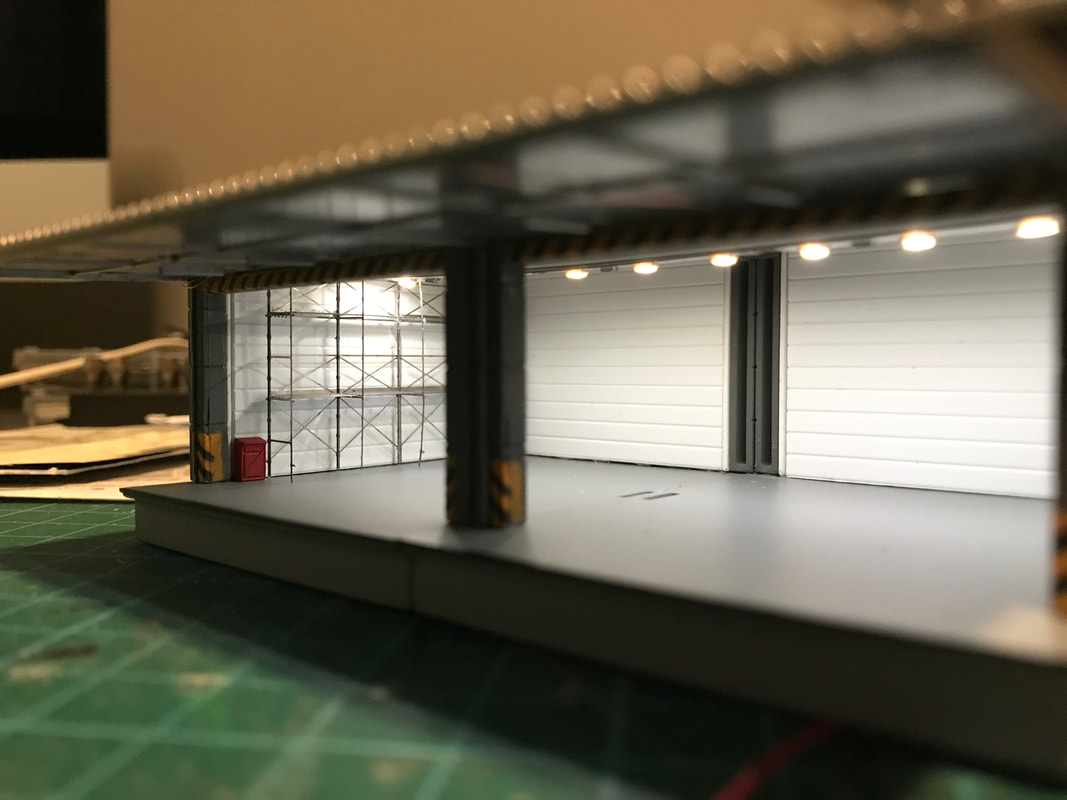
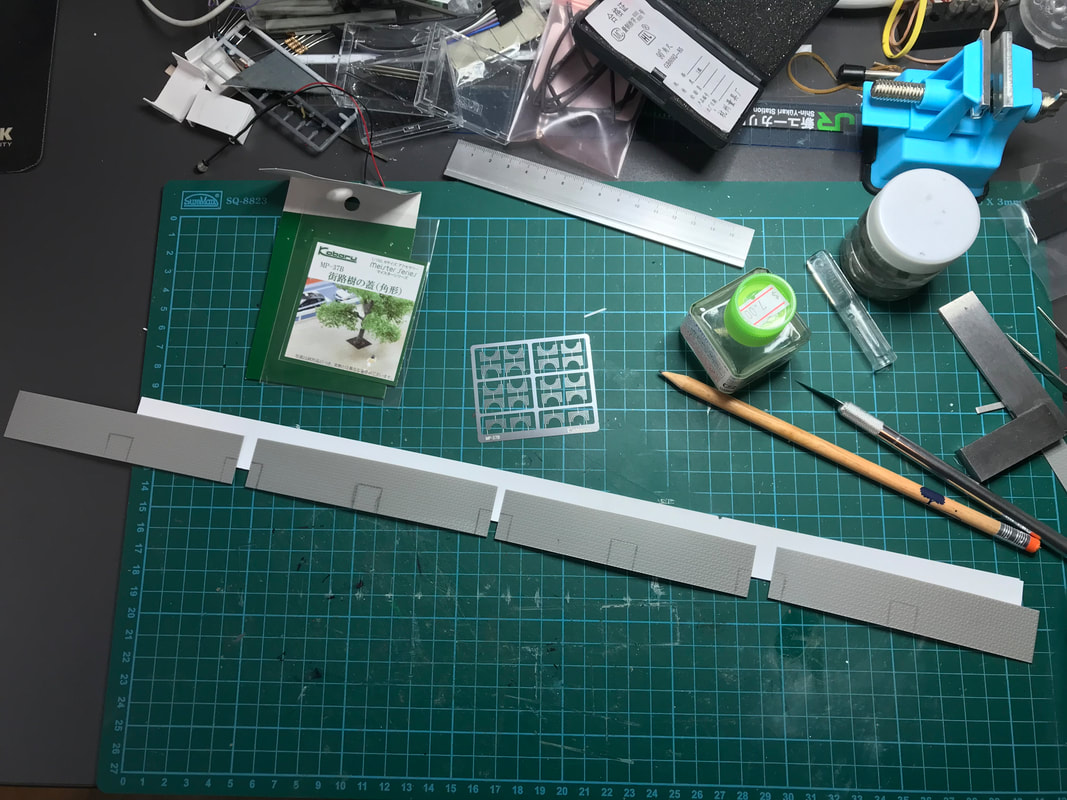
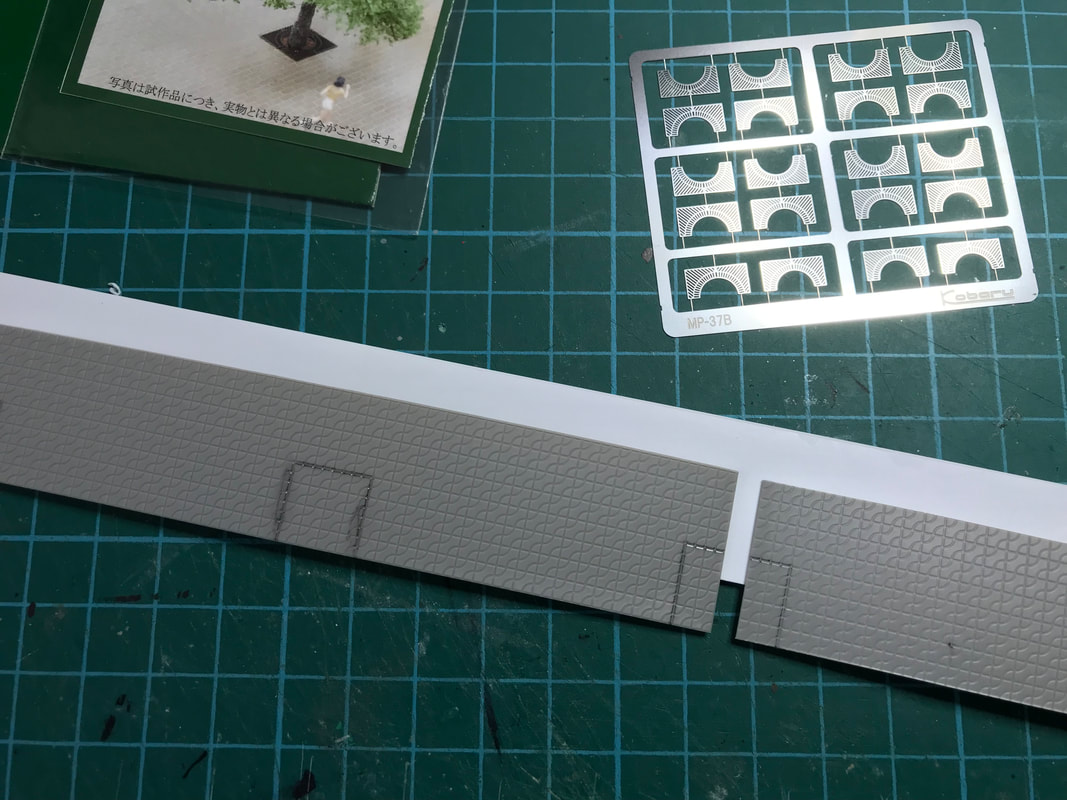
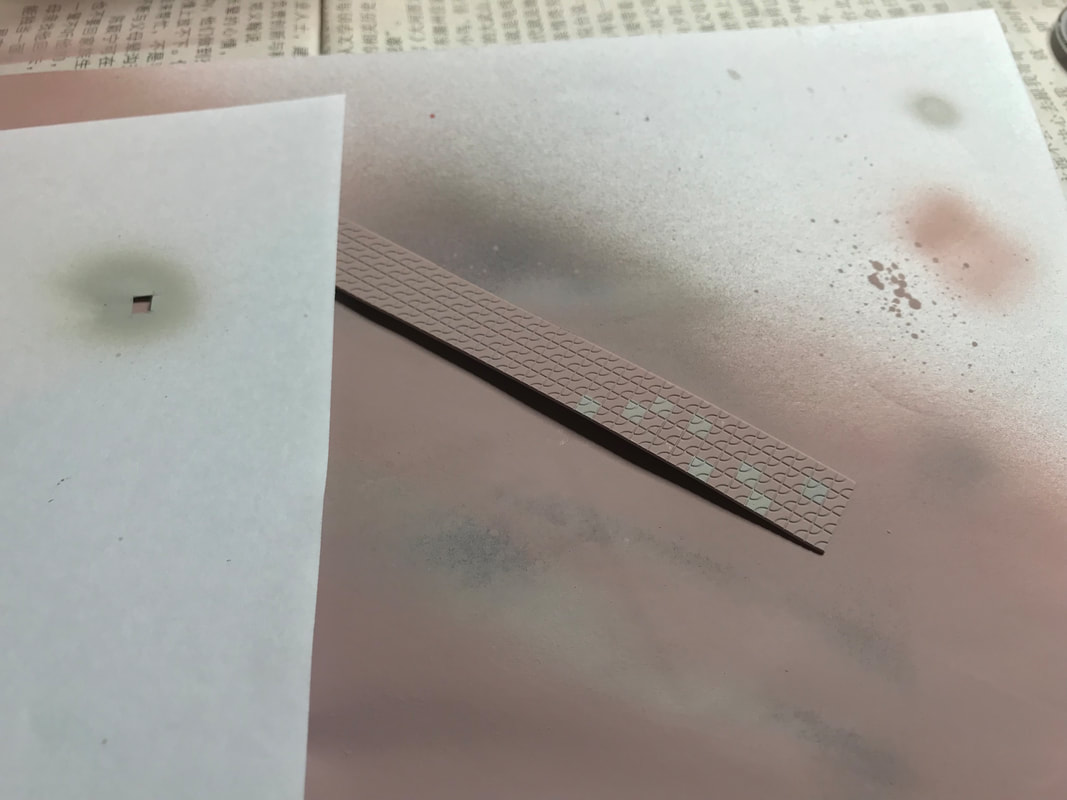
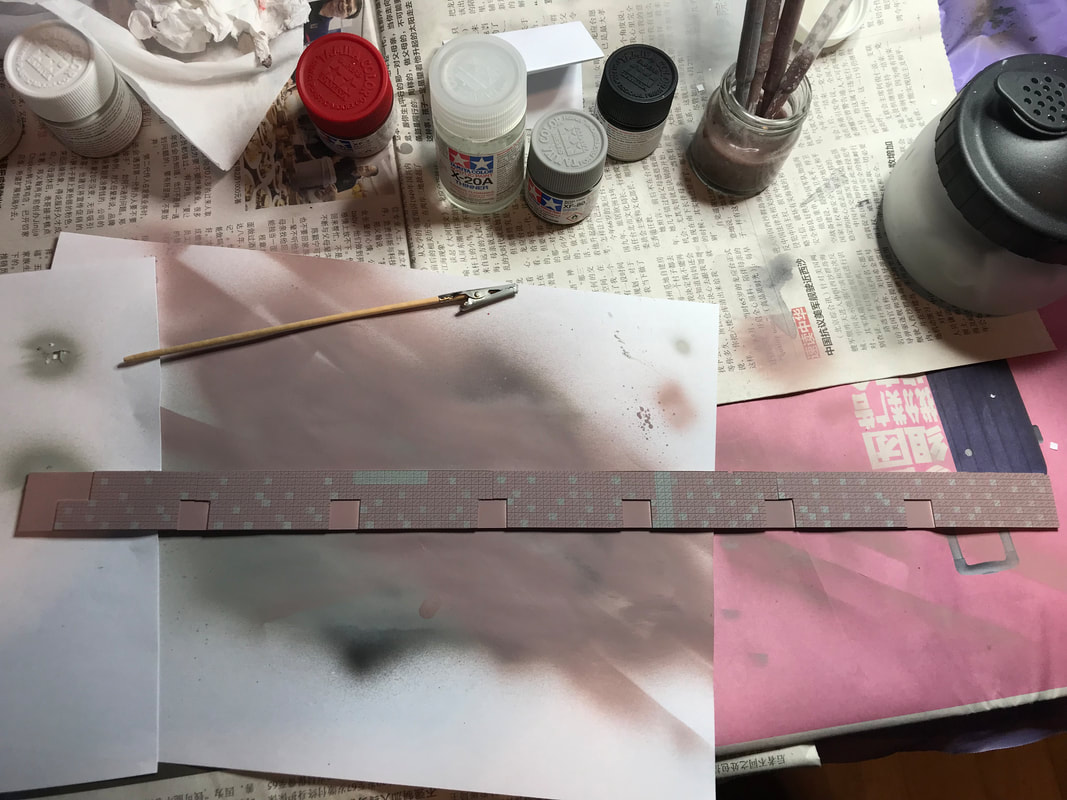
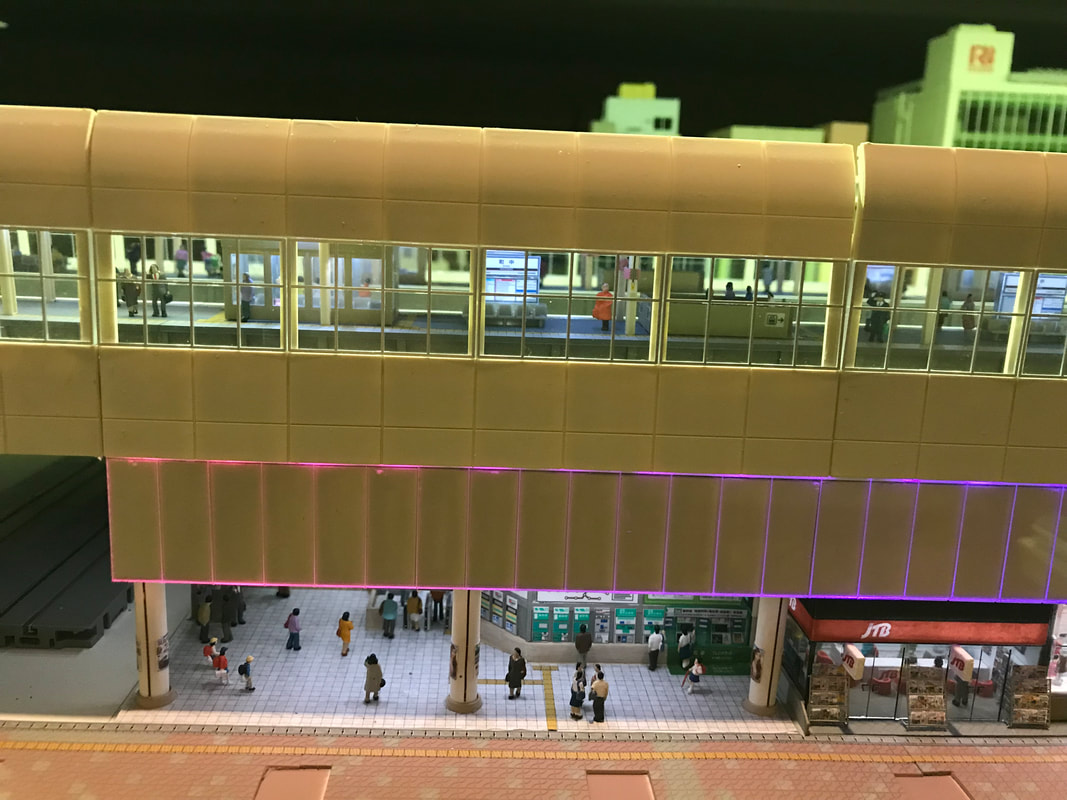
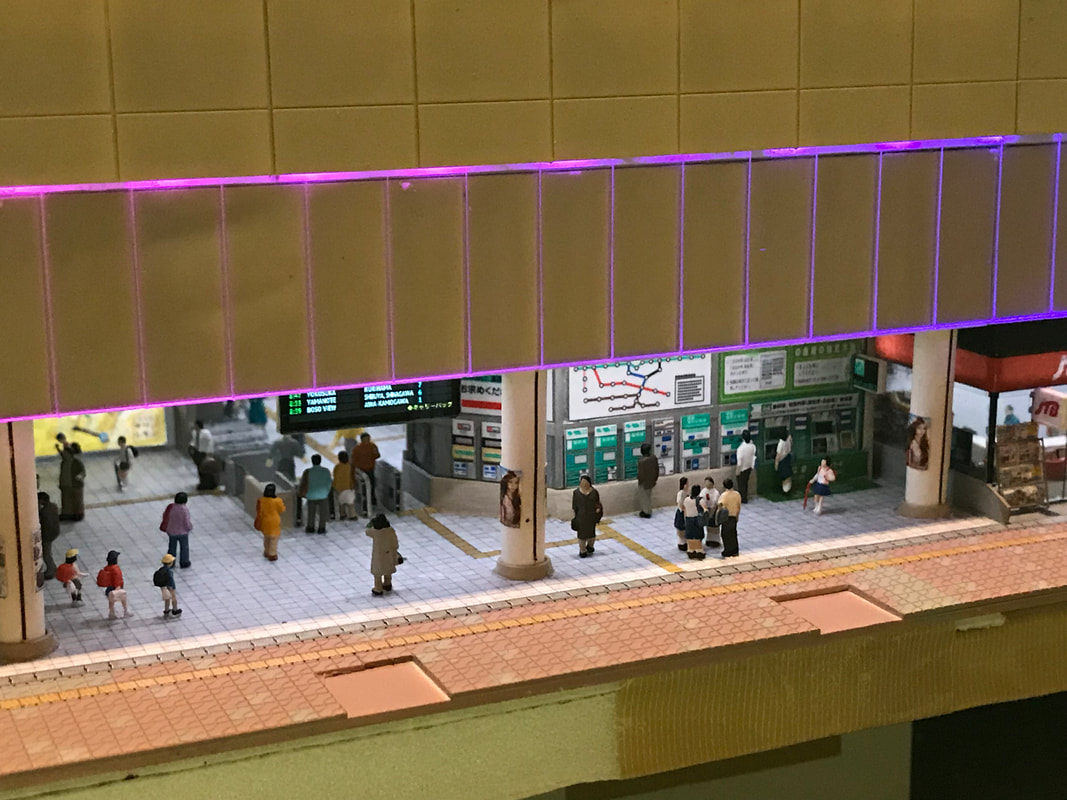
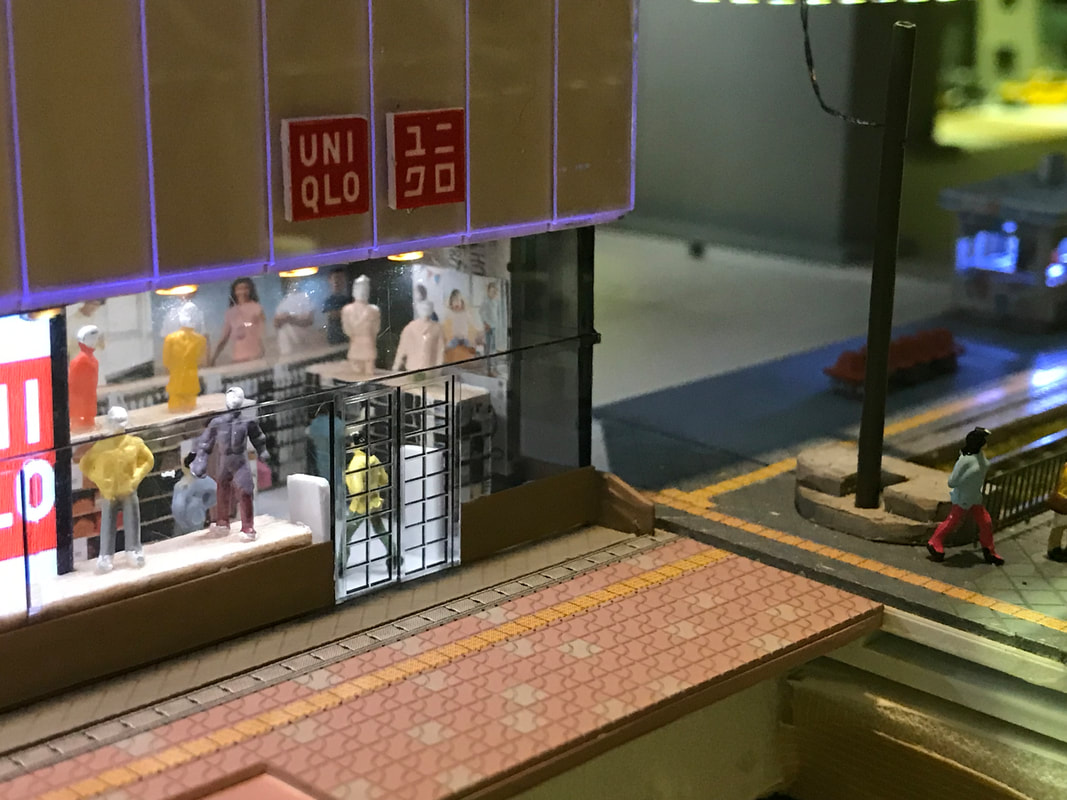
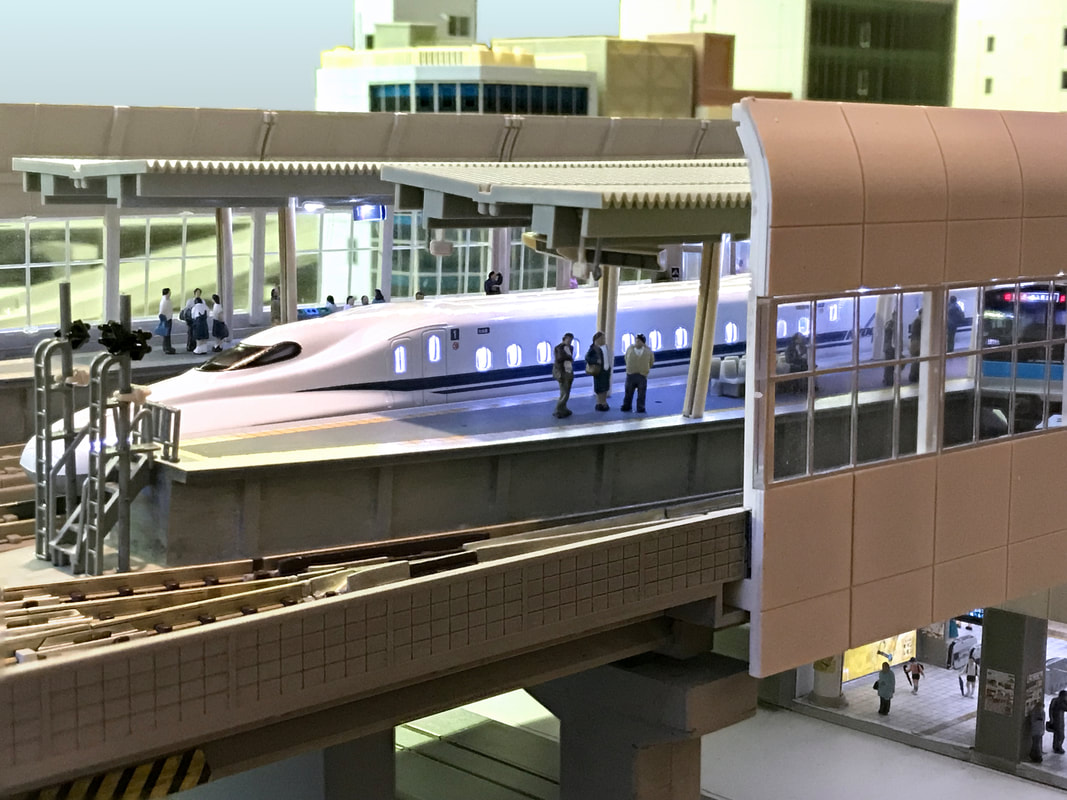
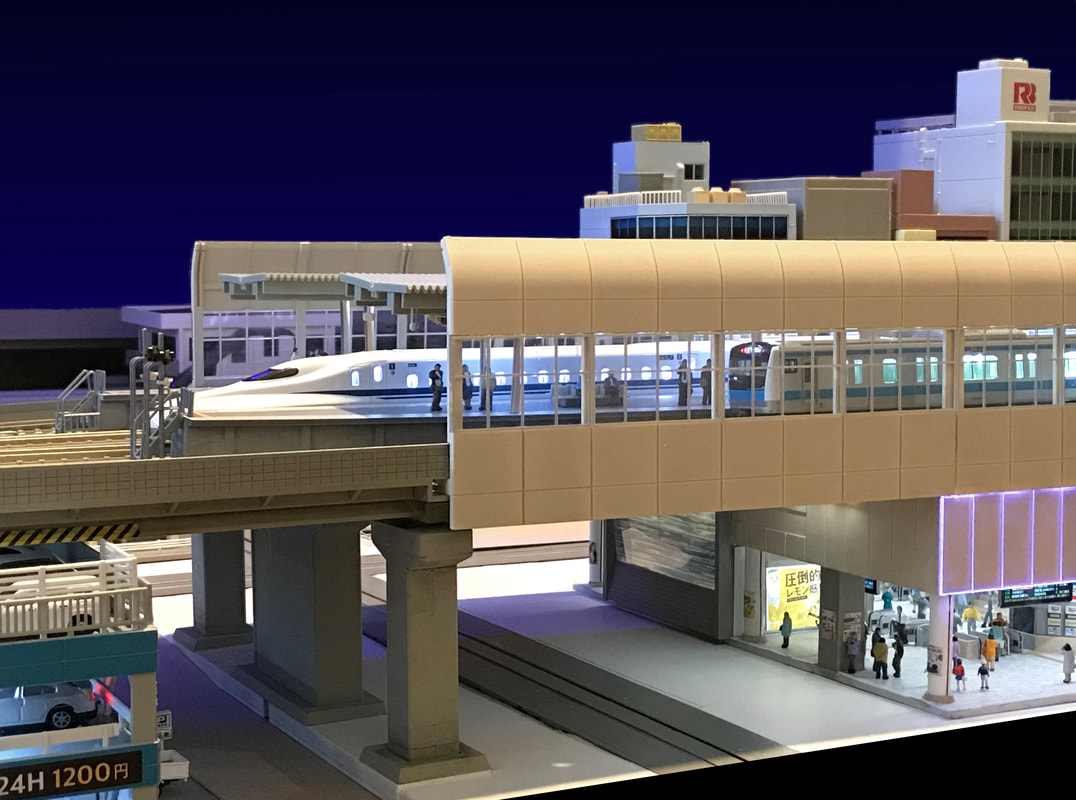
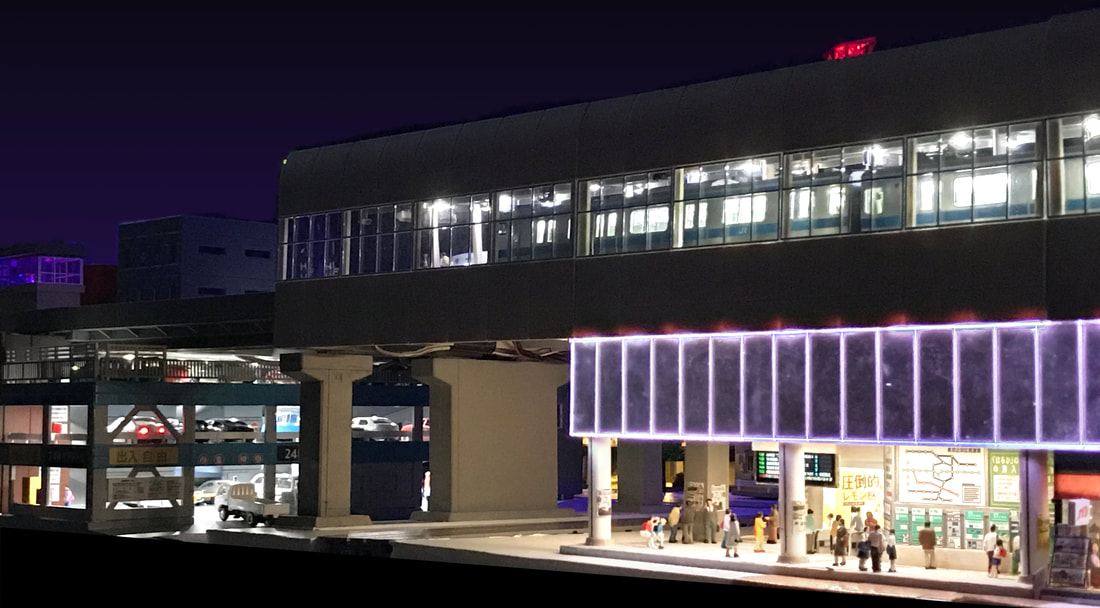
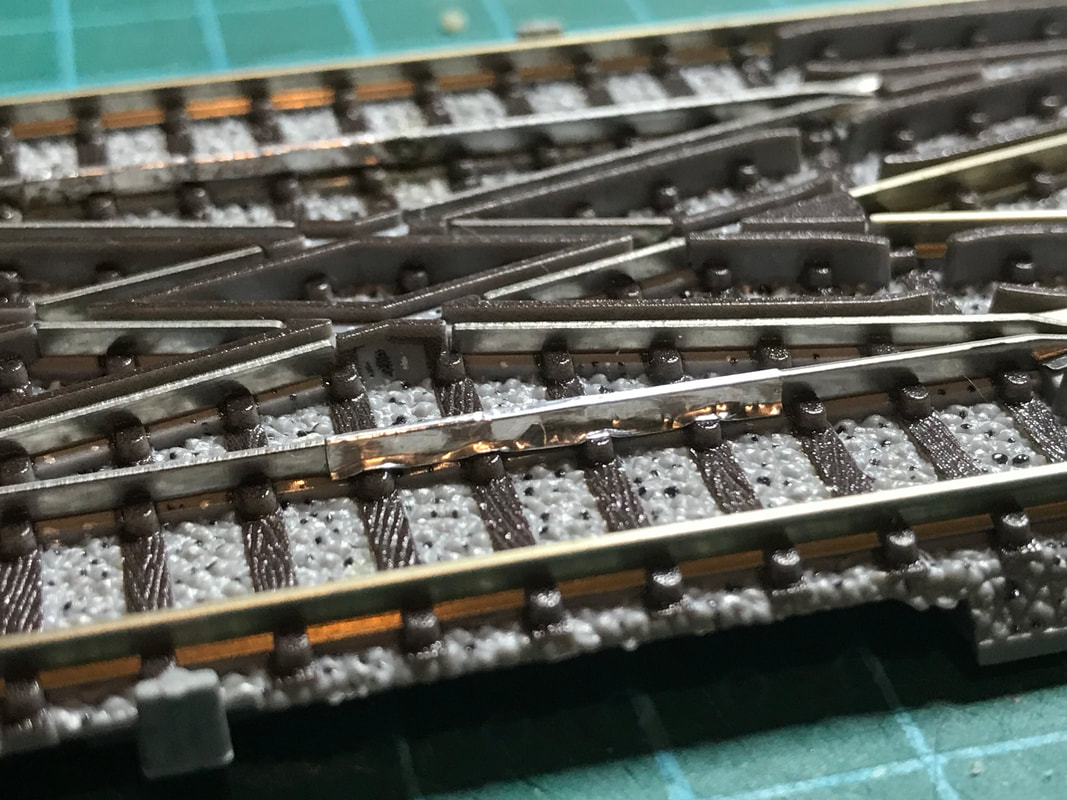
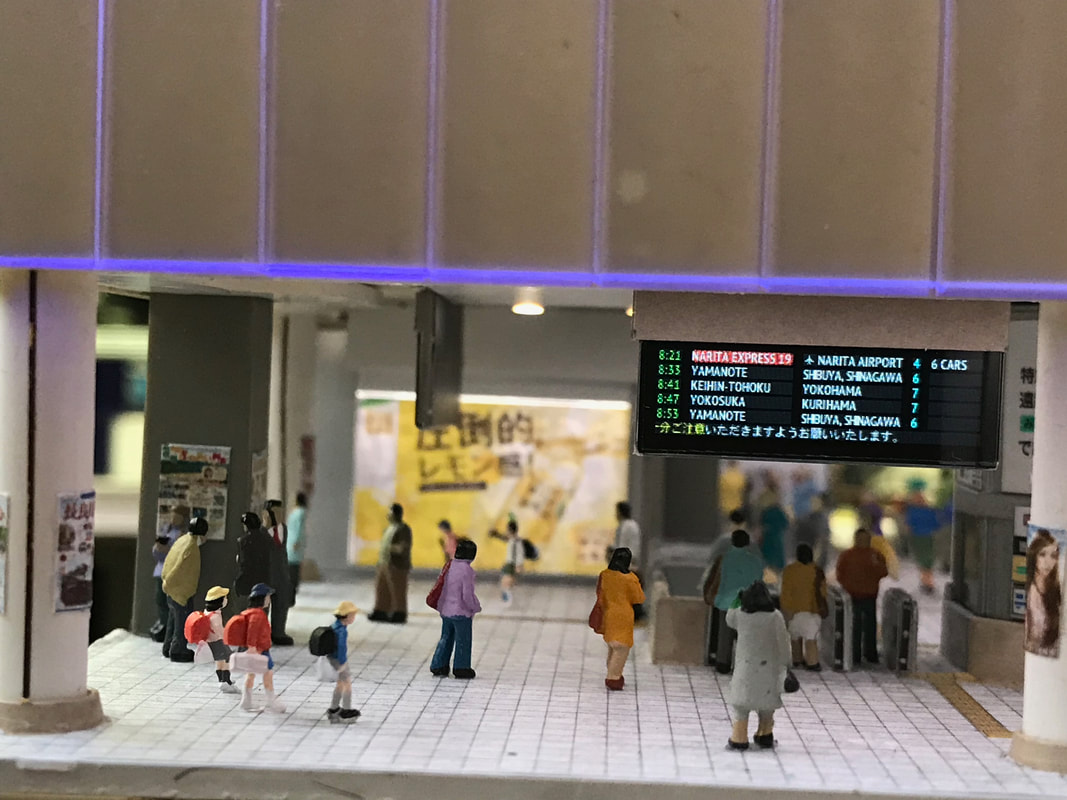
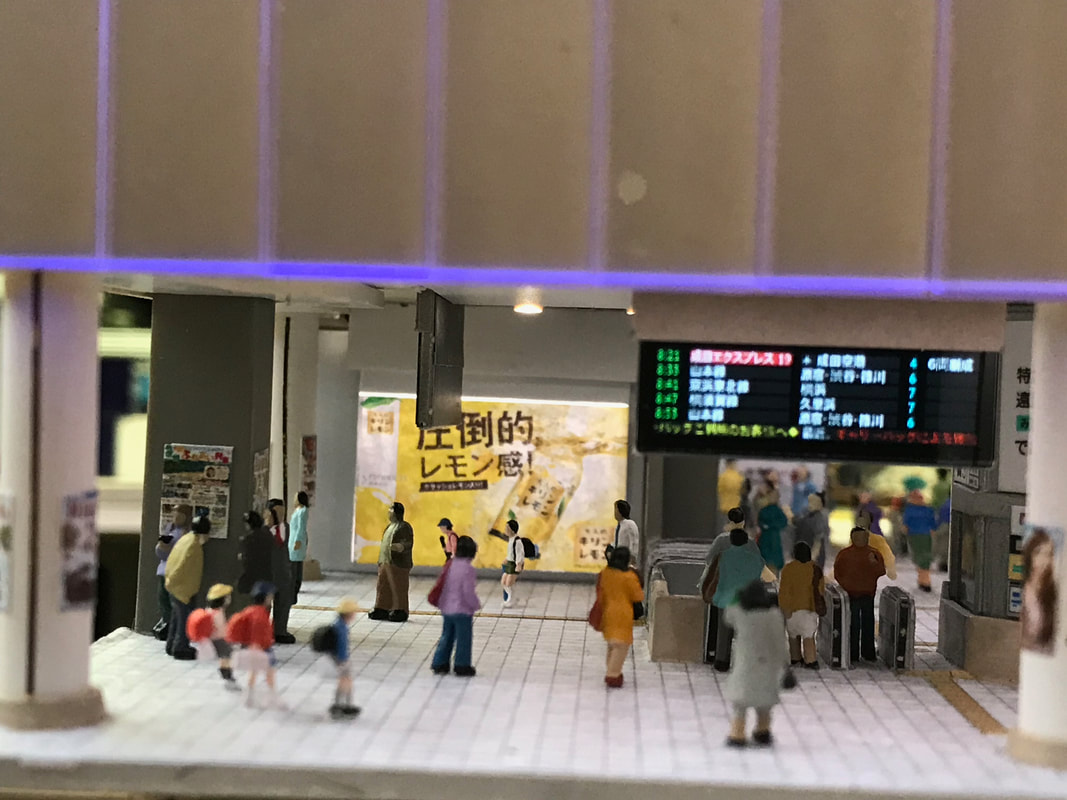
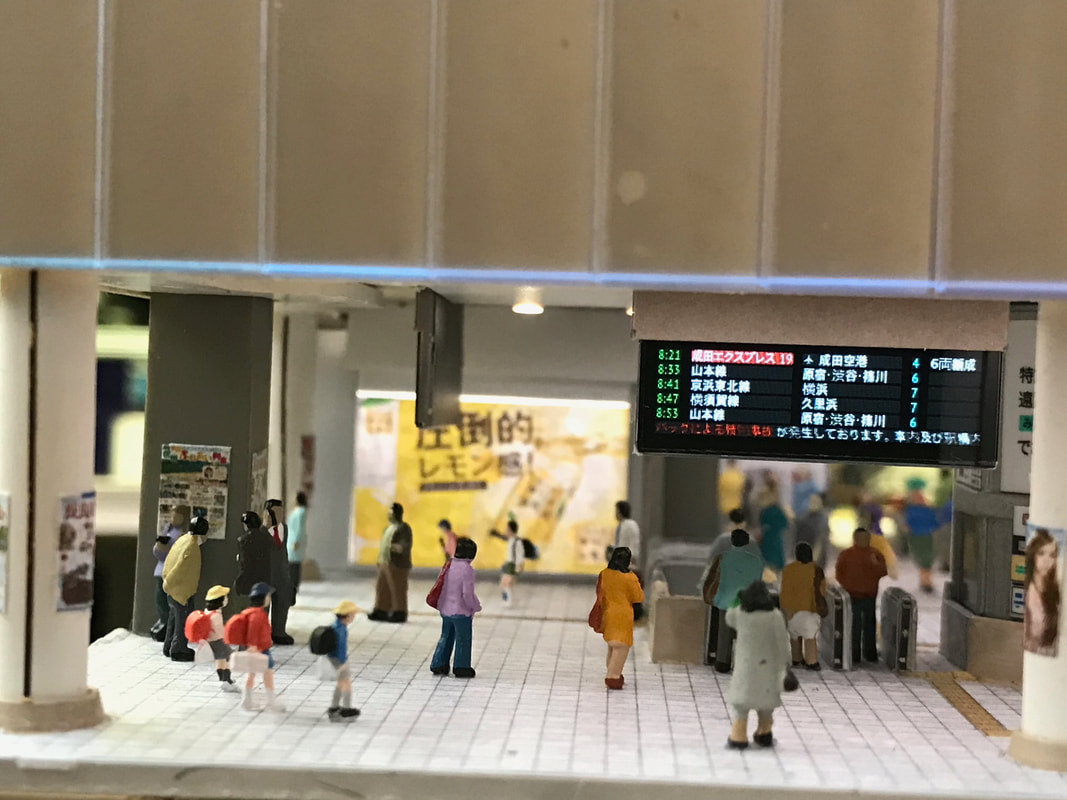
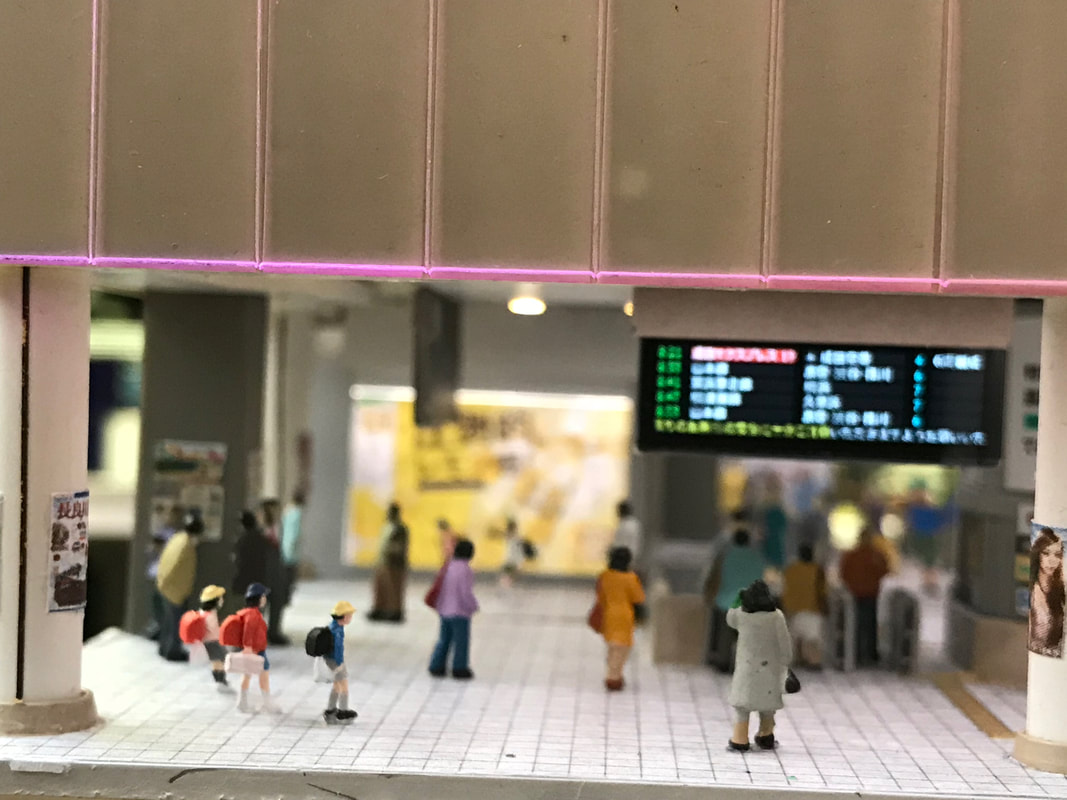
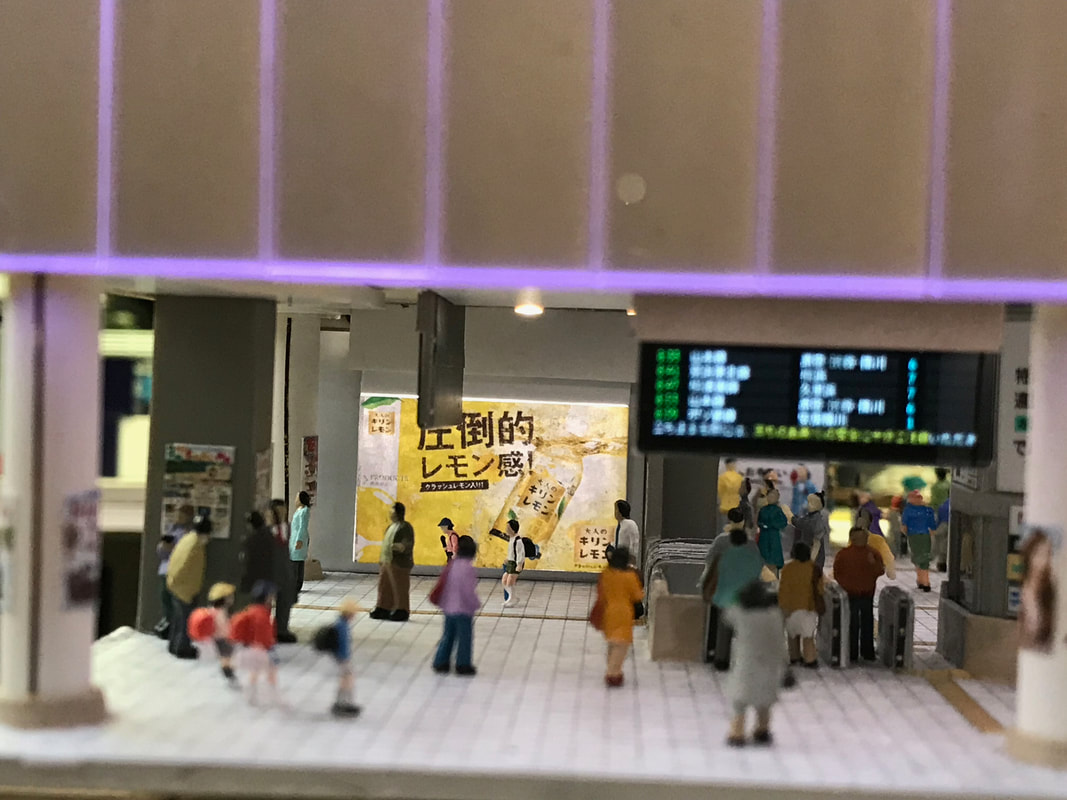
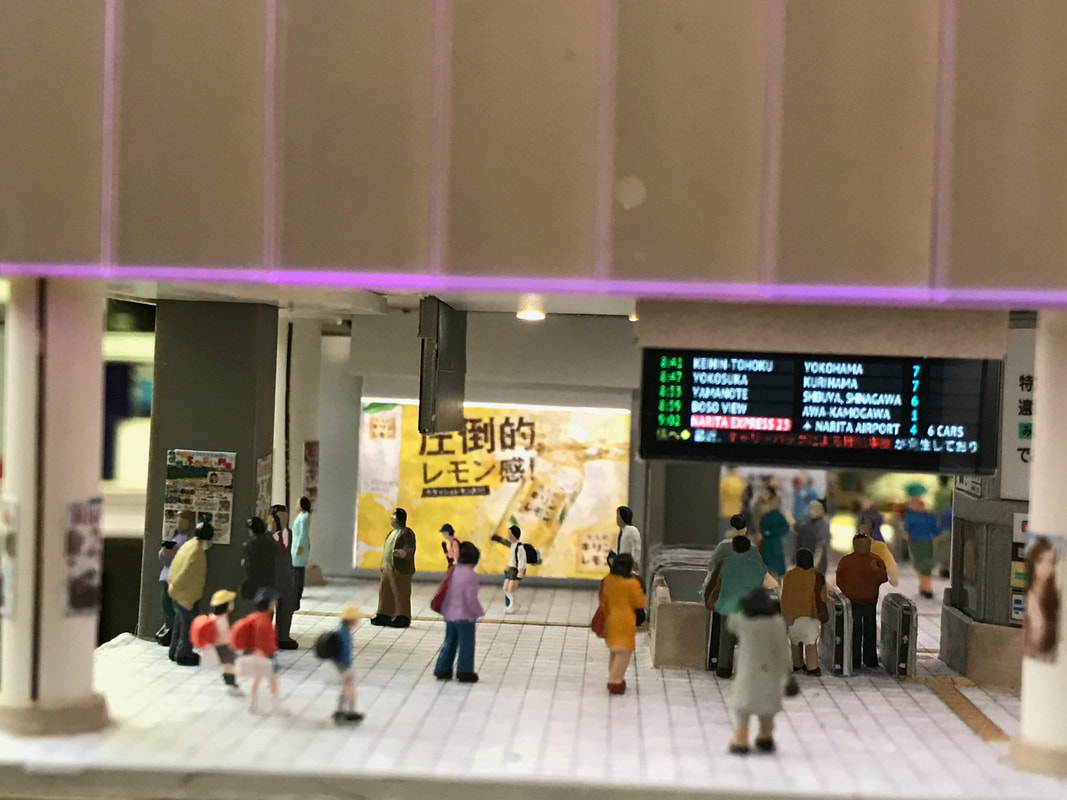
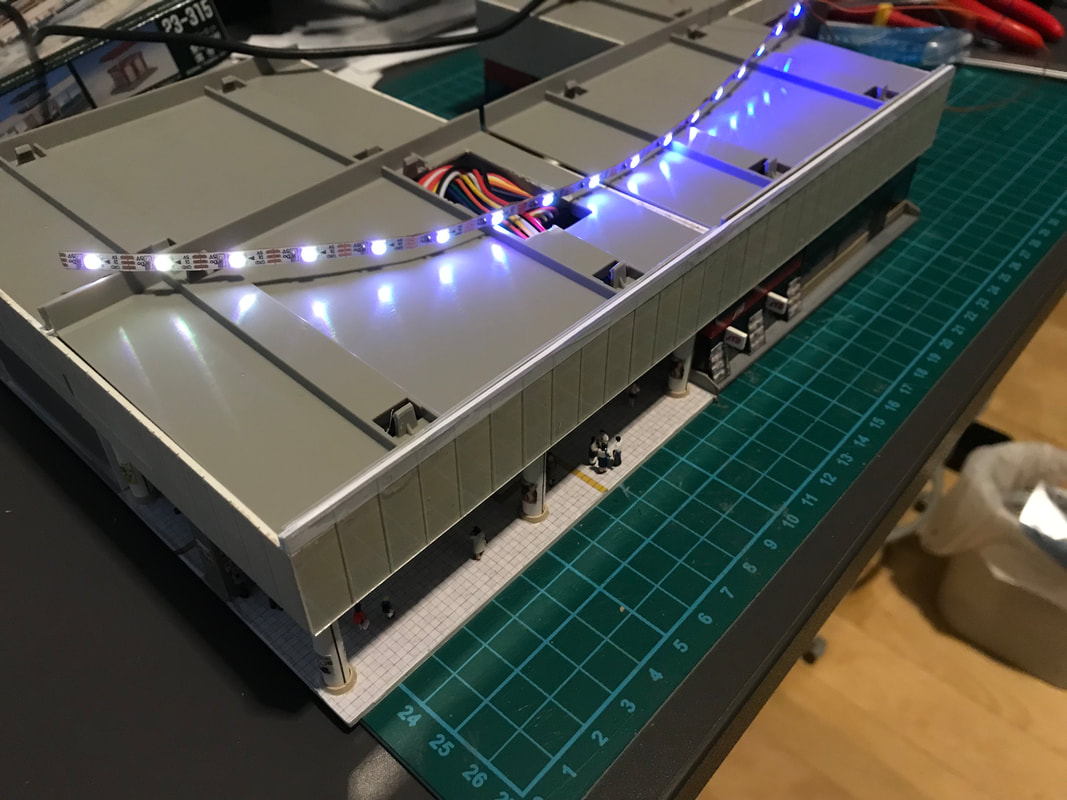
I tried to eliminate this gap by covering it with conductive adhesive aluminium tape (see the photo on the right). This helps. This sometimes worked, but this was not reliable. Yesterday, I took advantage of the Black Friday promotion and purchased Affinity Photo and Affinity Designer (affinity.serif.com/en-gb/). I had to replace my old (2012) Adobe Photoshop Elements application which does not work under macOS Mojave anymore. I will put both applications to good use in the future, but today I just wanted to test the "Focus Merge" feature of Affinity Photo (a function that Photoshop Elements did not have). The result can be found below: 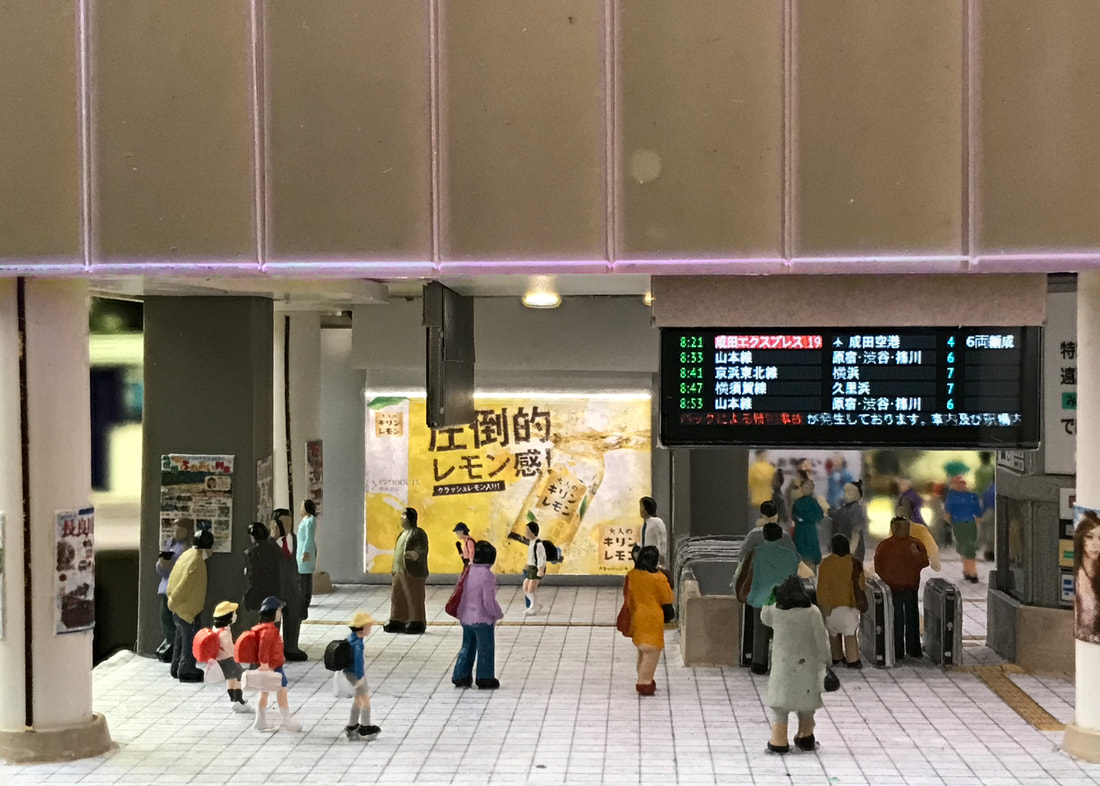 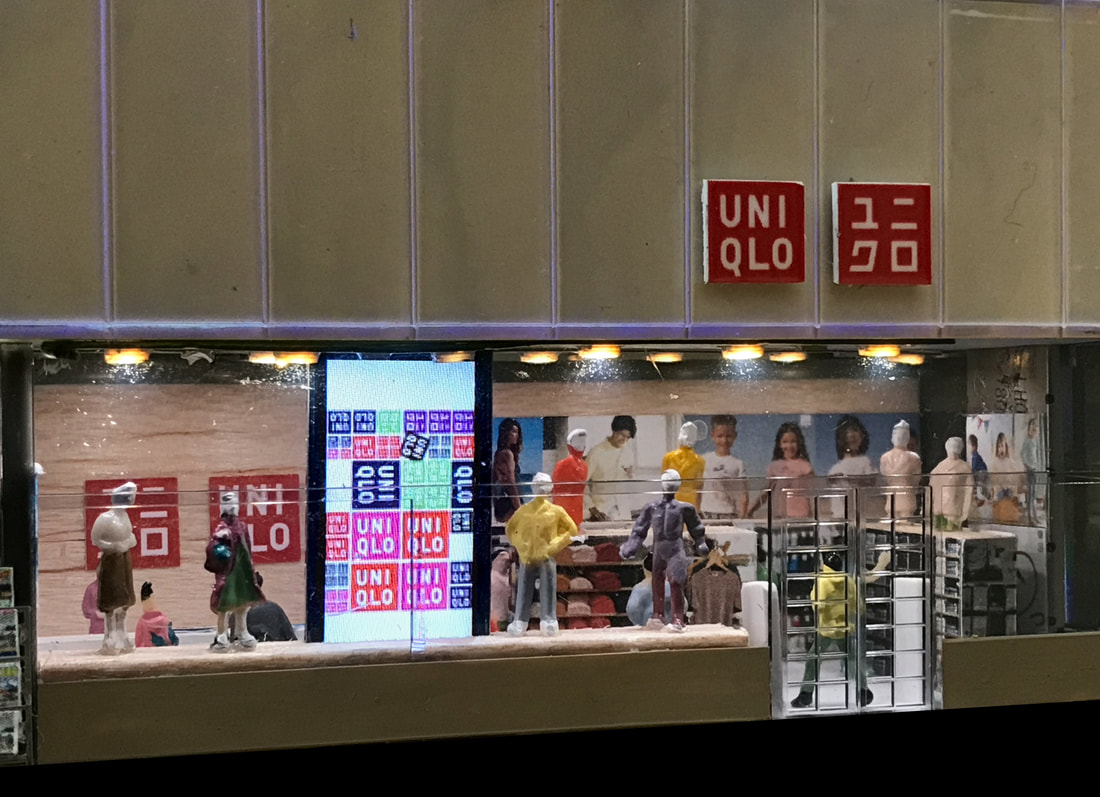 Each shot is actually a composite of 5~8 photos taken while focusing at different parts of the scene. It works very well and the result is nice! A video and more photos of the work in progress... Simply made using Uniqlo logos found on their packaging, pasted on a styrene sheet. Today, I finally added the final touch to the Shin-Yukari station: the light panels above the north and south entrances. They are made of clear polyester (.040 Clear Polyester, SKU 703-03 from Midwest Products, midwestproducts.com/products/040-clear-polyester), cut to size and scored vertically every one centimetre to match the design of the Tomix station building.
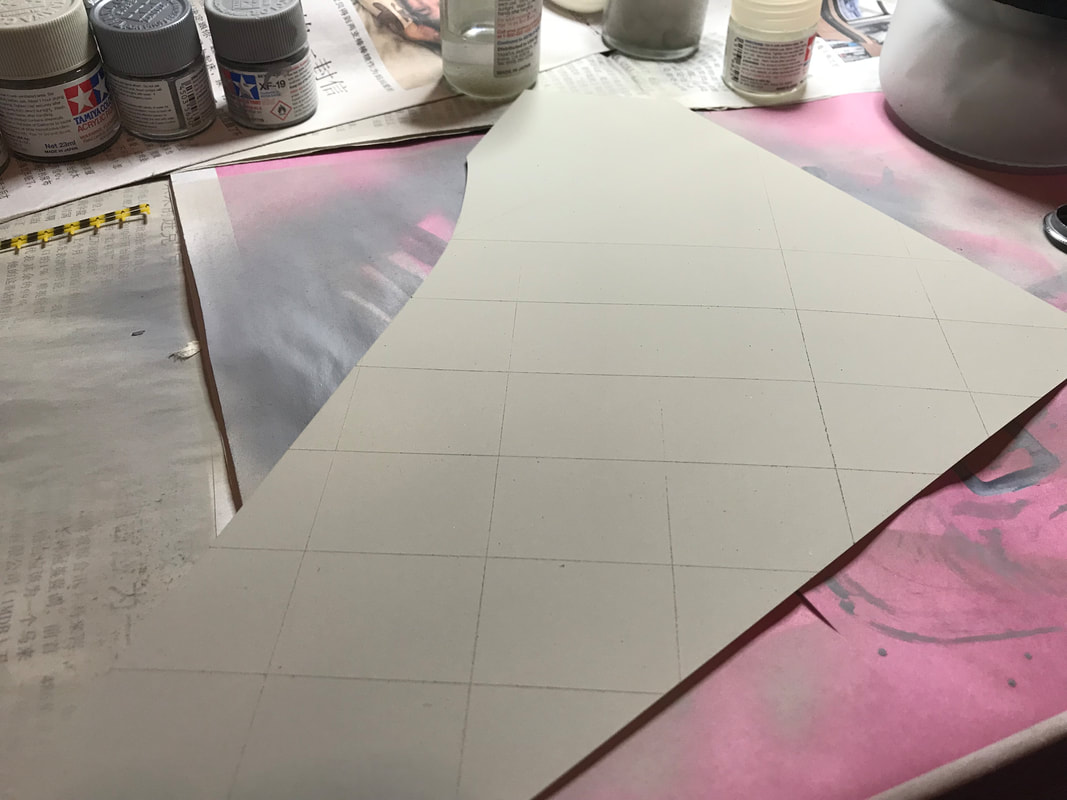
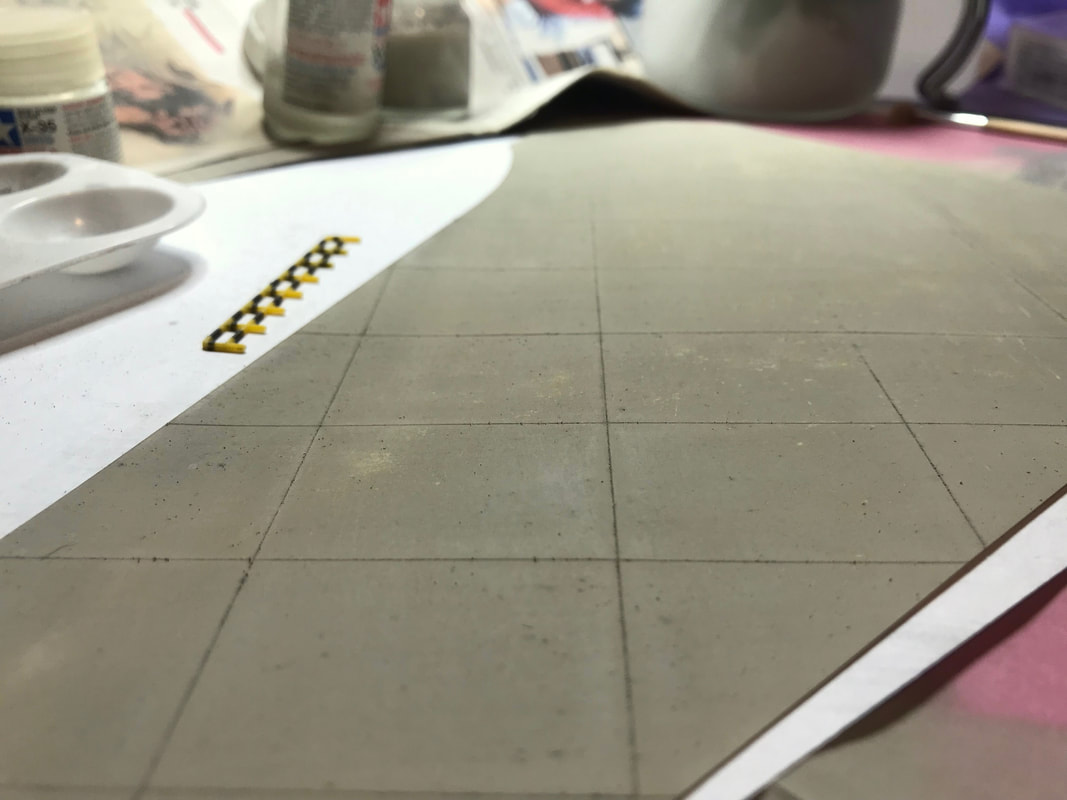
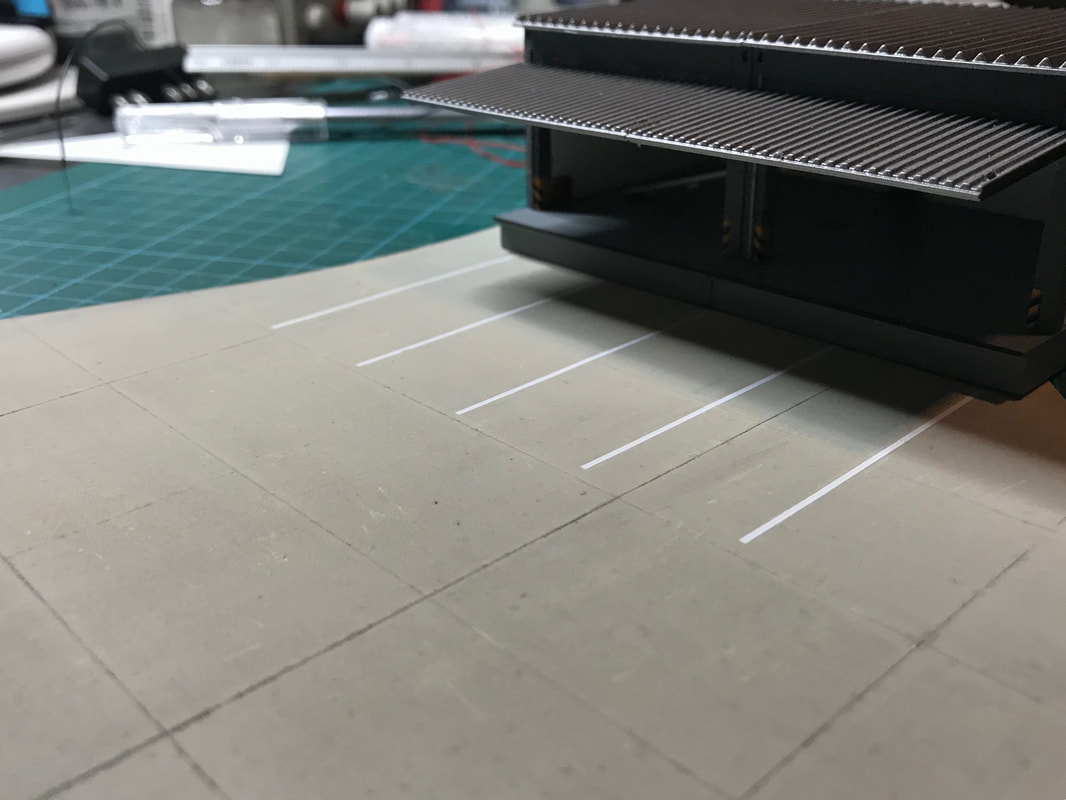
I used 0.5 mm galvanised wire embedded into a 5 mm foam board to make my own track that the magnet at the front of the Tomytec bus will follow. This is quite easy, the most difficult part is to get the distance between the magnet and the wire right. This is what I will do:
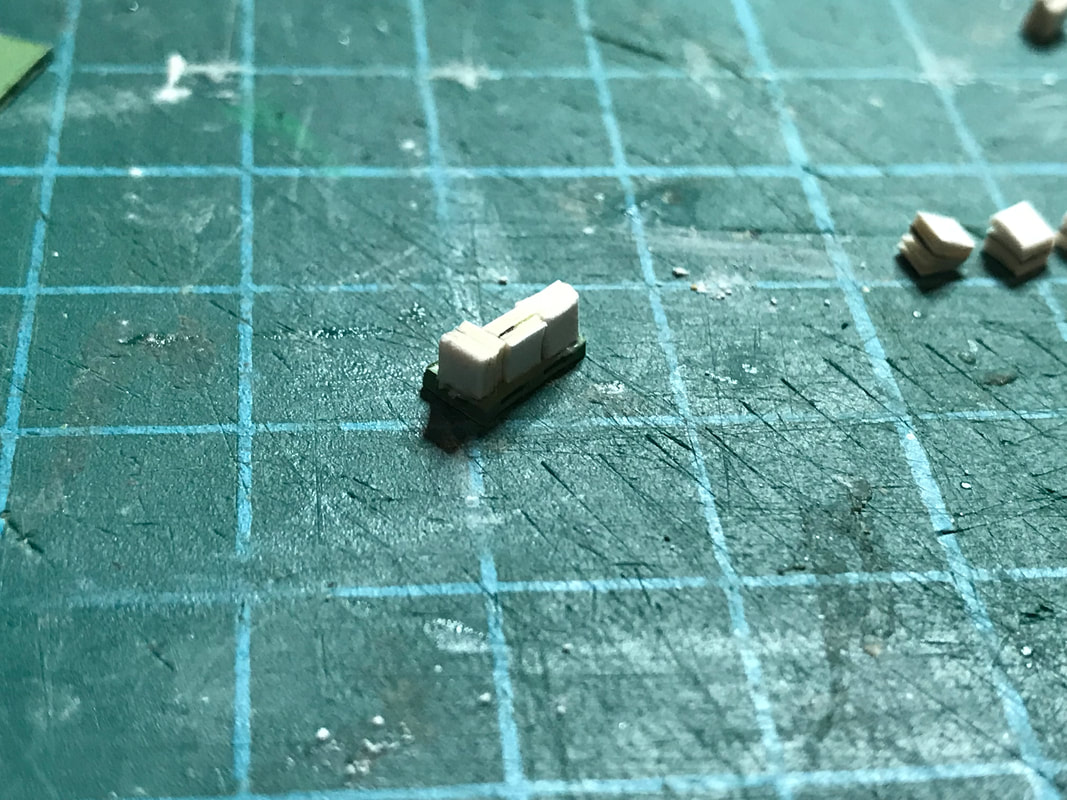
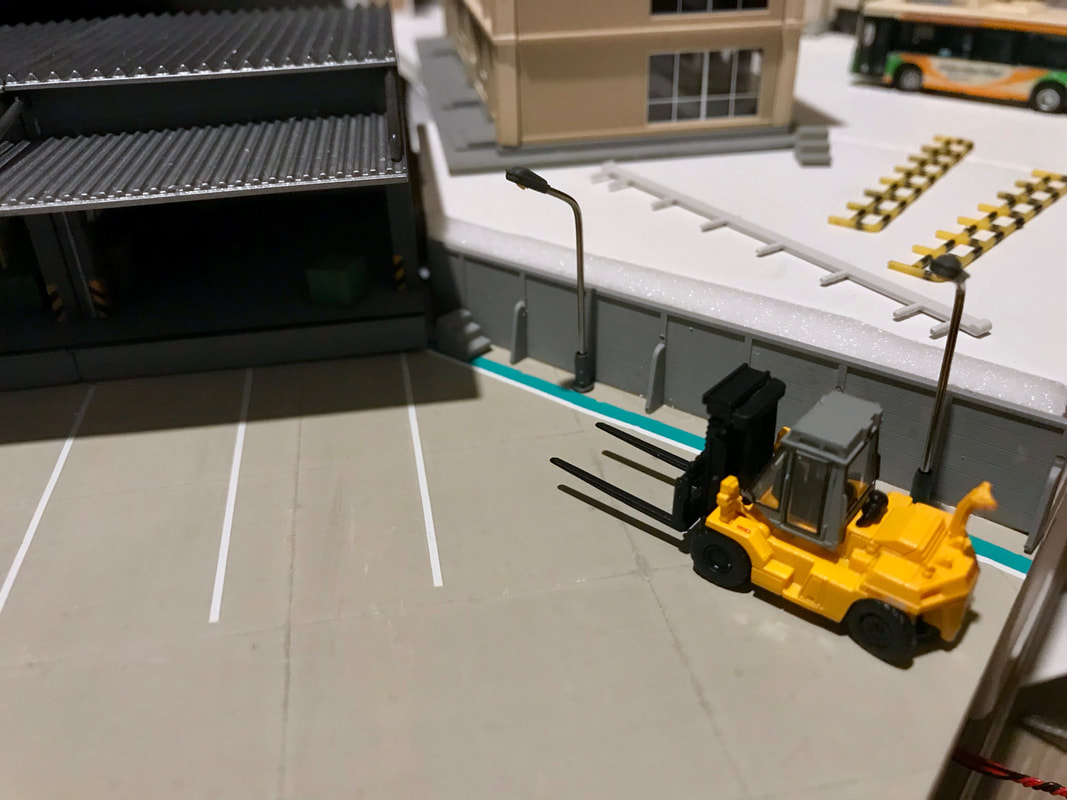
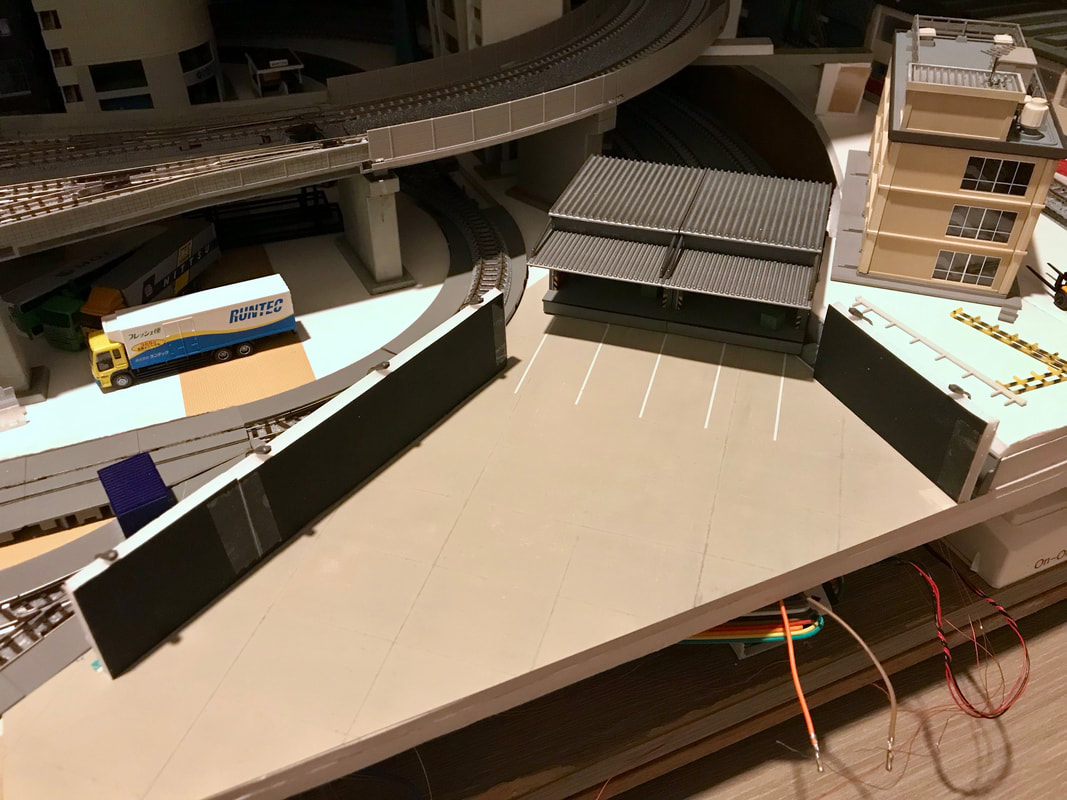
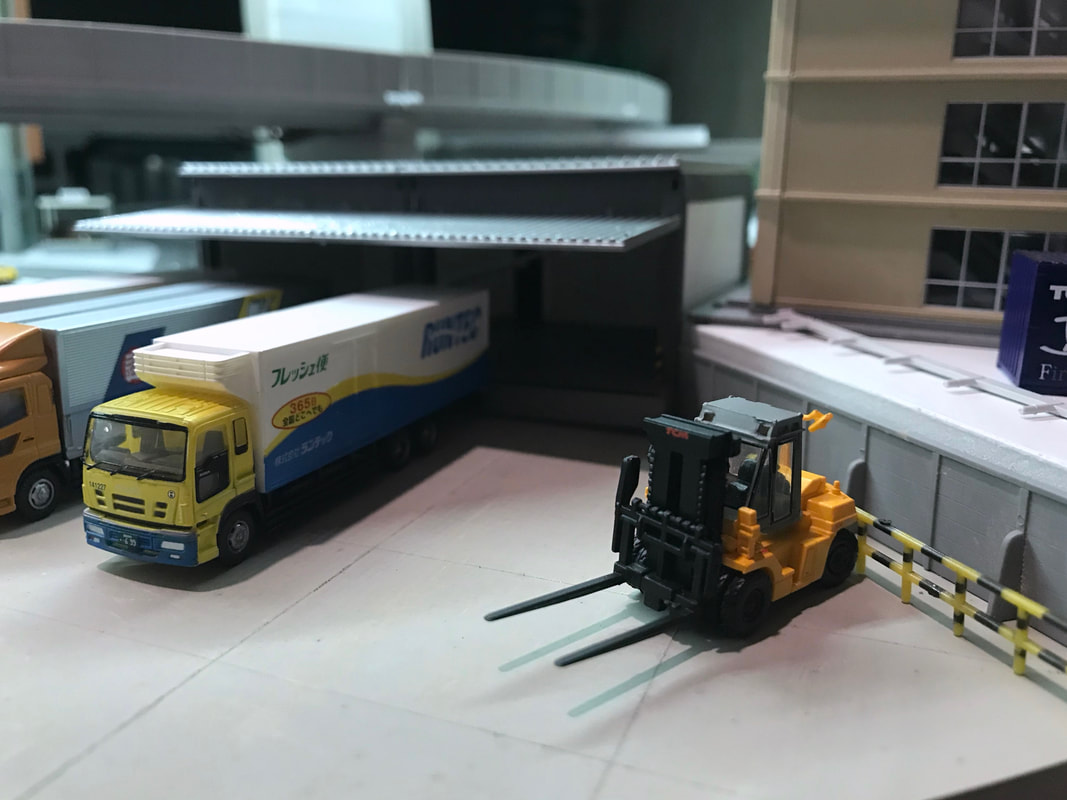
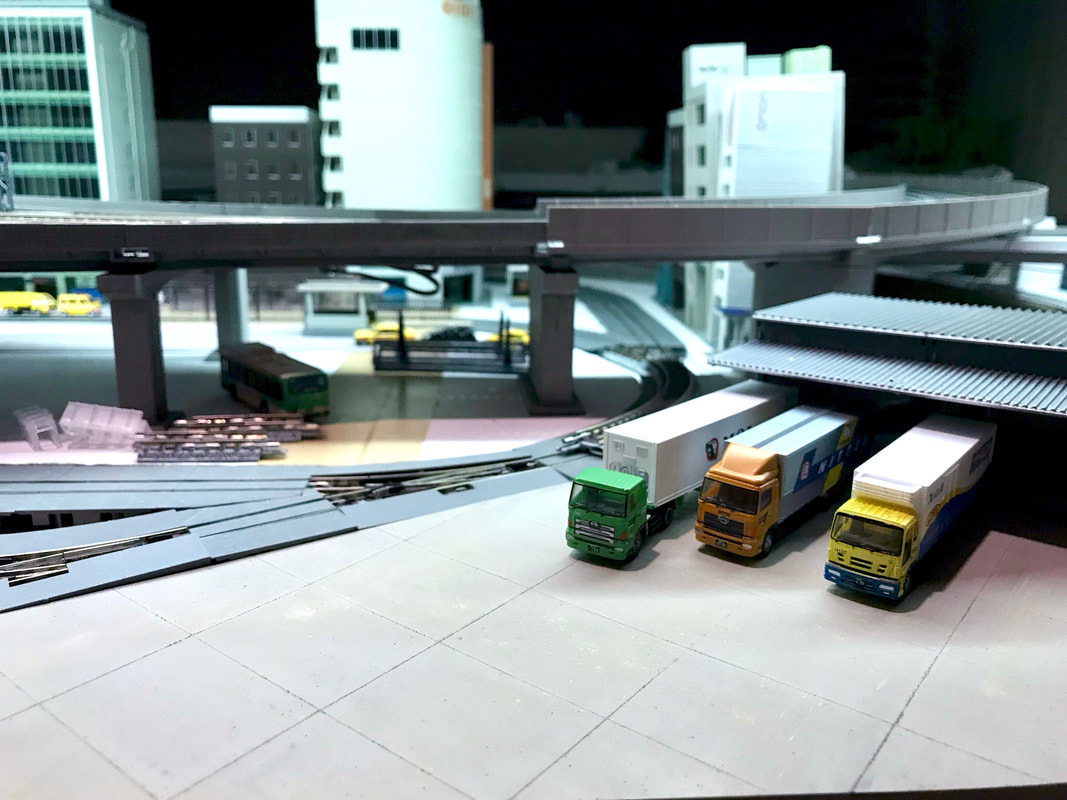
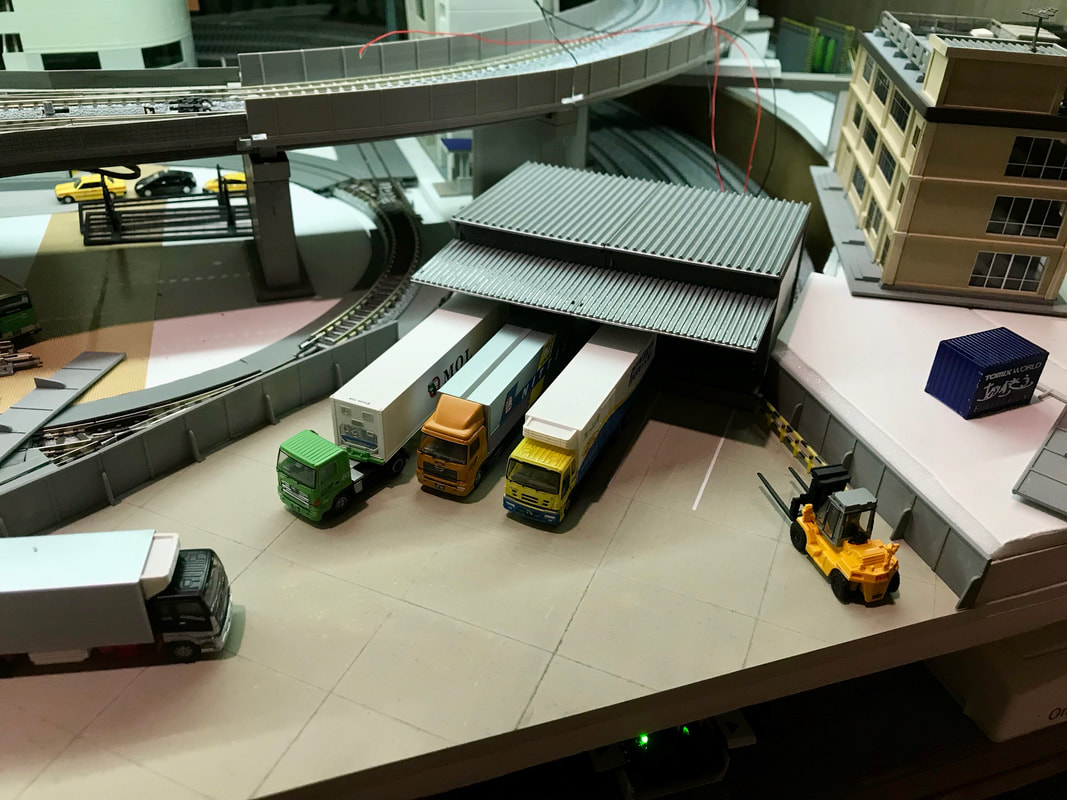
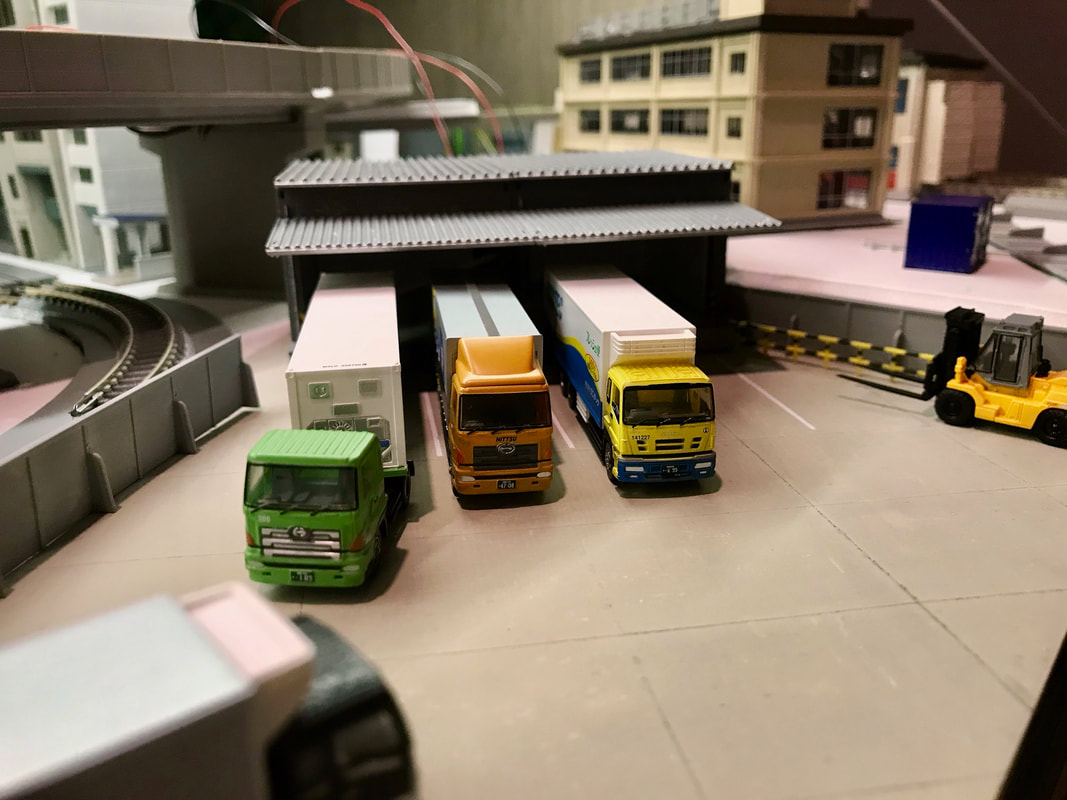
The idea is to build a bus station with two stops under the Shin-Yukari elevated station. The path of the bus is shown in green in the layout below. 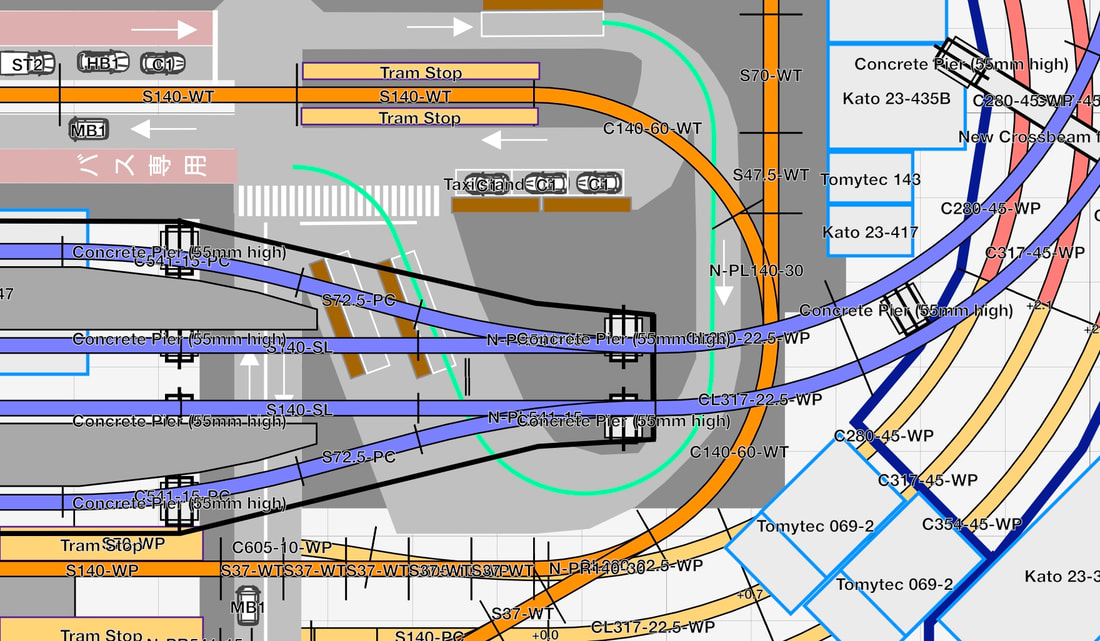 I still have to study how to make my own bus stops, for the station and for the three places where the bus crosses the tram track.
I just upgraded to DCC my brand new Kato 10-1174 Shinkansen Series N700A “Nozomi” (Basic 4-Car Set). It is compatible with the Kato 29-351 EM13 (for motor control), Kato 29-352 FL12 (two units required, for the headlights) and Kato 29-353 FR11 (four units required, for the interior lighting). Very easy to upgrade.
Today I built a simple test/cleaning/DCC programming jig that I will use to program and clean my locomotives and trains. It has three tracks:
I just received two Kato buildings that have just been re-released and should be available again:
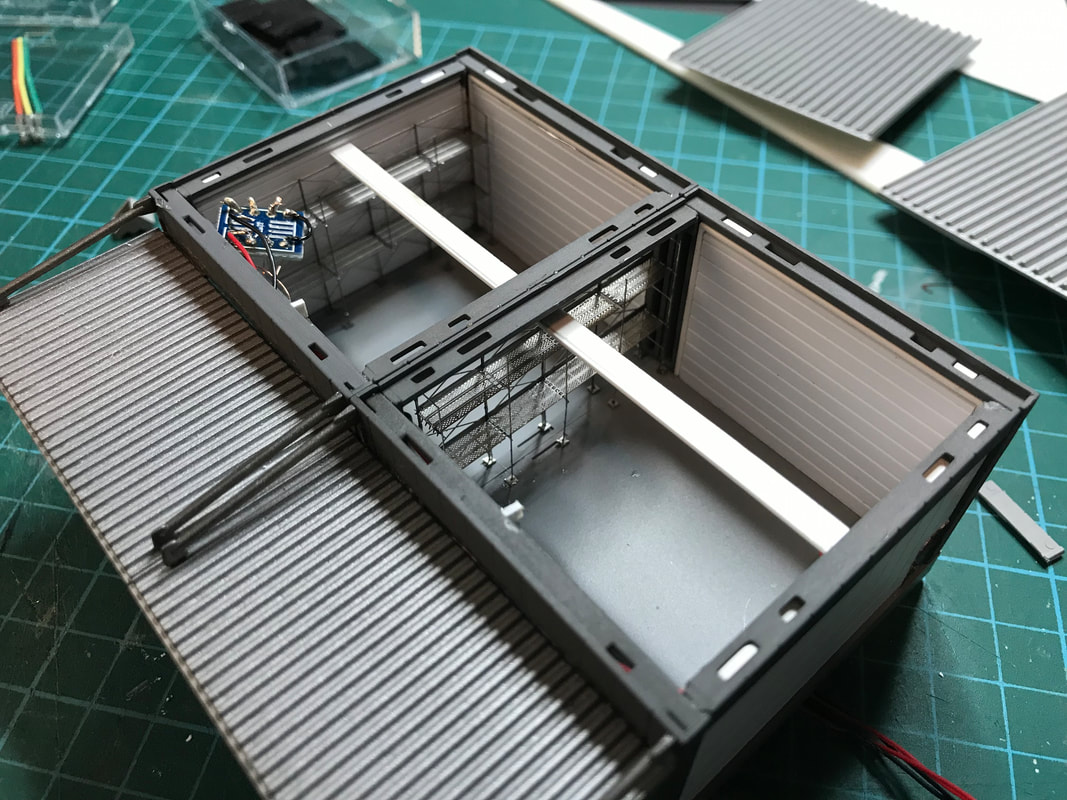
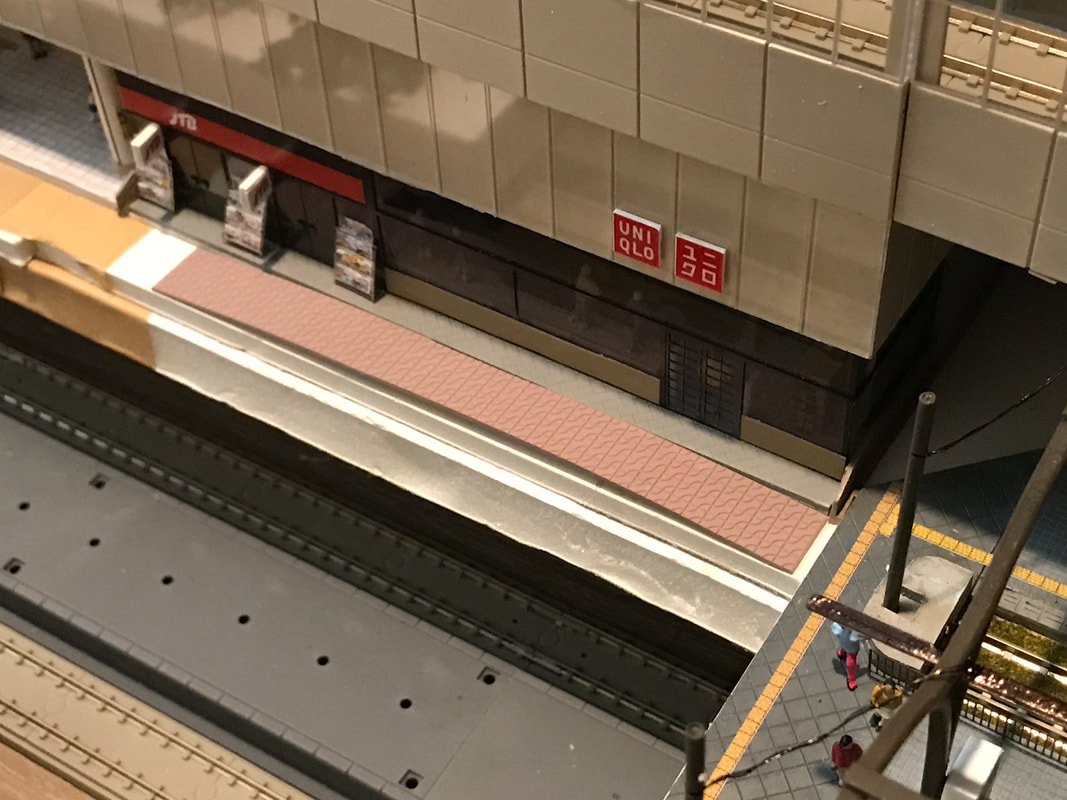
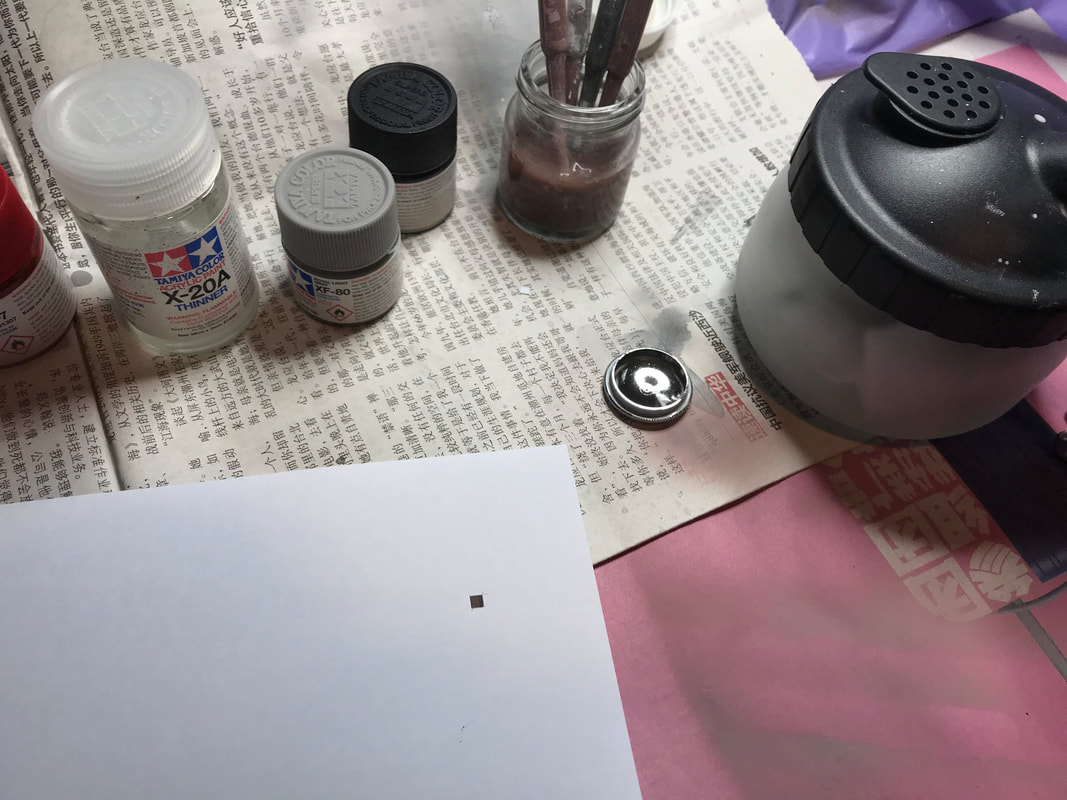
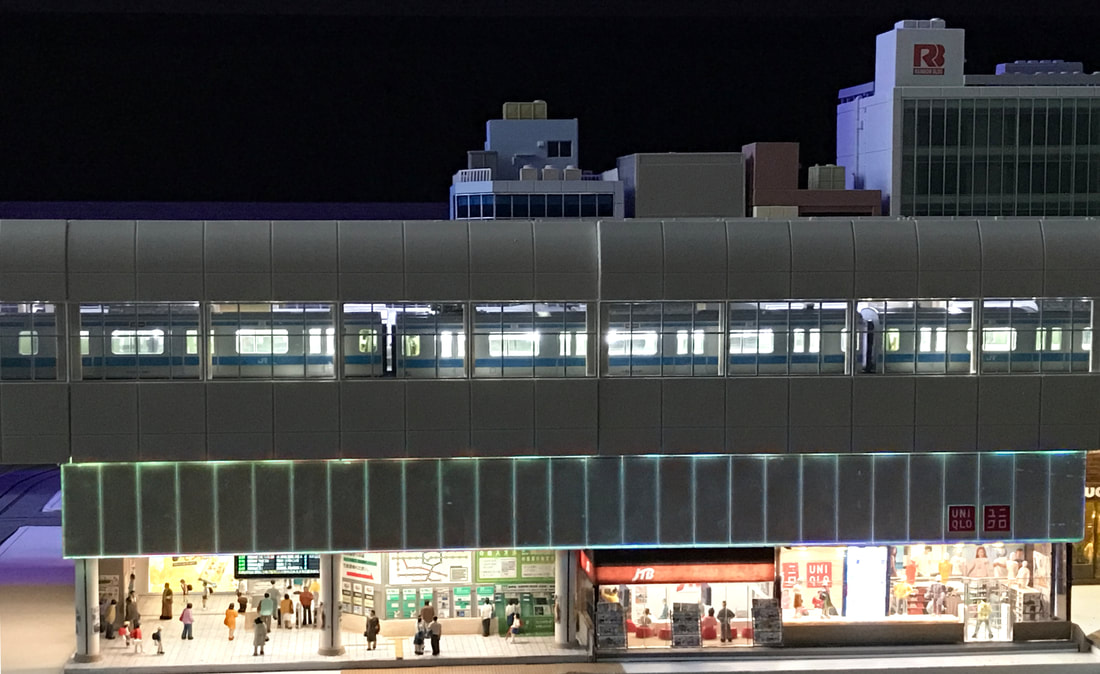
I used three pre-wired 0402 LEDs purchased from AliExpress to light that building. The buildings have been painted using approximately 7/8 Tamiya XF2 White + 1/8 Tamiya XF57 Buff. The doors have been painted with UNI POSCA PC-1M extra-fine silver water-based marker (highly recommended!). Download POSCA catalog here. 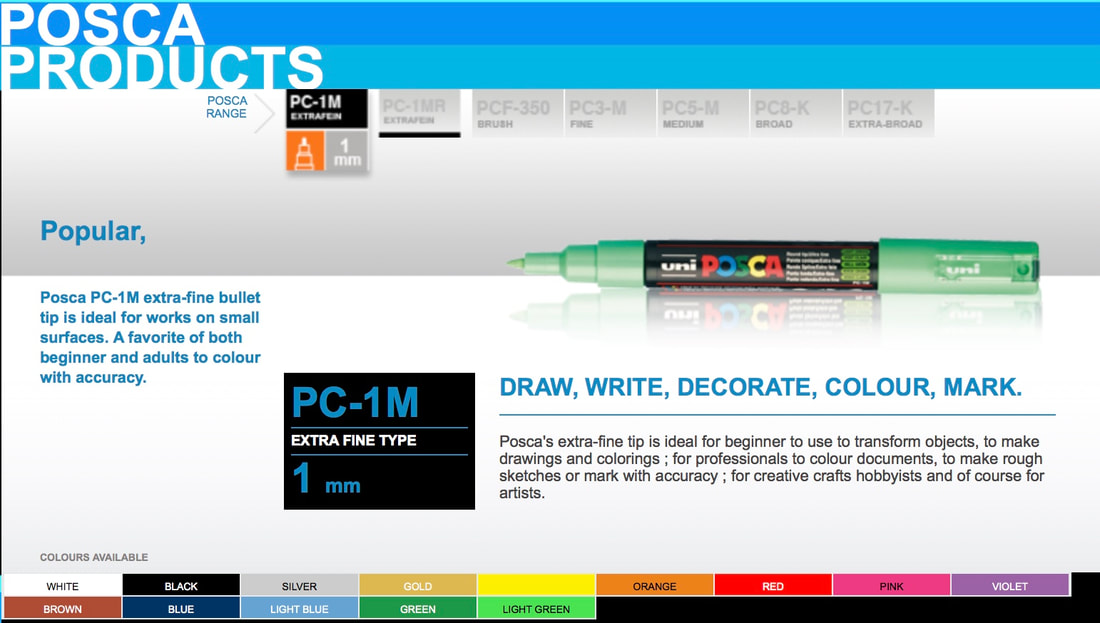 I didn't like the shape of the center of the Tomix elevated station (which didn't look prototypical), so I cut it off. Not easy. I mostly used an X-ACTO #15 Keyhole Saw Blade and #5 Heavy Duty Plastic Knife. 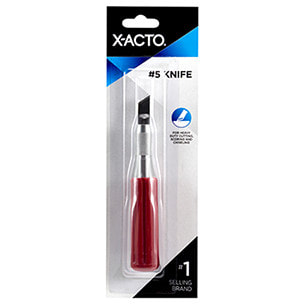 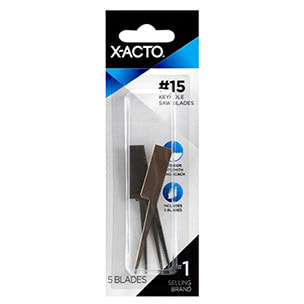 I later covered the holes with Evergreen 1 mm styrene sheets.
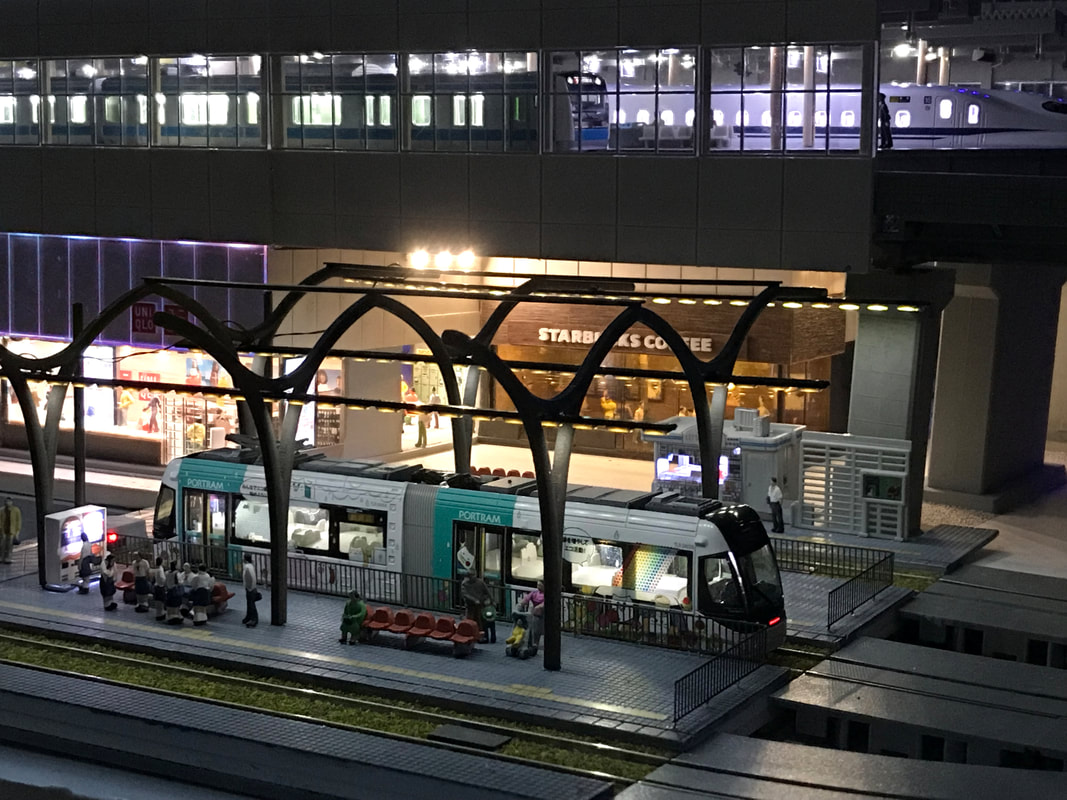
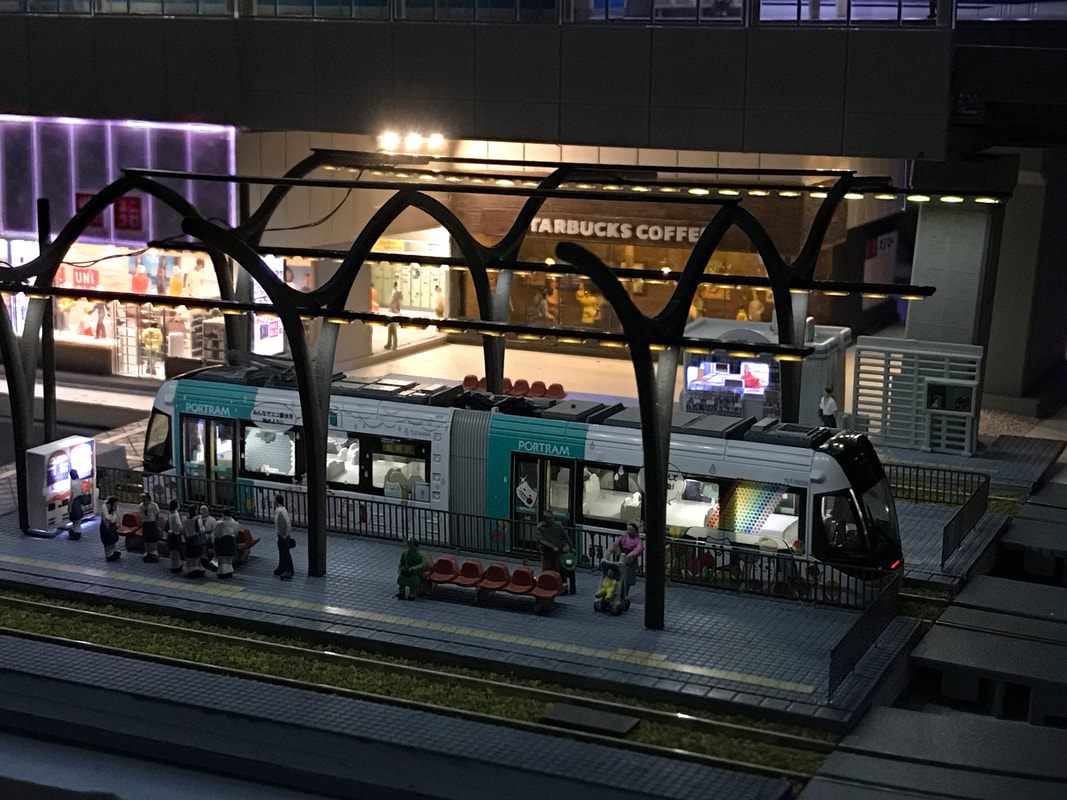
One of my preferred "shop" of the Shin-Yukari station: the Starbucks coffee. |
Categories
All
Latest videoArchives
November 2023
|


 RSS Feed
