|
Today, I have started the integration of the system into the python application that runs on the raspberry pi (the same one that controls all the LEDs on the layout). I have added a screen to control the busses, it looks like that: 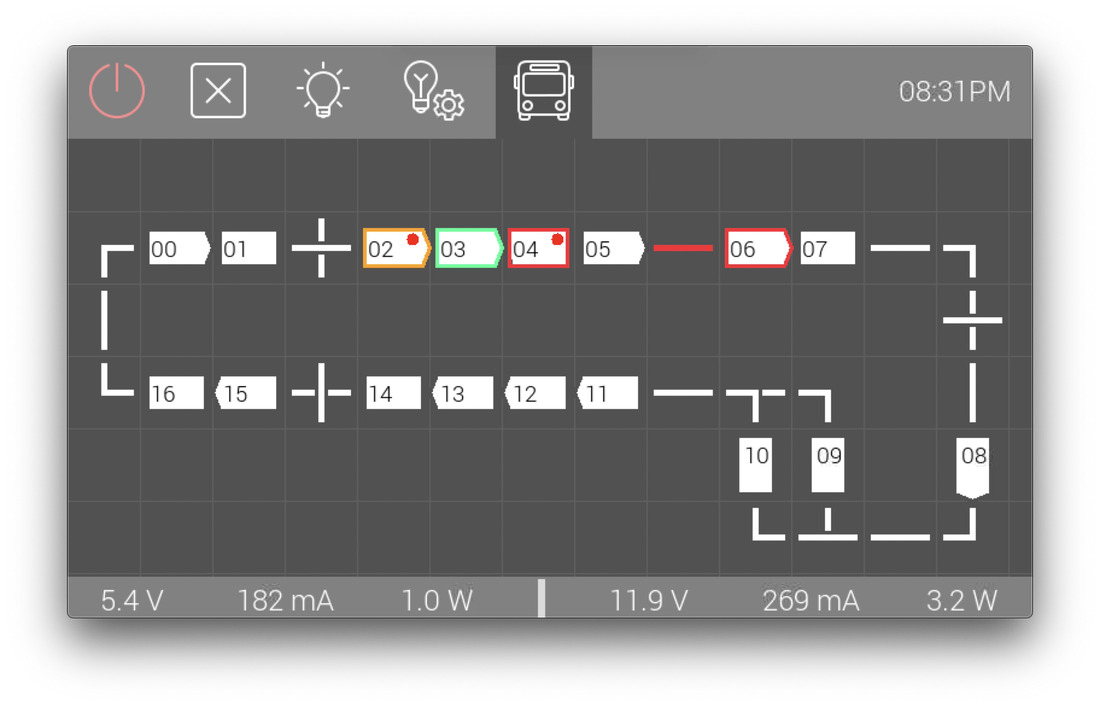 Each bus block is a white rectangle. The block is highlighted
The application makes sure that there is no collision. The video below shows the results of very the first test:
1 Comment
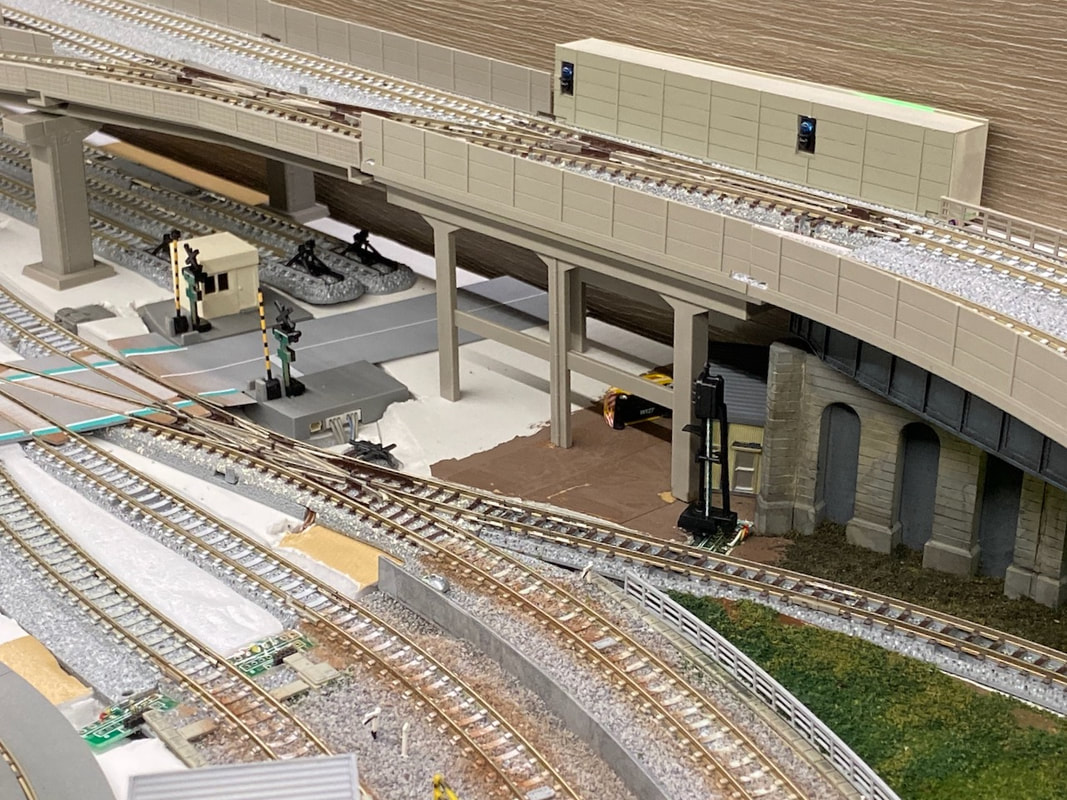
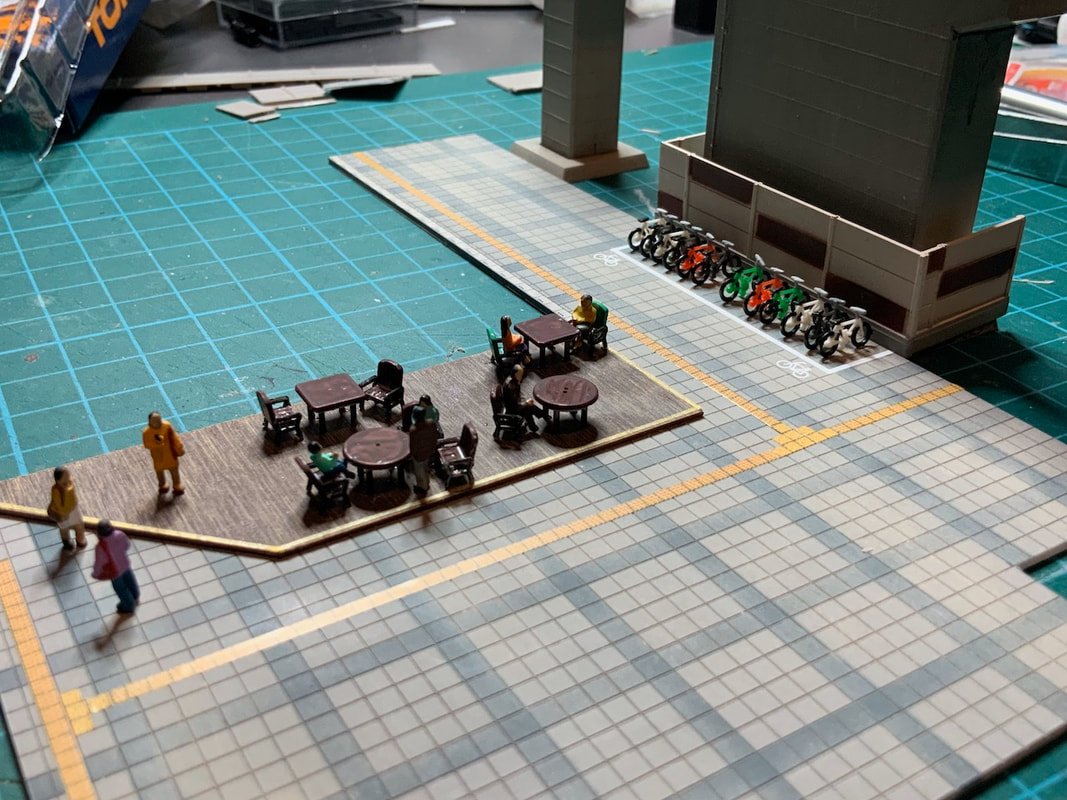
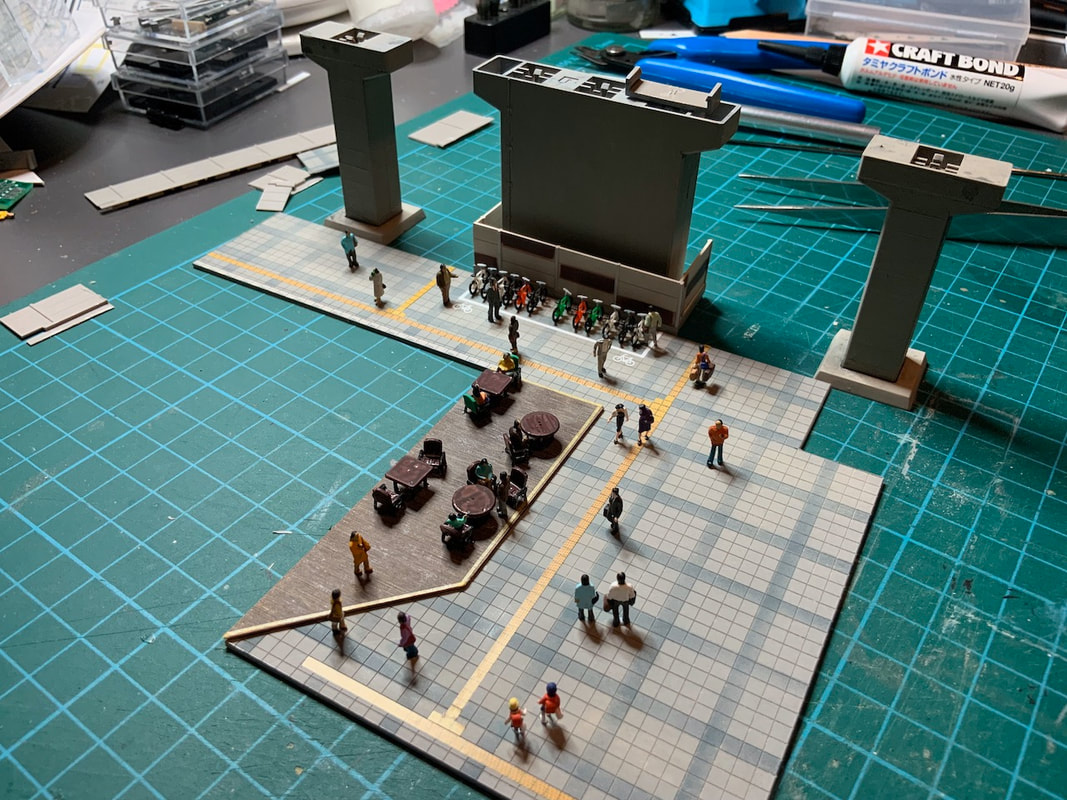
For more than a year now I am trying to control the Tomytec busses (fitted with a BM-01, BM-02 or BM-03 motor). My ultimate goal is to make the street at the centre of my layout look like this: There will be
 They will all be connected to a Raspberry Pi, which will be able to control the traffic flow. All of this is still under development, but this weekend I have been able to connect eight bus blocks, and this is the result (that I find really encouraging):
 Several tests to find a suitable asphalt color (and I will later paint again the road to a lighter grey shade). I changed the "sky" lighting to two rows of individually-controllable RGB+Natural White LEDs.
Late evening emergency meeting the second floor...
The building has been painted as follows:
Lighting is made with four pieces of 3mm LED strip.
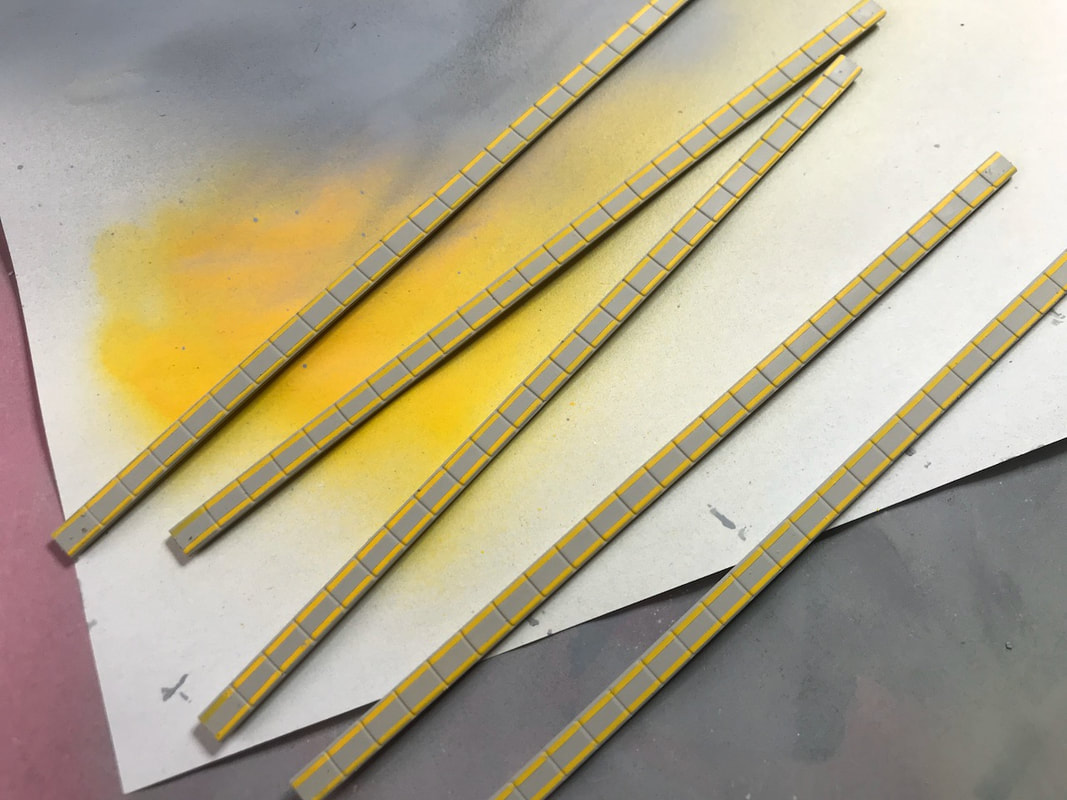
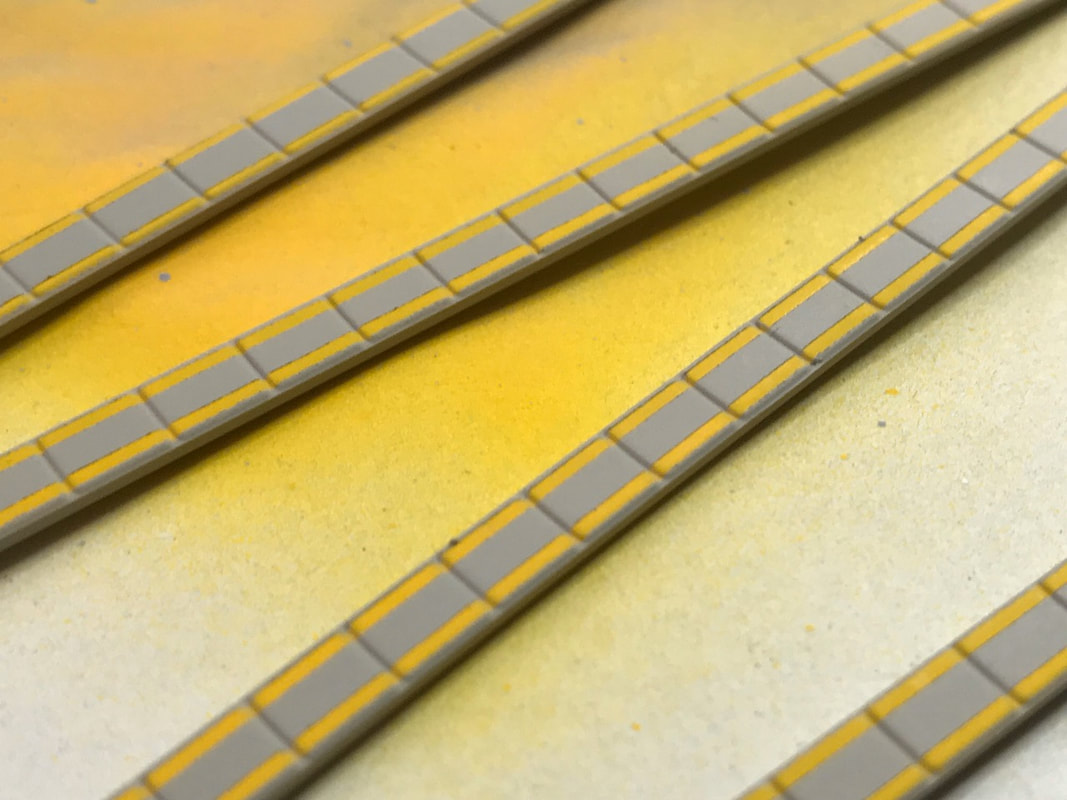 The track rust is Tamiya XF-64 Red Brown. The side walls are made of styrene, scored horizontally and vertically... ... painted light grey using a mix of
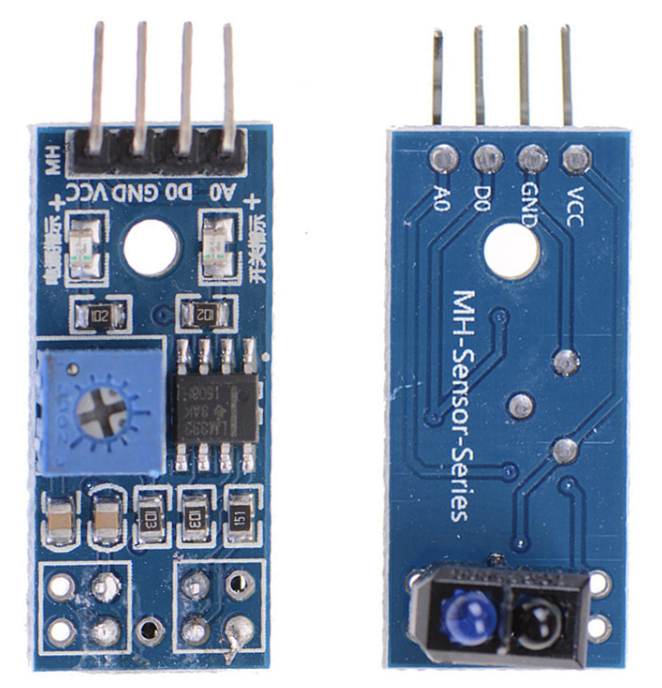
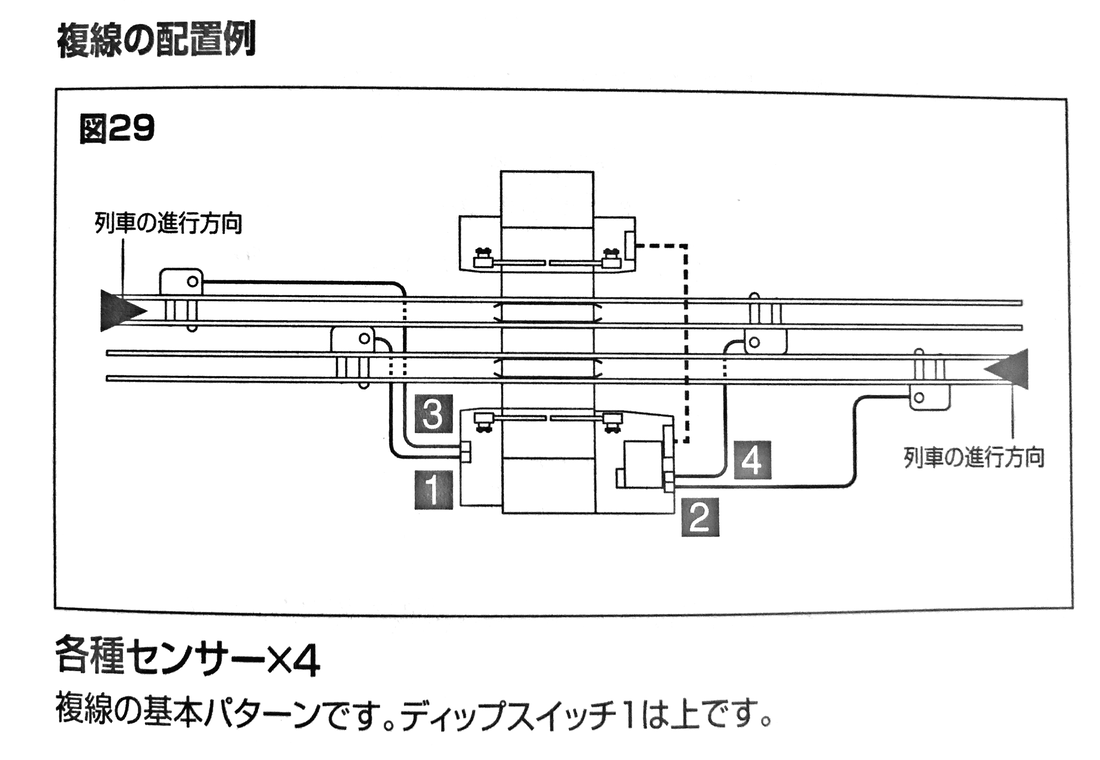
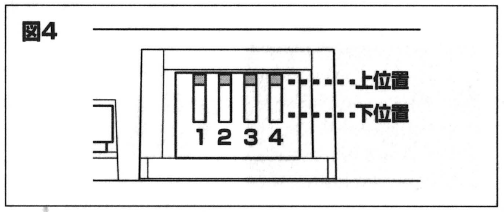
This is the first test of a prototype DCC interface for the "Tomix 5569 TCS Automatic Crossing System". The DCC decoder uses an Arduino Nano, the interface to the Tomix 5569 is simply made of four transistors:
I was not satisfied with the height of the track on the right side slope, so I used an Excel sheet to precisely compute the ideal height of each segment and built a new slope using 5mm foam board.
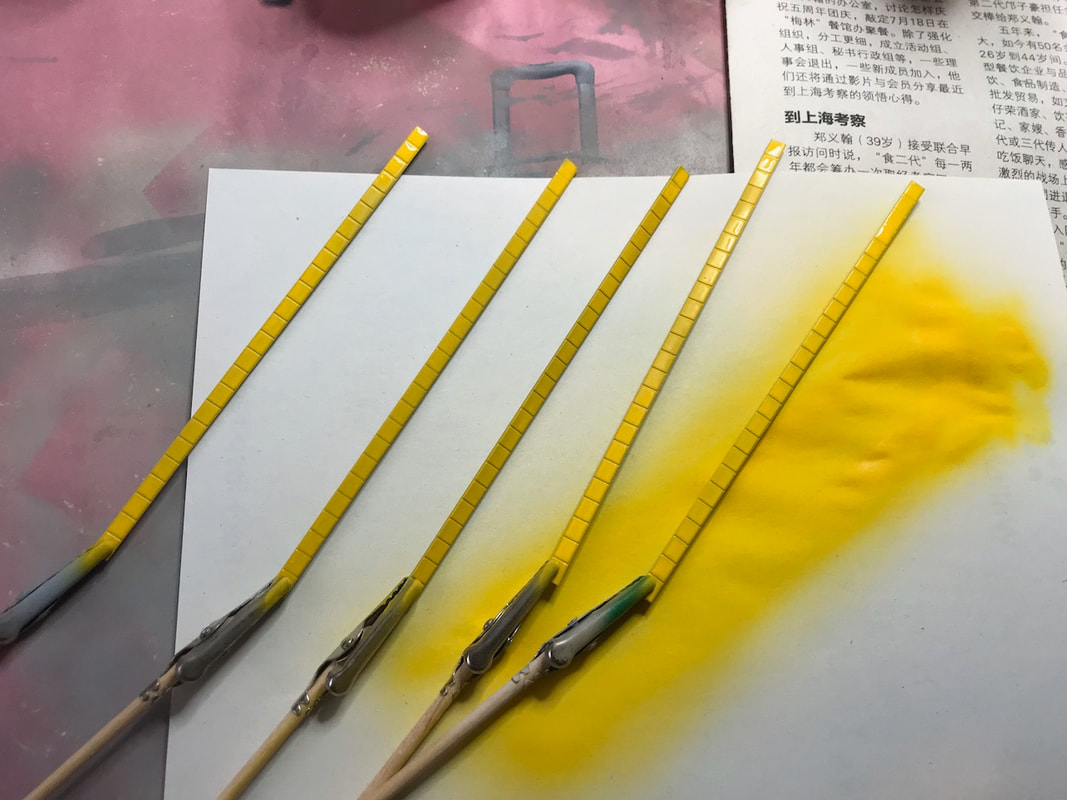
Step 1: base coat
|
Categories
All
Latest videoArchives
November 2023
|

 RSS Feed
